© 2004, 2005, 2006, 2007 by Man of the Cloth Productions
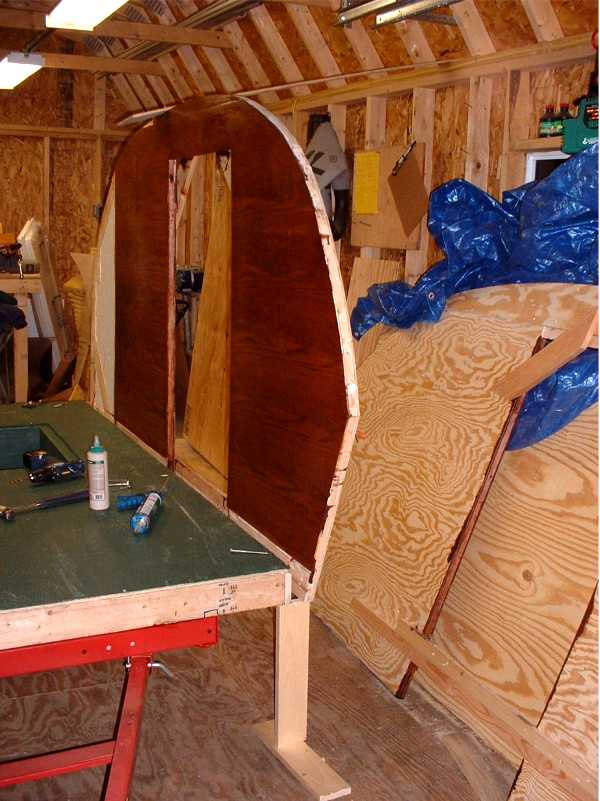
Since I worked alone on this project, I created a few props to support the weight of the wall while I positioned it and drilled the pilot holes for the lag screws. I used a few scraps to hold the bottom of the wall and a prop nailed from the top of the wall and the side of the shed.
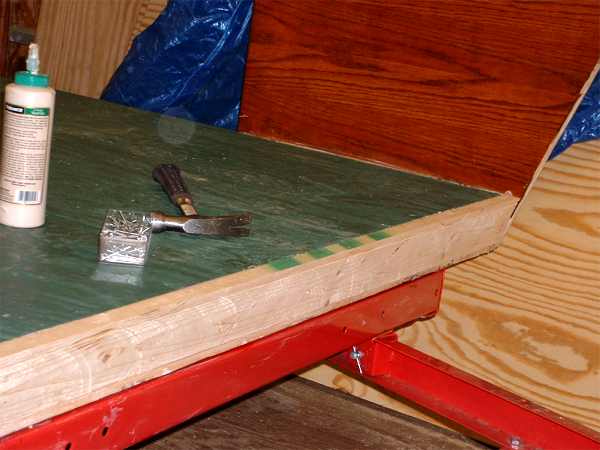
With the wall secured, I fed the clearance light wires through a hole I had previously measured and drilled in the side of the deck. I connected these wires into the electrical harness later on in the process. I applied waterproof glue and subfloor exterior adhesive to the band board to make a strong bond. After I clamped the band board on the bottom of the wall to the band board on the deck, I drilled guide holes into the center of the ends of the 2x4 cross members. With the help of a socket set, I turned a 4x1/4" stainless steel lag screw into each cross member. An extra washer kept the head of the lag screw from drawing too far into the exterior of the wall.
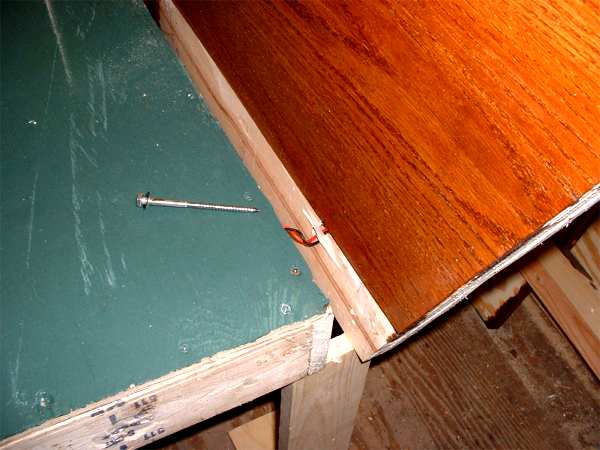
The band board on the side of the deck and the exposed band board at the bottom of the wall formed a laminate, "engineered" structure that had the final dimension of a 2 x 4. Because of this laminate construction, the framing inside the walls became an integral part of the final composite. In my design, the downward load created by the walls and roof was transferred through the 10 stainless steel lag screws, 5 per side, to the deck and then on to the metal trailer frame.
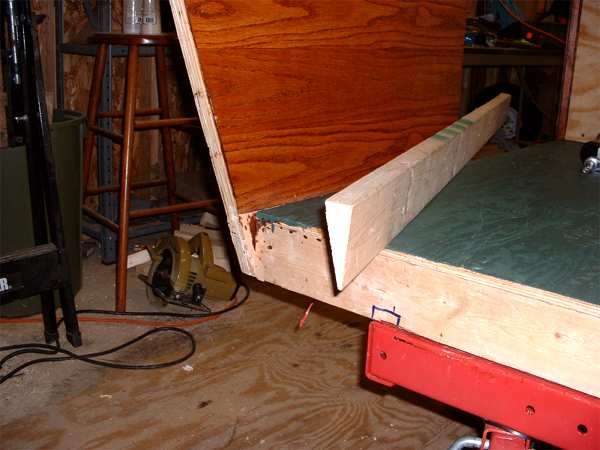
The point at the front of the Zephyr created a triangle-shaped void at the front of the deck that had to be filled. I used a table saw to match the shape using three rip cuts. This was a difficult cut for me, so I asked for help on this.
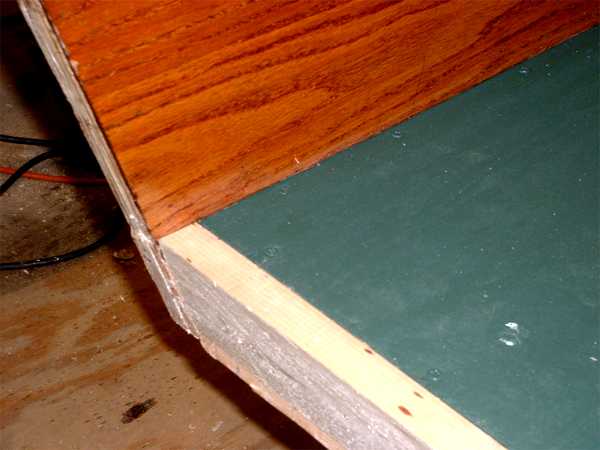
The carpenter who helped me created a piece that was a perfect fit.
Waterproof glue and a few finishing nails hold it in place. I fastened the front exterior skin to this board with glue and screws. The screws go through the board and anchor into the front 2x4 cross member.

I built a prop to keep the wall square as I tightened all the lag screws in the deck.

When I finished attaching the walls I checked the angle between the walls and the deck. The framing square showed it was true.
My next step was to attach the roof spars. I used 2x4s ripped lengthwise. I used the 1 1/2" side as the dimension between the ceiling and the outside skin of the roof. In the photo the spars are placed every 2' in the roof’s radius. I forgot that the curve of the inside ceiling skin is tighter than the outside roof skin. To correct this oversight, I installed two additional spars at the place where the interior ceiling skins formed a butt joint.
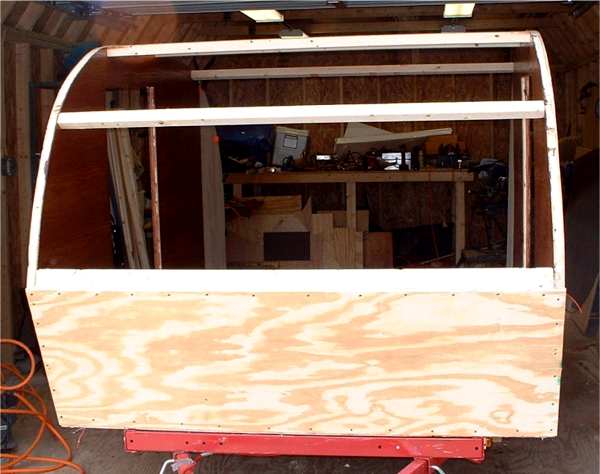
This was a good time to fill holes and deviations in the outside plywood wall. I used the belt sander to smooth the surface. I forgot to watch out for the clearance light wires. Next time I hope I won’t catch them in the belt sander.
The spar at the point of the nose had complex angles. The side profile of this piece had to match the angles at the point of the nose. It wasn't difficult to do, but the hard part was thinking it through. I finally decided to add two more spars here. I cut and placed them to match the outside shape. This gave me the solid, flush surface I needed to attach both the ceiling skin and anchor the exterior plywood.
Please visit this sponsor
.