This is a tutorial to create a teardrop similar to a Benroy using IronCAD.
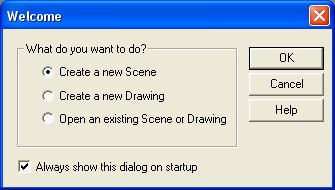
Start up IronCAD and Create a new Scene
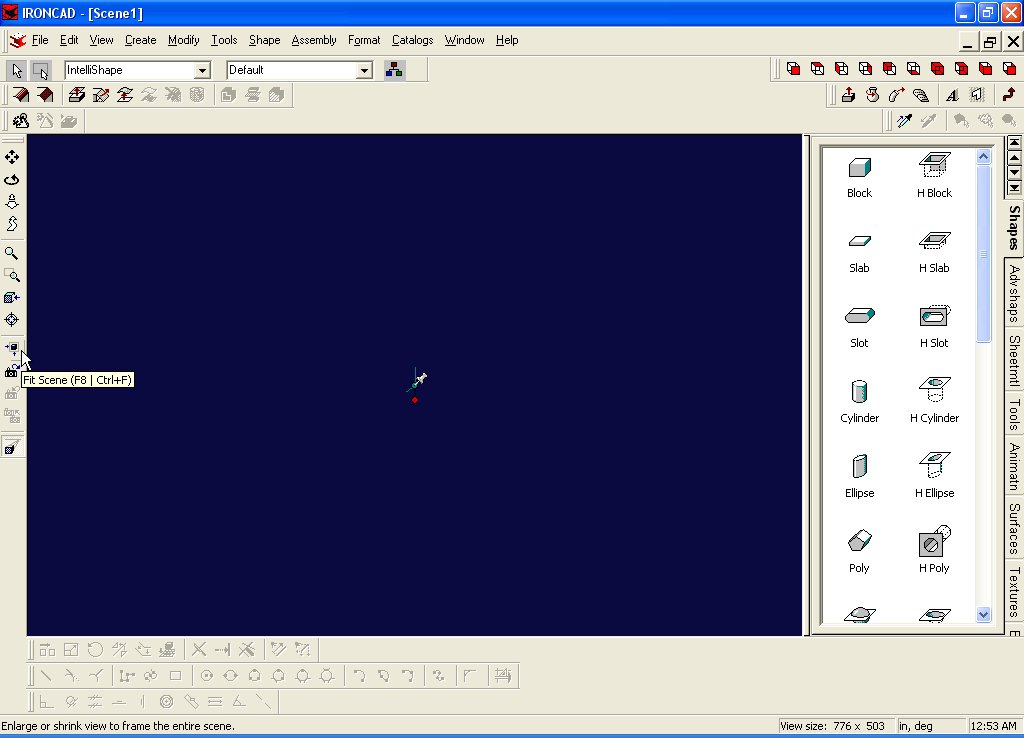
A blank scene will work fine for our purposes...

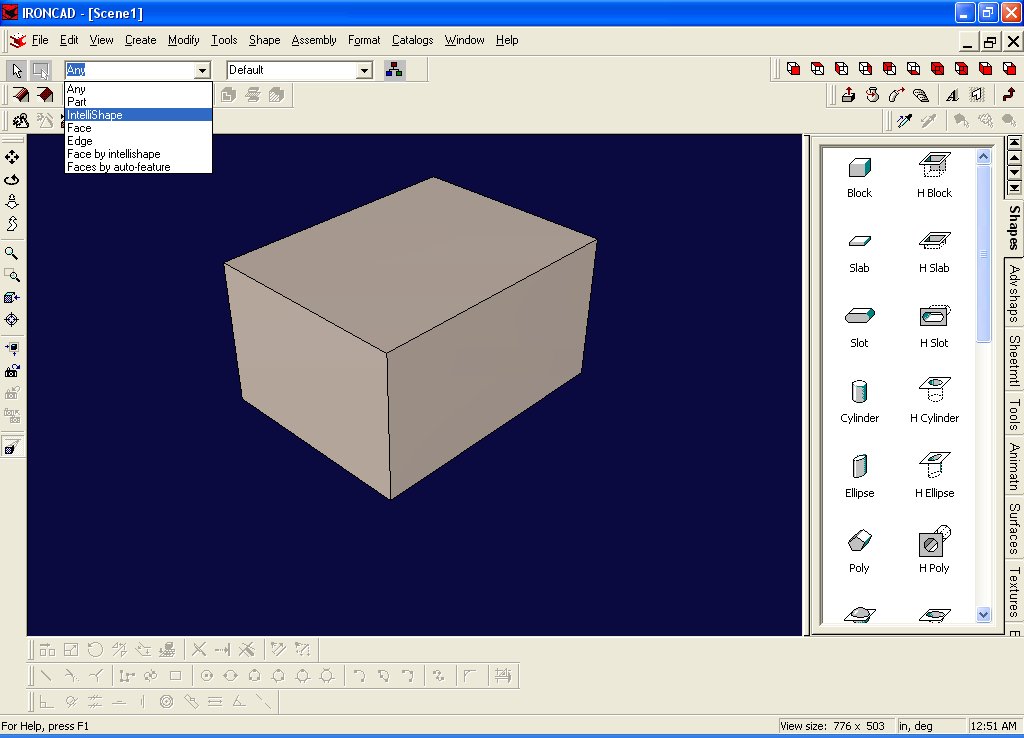
Take a block from the Shapes Catalog and drag it into the scene... (If you can't see your catalog, toggle "Catalog->Autohide" from the menu.)

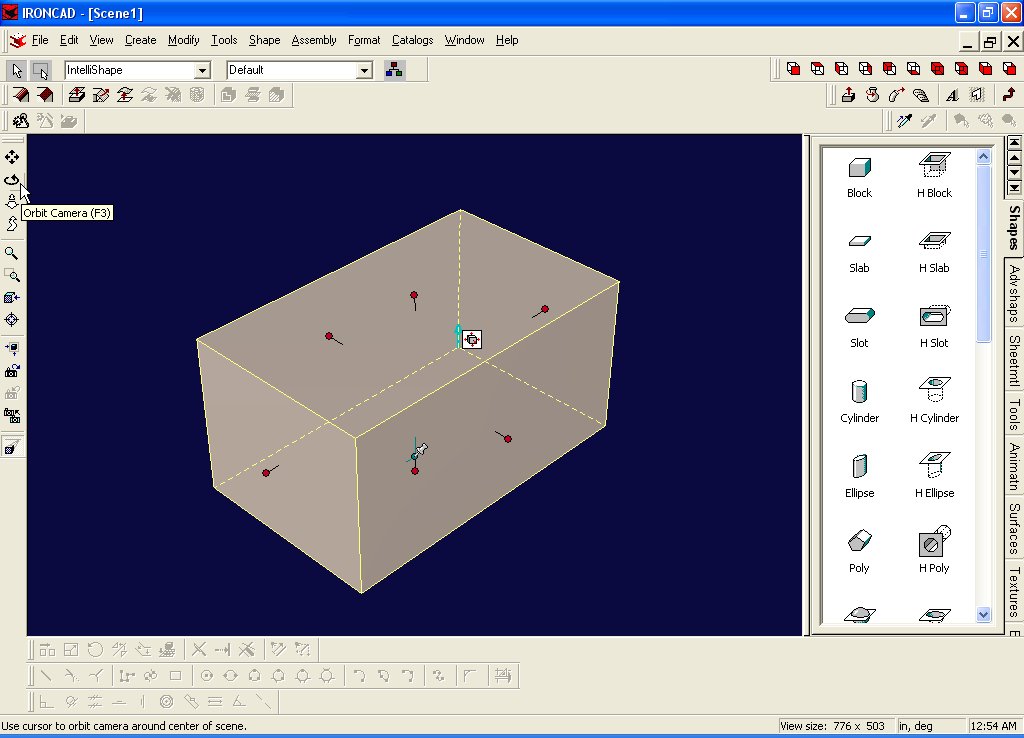
A block appears on your screen

Drop down the type box and select IntelliShape
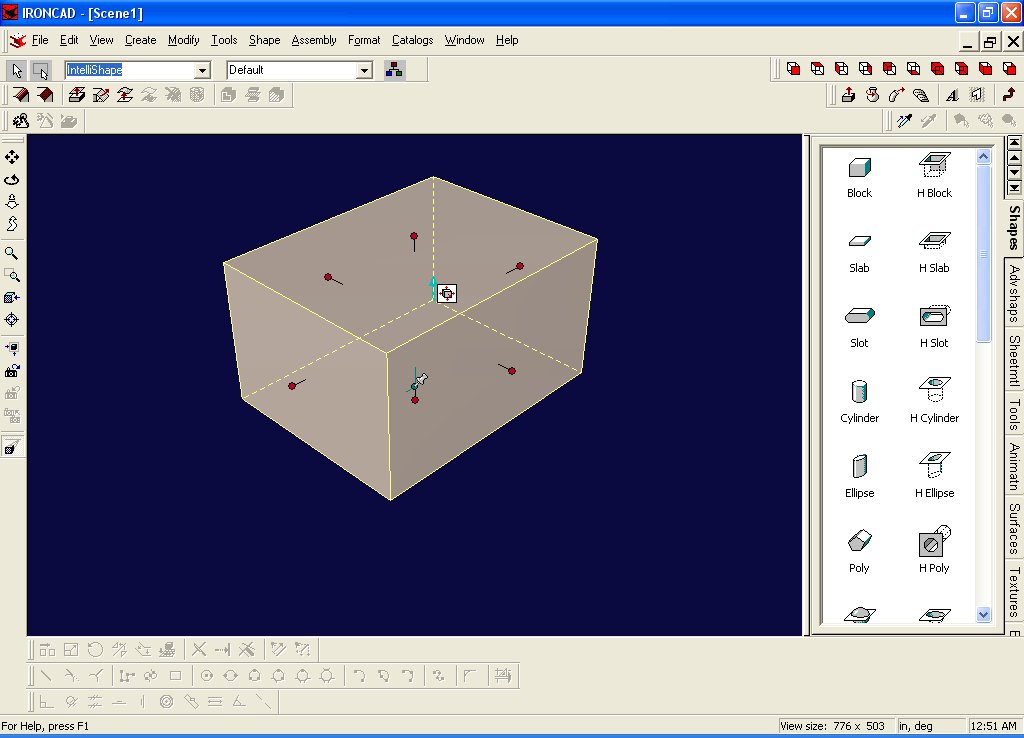
Then click on the box that you dragged into the scene. You should see red handles appear...
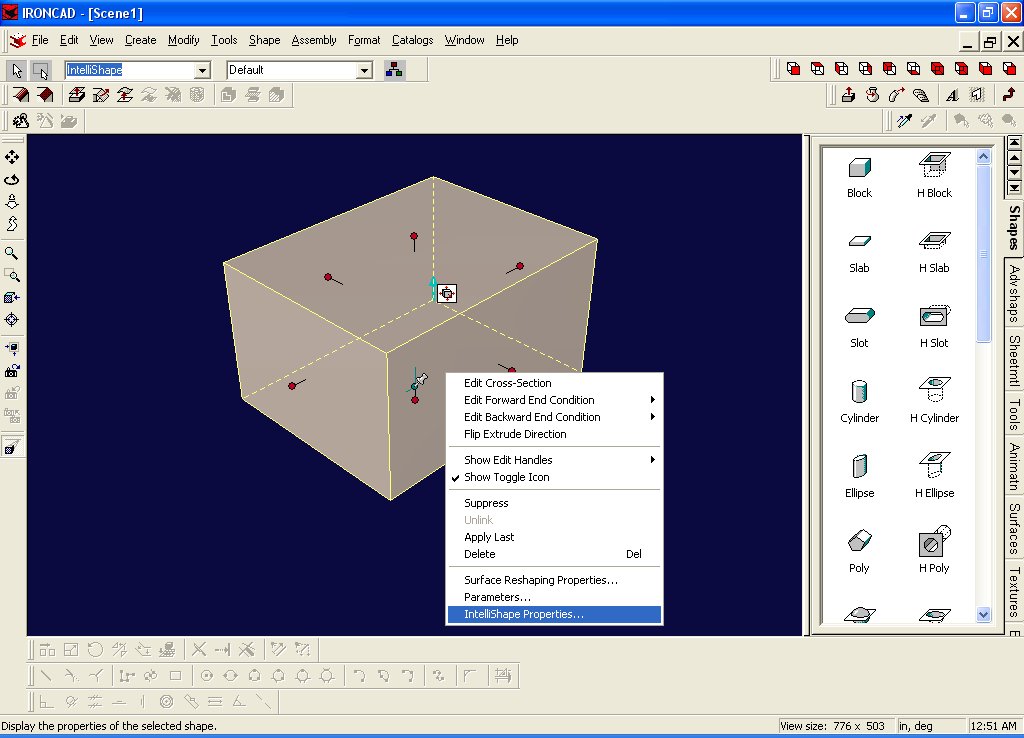
Right click on the block and select IntelliShape Properities
Type in the correct Length, Width and Height as shown here...

Then do a Fit Scene or press F8
Select Orbit Camera or F3 and spin your block around. :-)
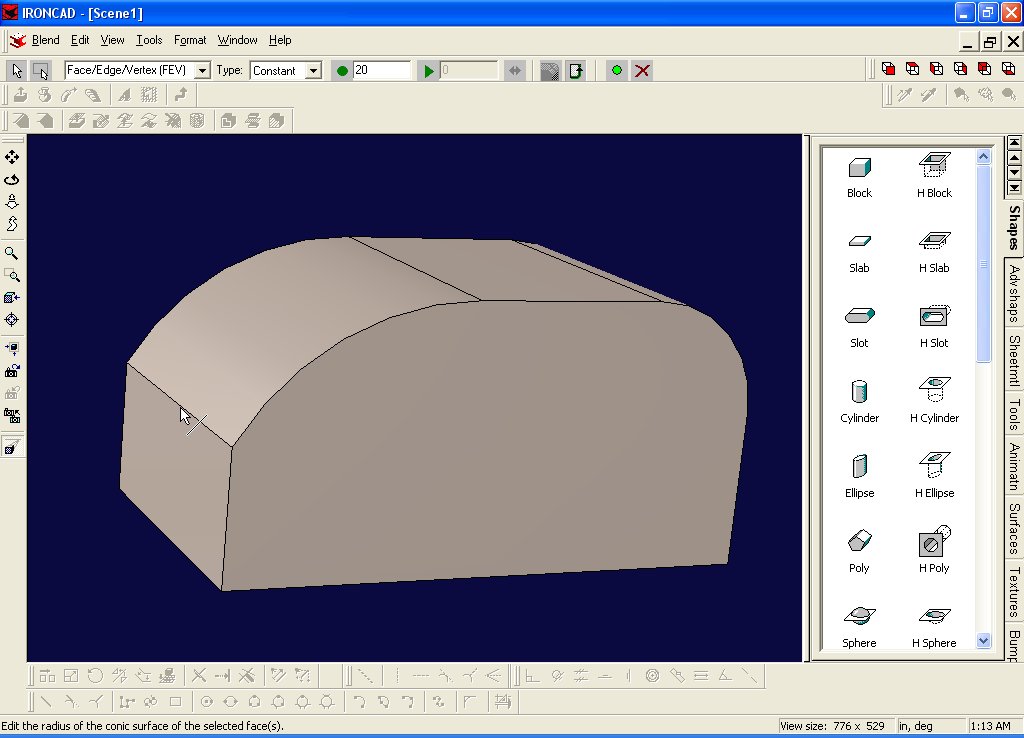
Let's add the front radius to the teardrop... Select Modify->Blend Edges from the menu...

Pick the front edge of the block...
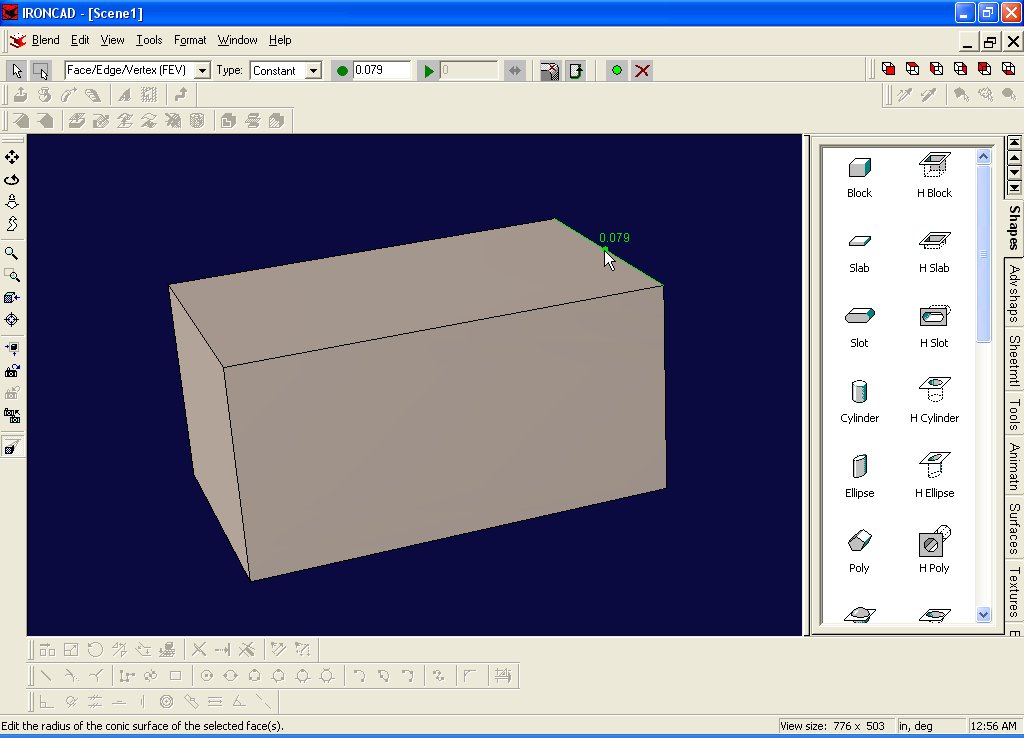
In the blend dialog, change the size of the radius to 20
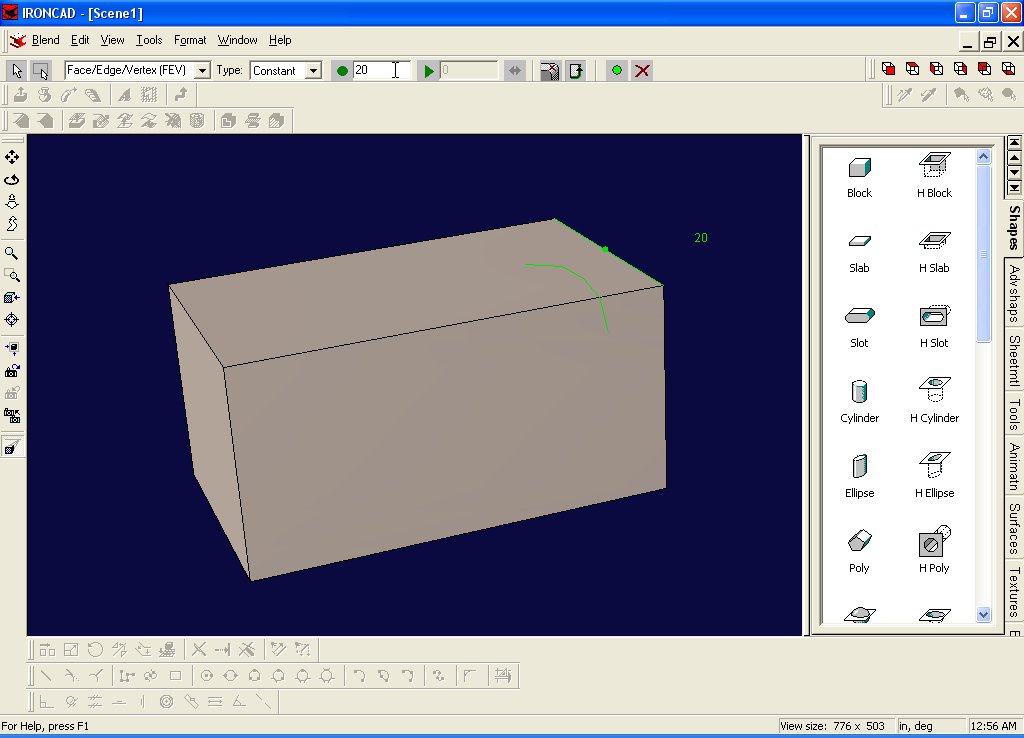
And hit the apply button.
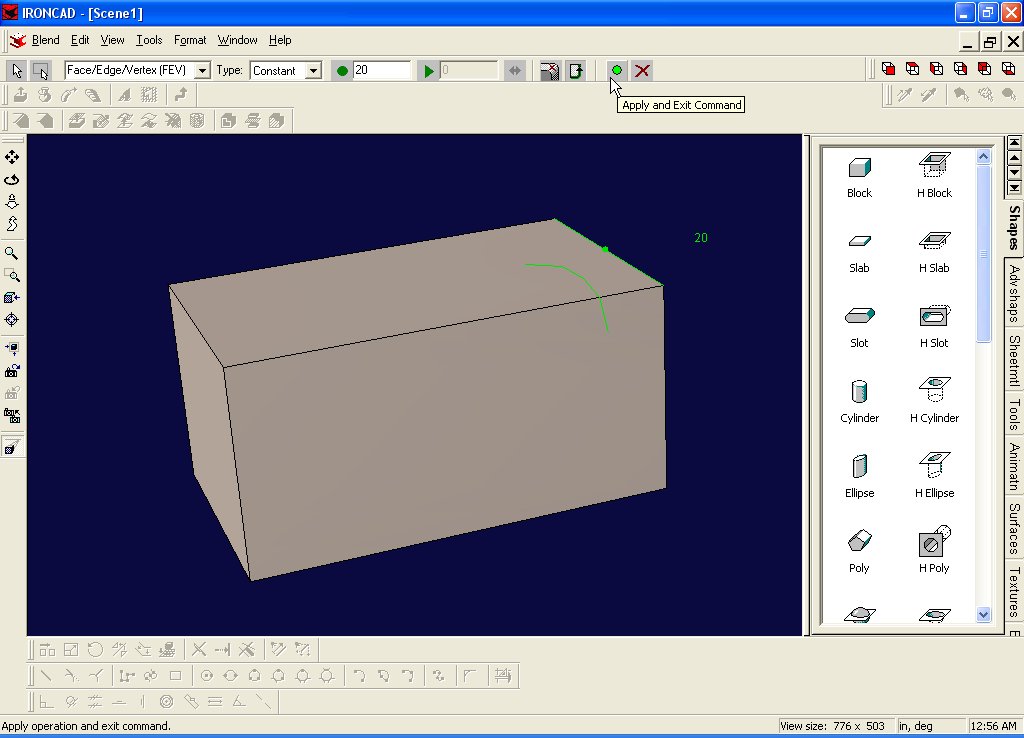
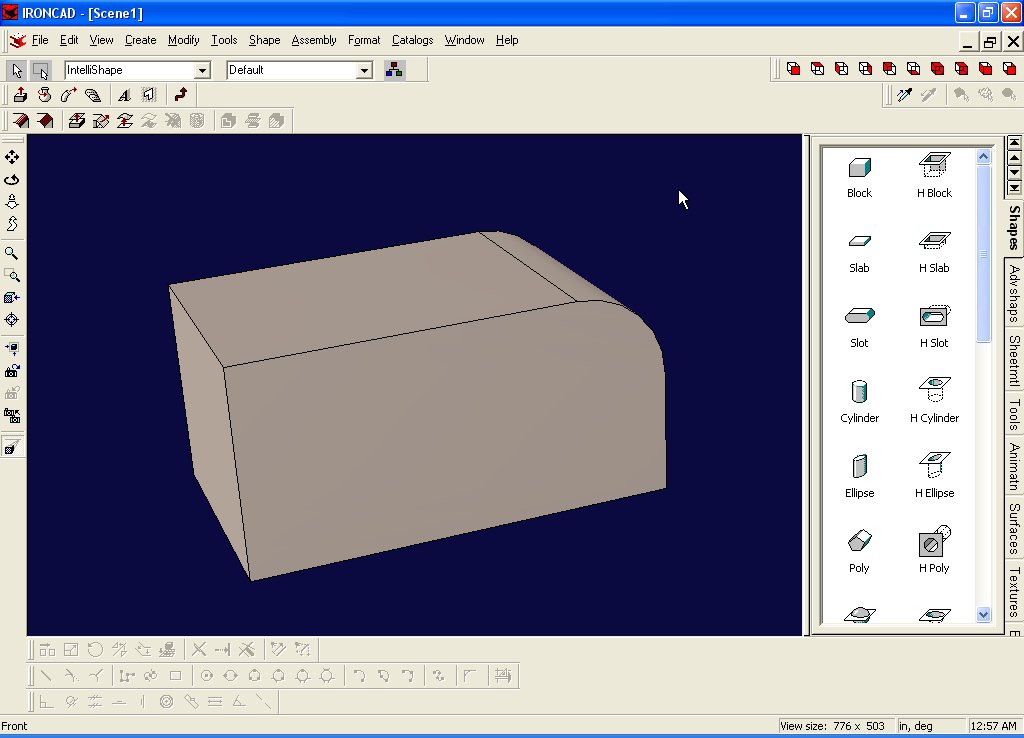
Well, thar she is, a beautiful front radius... :-)
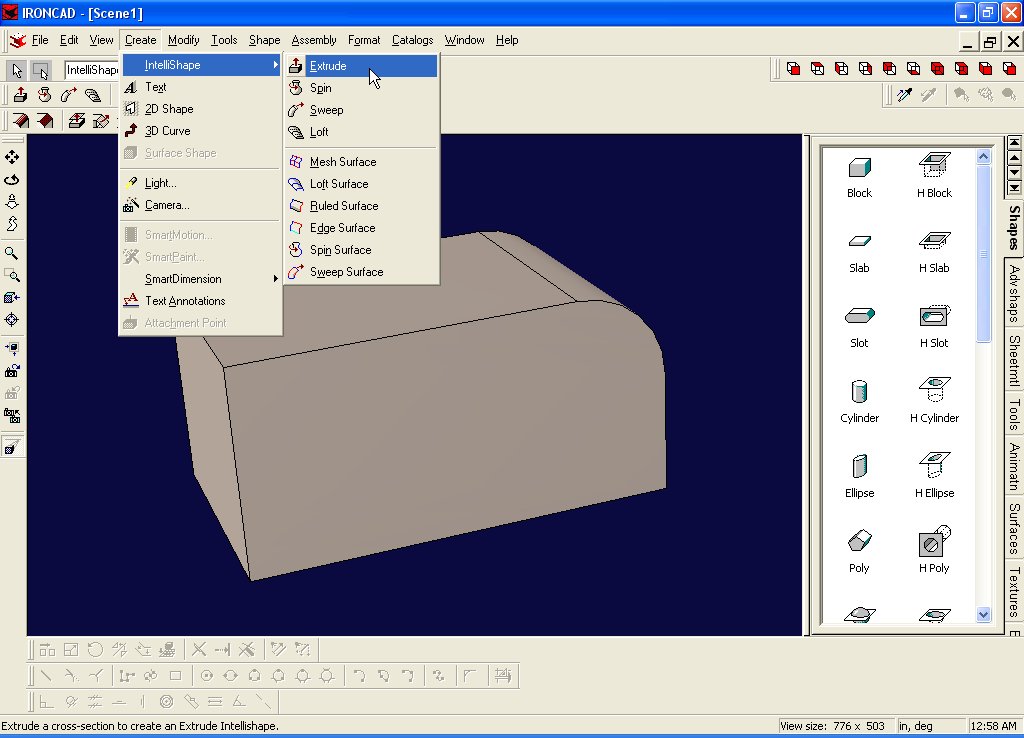
Let's work on the back radius. This one takes a little more work... Pick Create->Intellishape->Extrude from the menu...
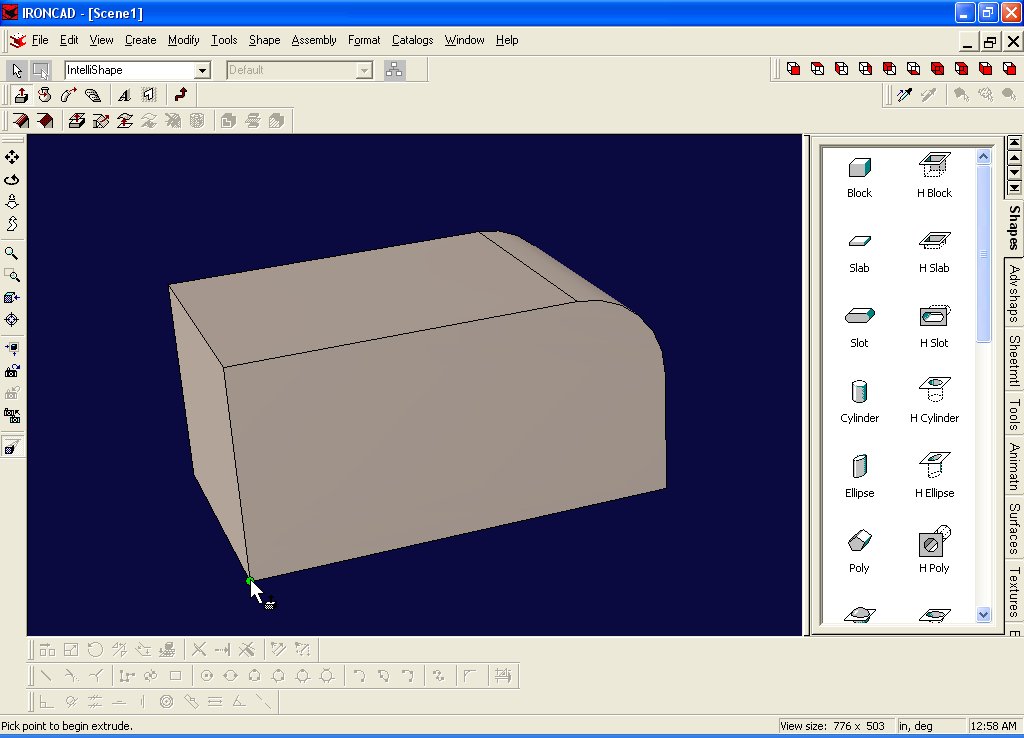
Pick a point to begin the extrude. I always select the lower left corner of the block...
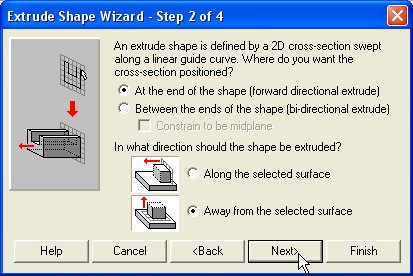
And then go thru the Extrude Wizard.... Click on remove material...
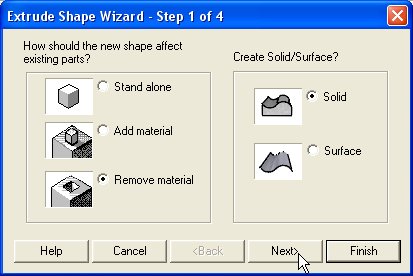
Away from the select surface should be selected...
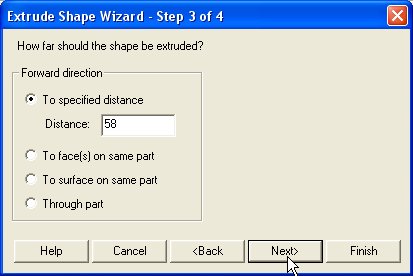
Give it a distance... this will be a 5 footer, minus 1 inch for each wall...
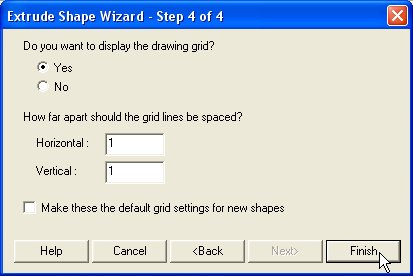
Let turn on the drawing grid, and set the spacing to 1 and 1
Okay we are ready to start drawing. Lets look right at the side of the teardrop... Click "Look At" or F7, and click the side of the teardrop...
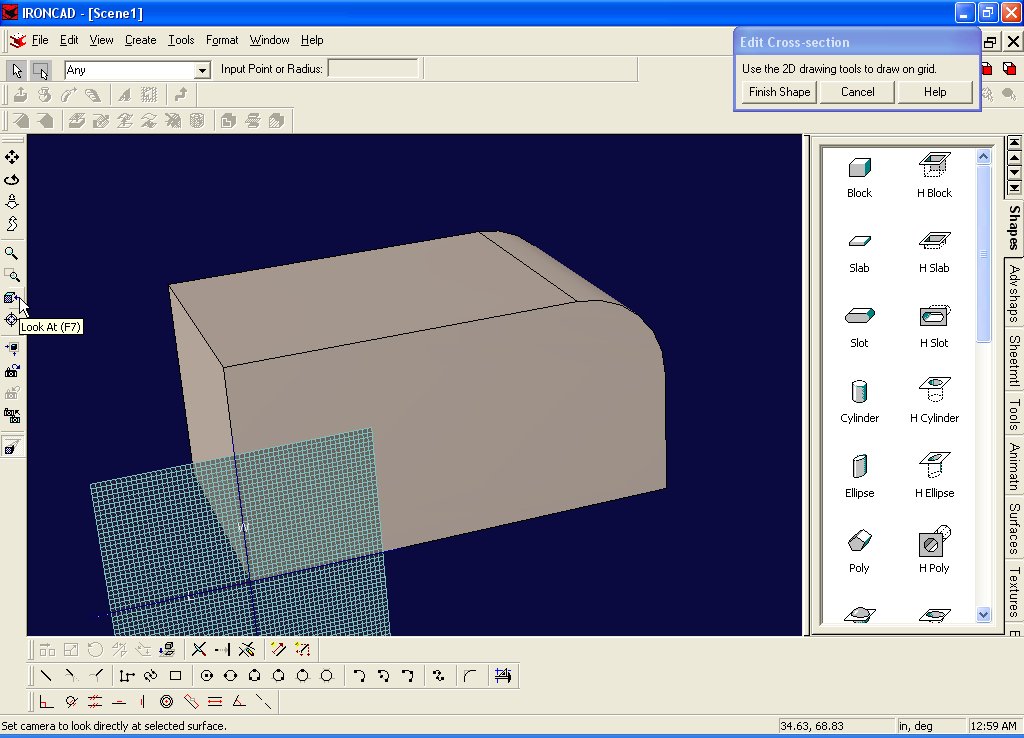
Ah yes, that's a little better...
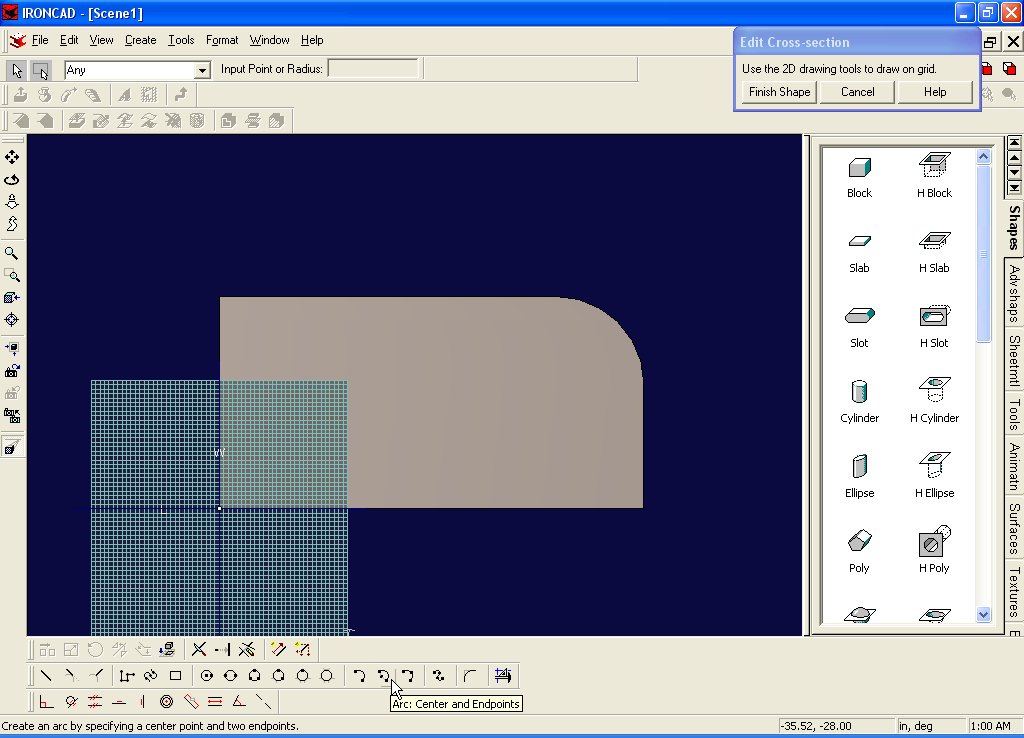
Now lets work on our back radius... Click on the arc, center, endpoints button...
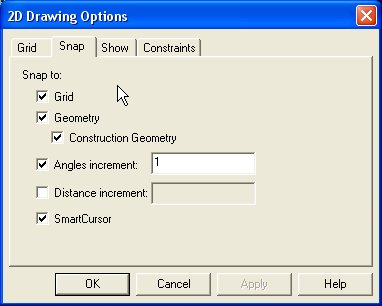
Lets make sure our grid snap is turned on.... select Format->Grid from the menu...
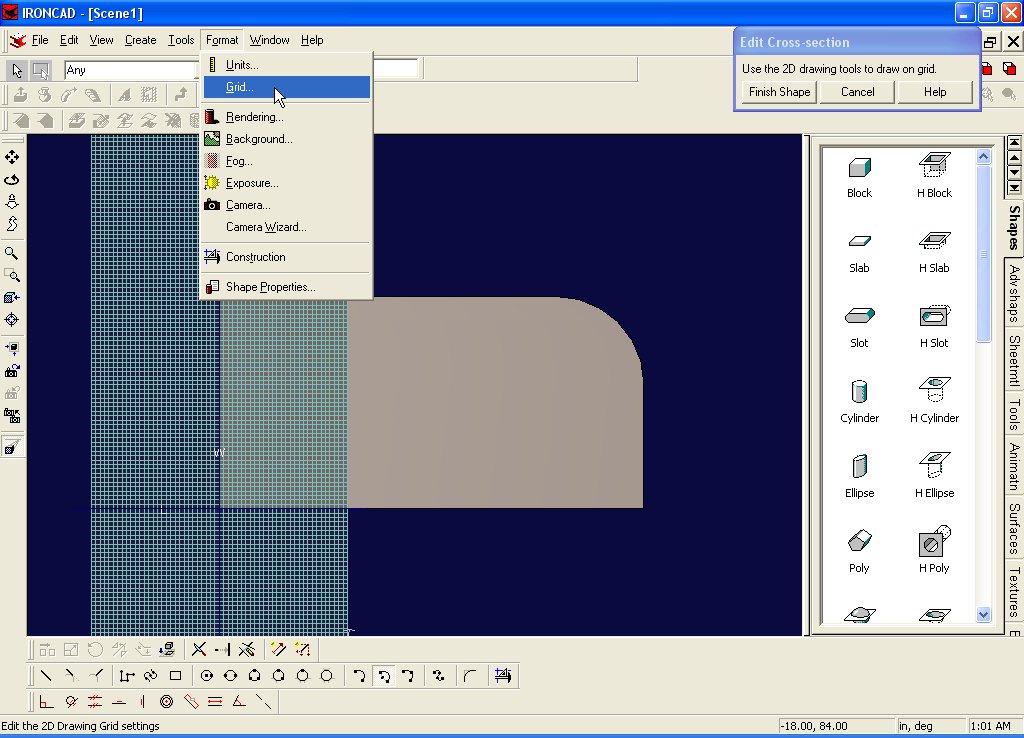
Snap to Grid should be checked...
Put your center point at 40,0
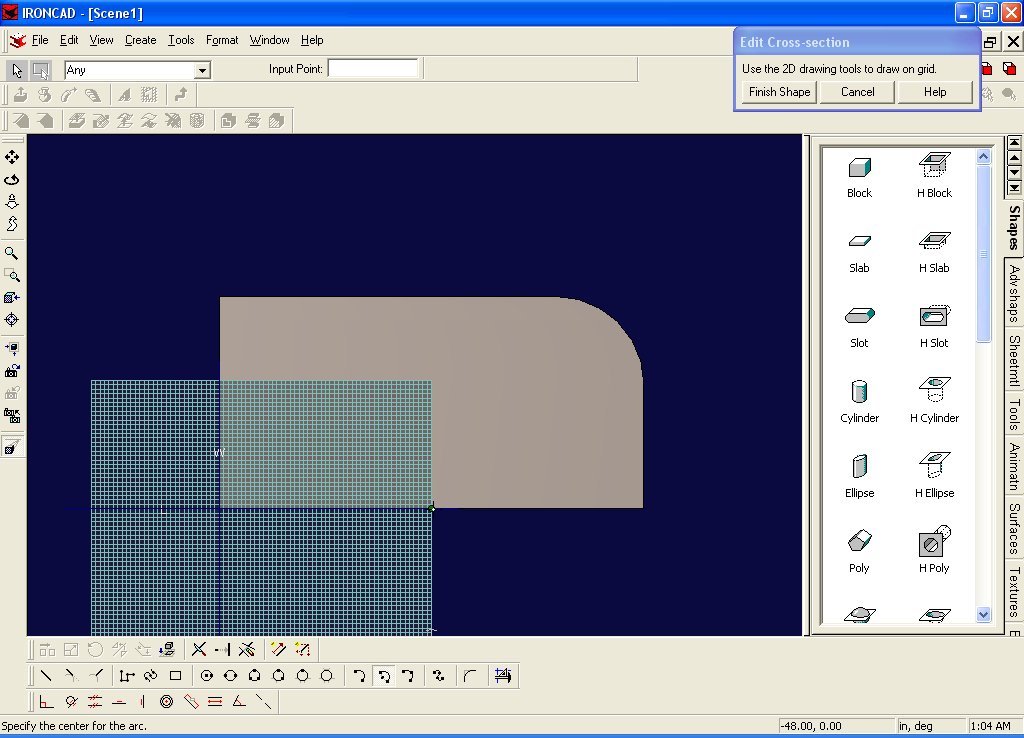
Then put your first point at -48, 48 as shown
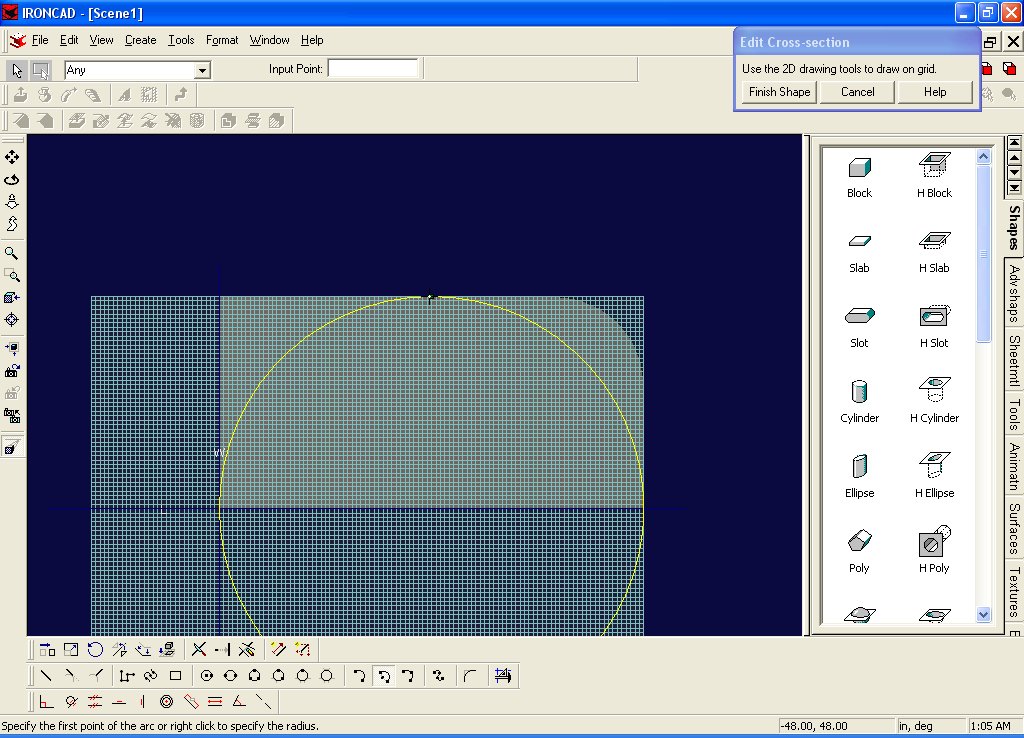
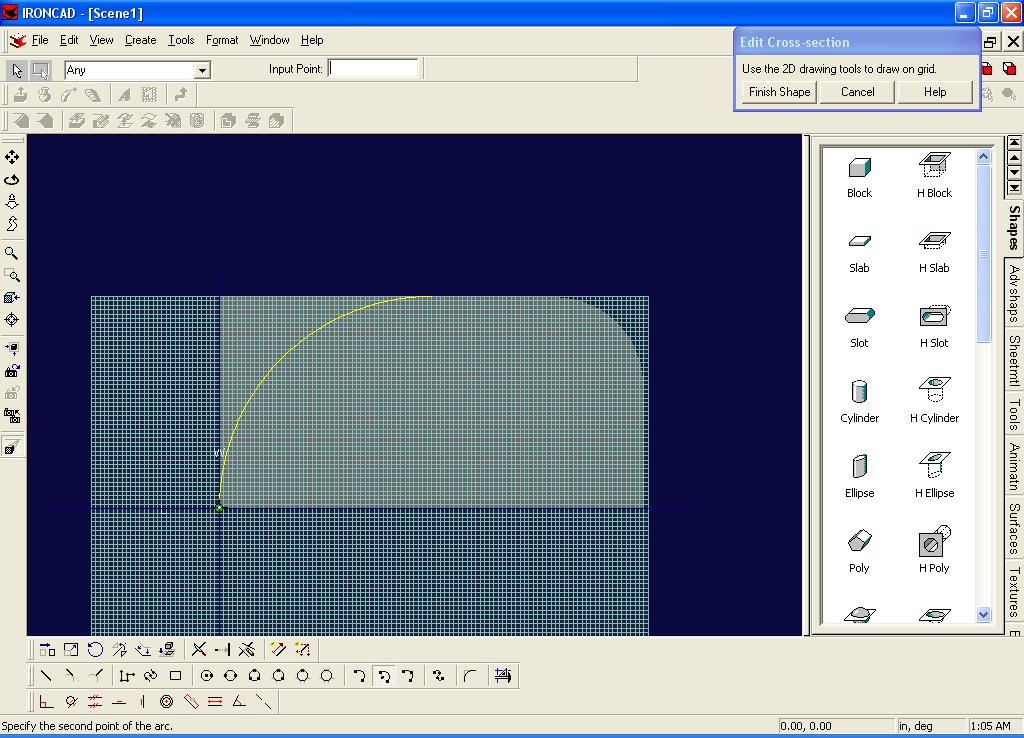
And put your second point at 0,0 as shown...
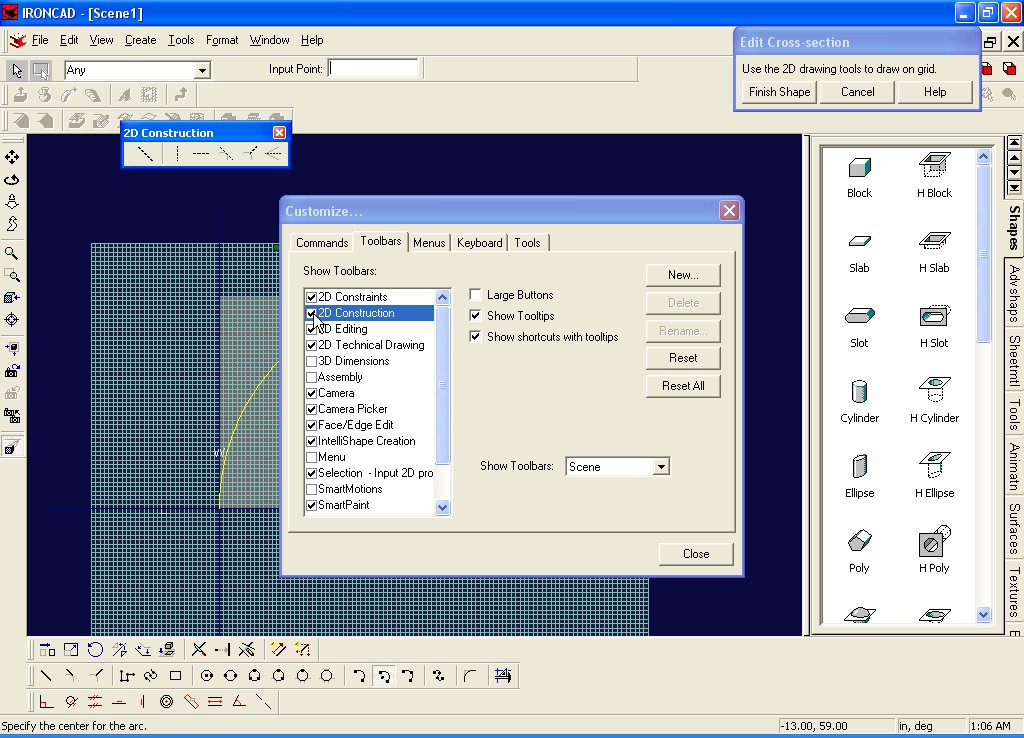
Where did my construction line toolbar go? Okay, let turn it on... Click on View Toolbars...
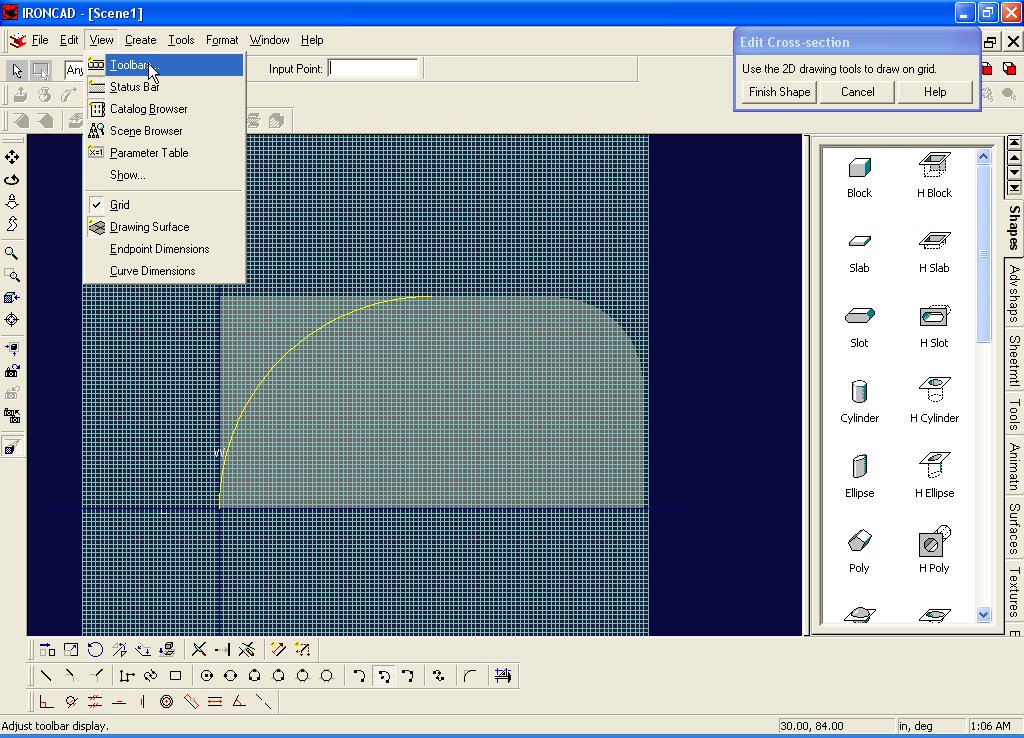
And place a check in front of 2D Construction...
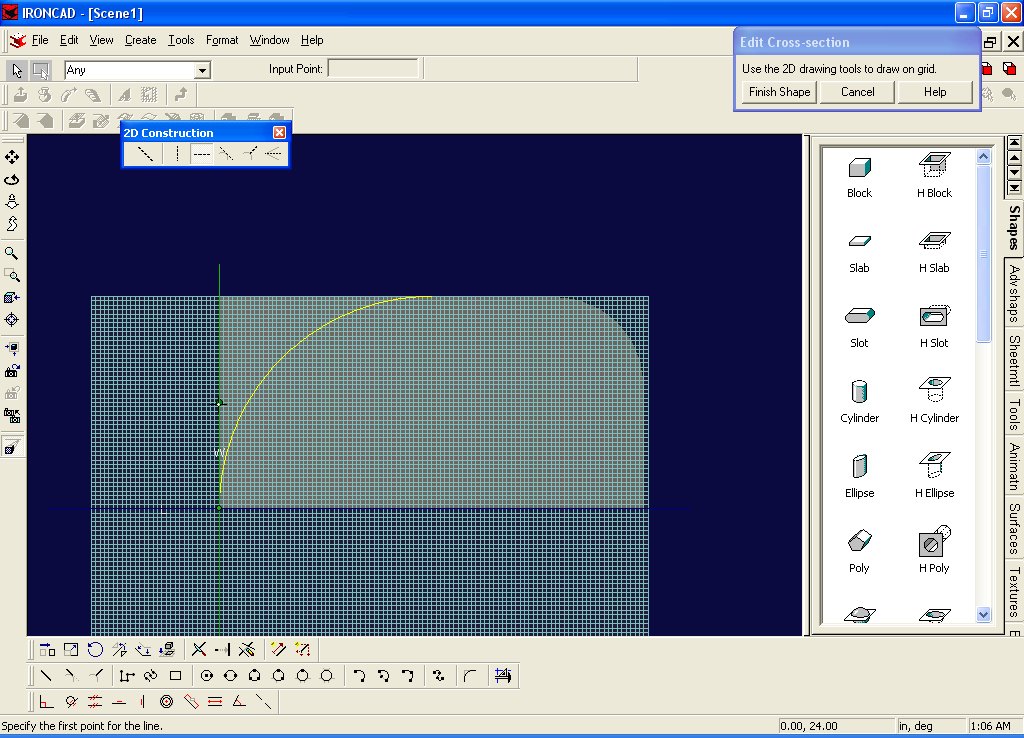
Now we can add our construction line... Click on horizontal construction line... and click on the grid at 0,24
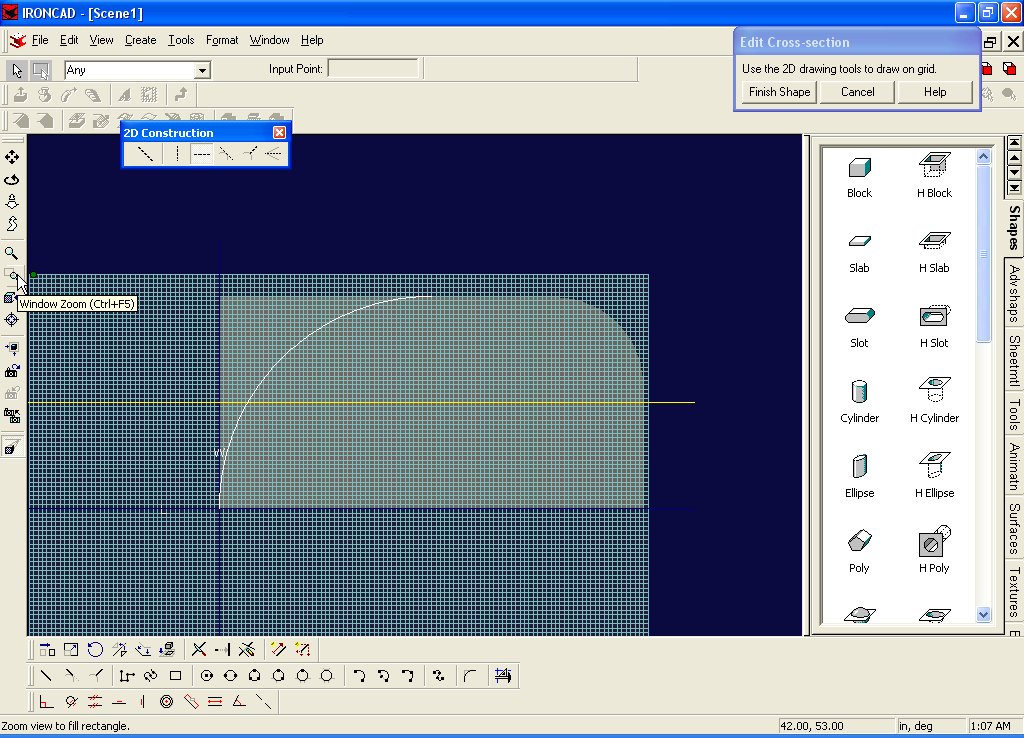
There's our line... now lets zoom in on the back end a little bit...Select Window Zoom or Ctrl+F5
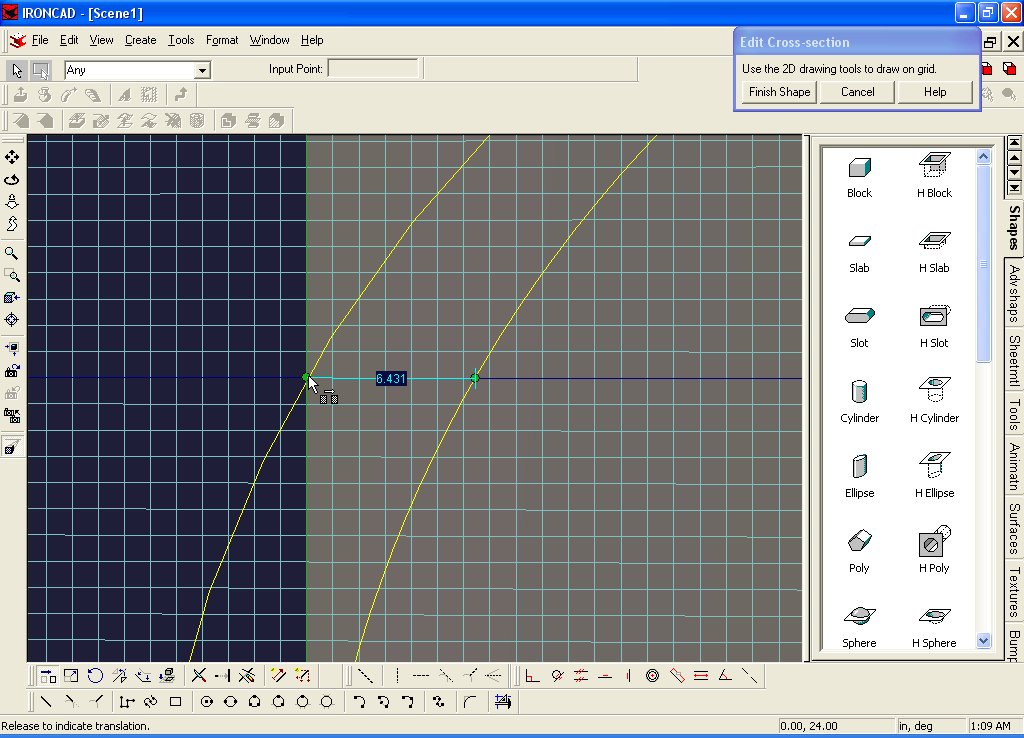
Now we are going to move the arc rearward a little bit... Select the arc...

Select "Tools->Move"

Grab the intersection of the arc and the construction line...

And drag that point to the edge of the body, as shown... and then let go...
Very good you've moved your arc. Now lets Fit Screen again F8
Now we are going to create a polyline. Click on the polyline button...
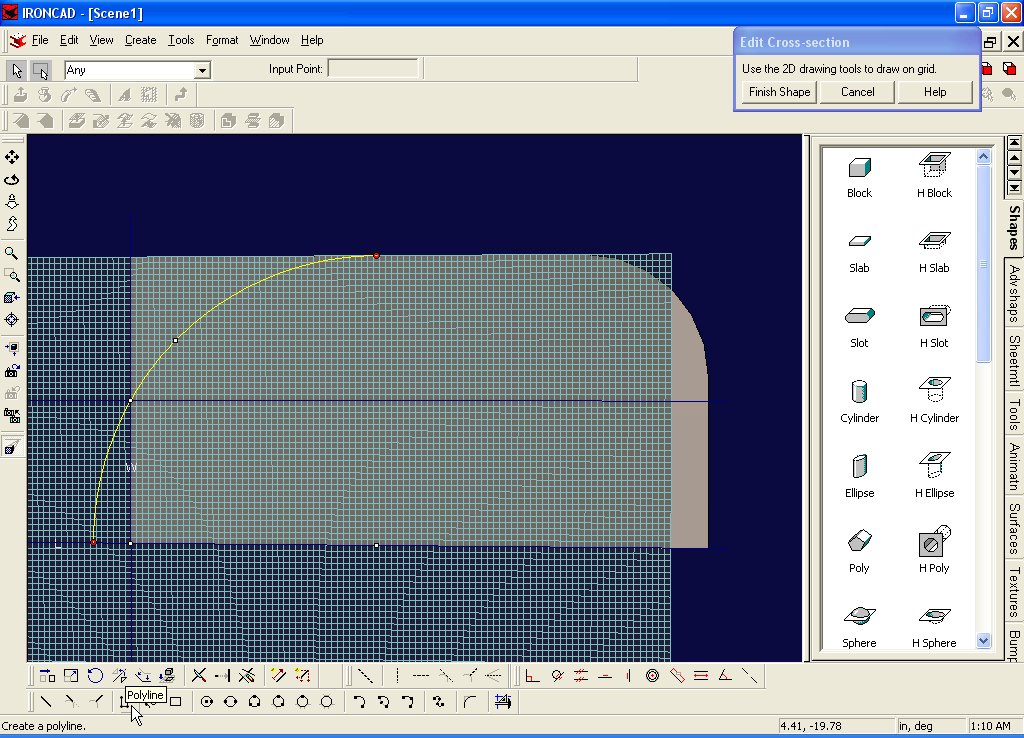
And draw the following profile, as shown... no need to be too precise... Just be sure you start at the top of the arc...

And be sure you end at 0,24

Now lets trim the arc. Click on the trim curve button...
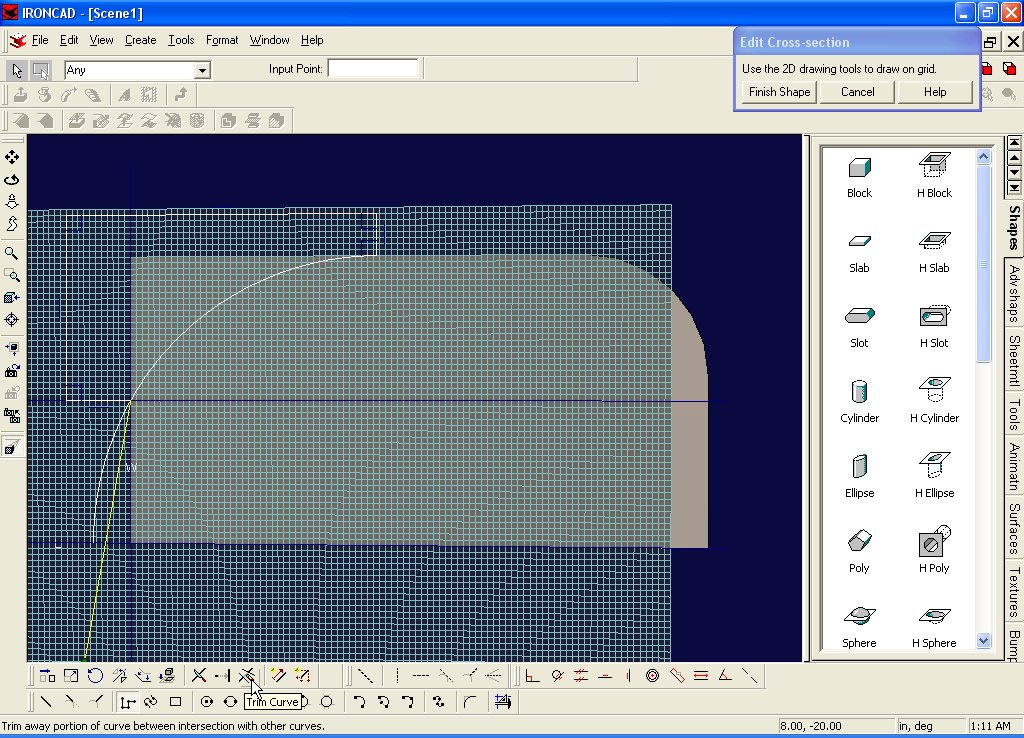
And select the lower part of the arc

Voila, your arc has been trimmed, and your profile is a complete closed shape! So hit the "Finish Shape" Button...
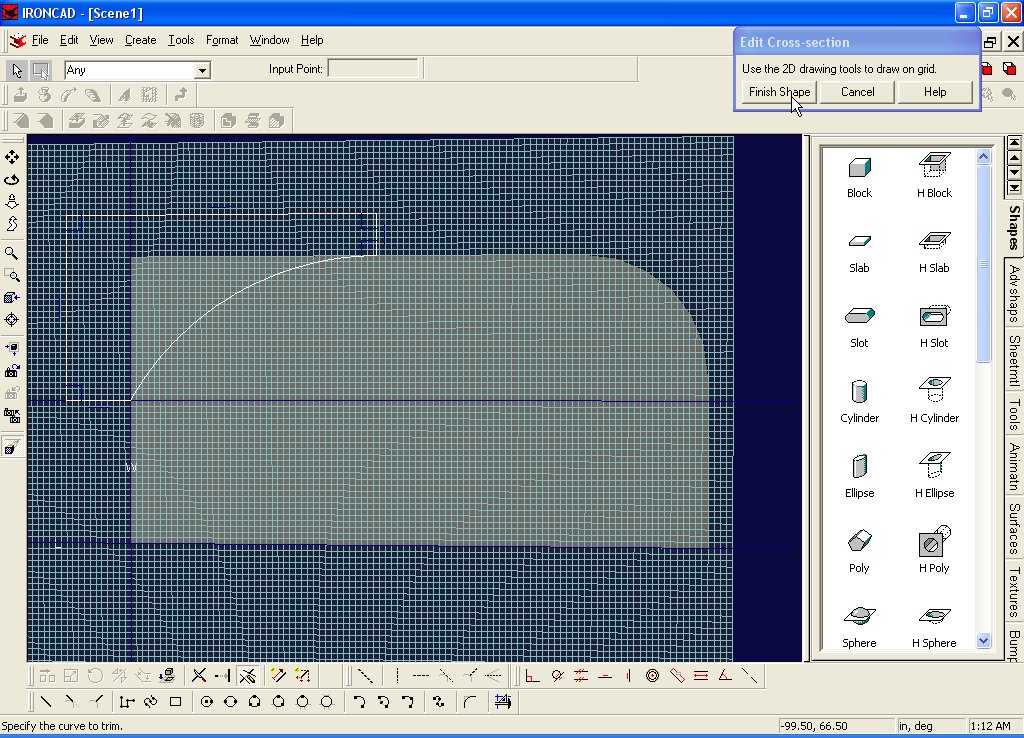
And click on your block to complete the operation...

Hey, now that's starting to look like something... what about that sharp edge in the back? Let's take care of that right now... Select Modify->Blend Edges...
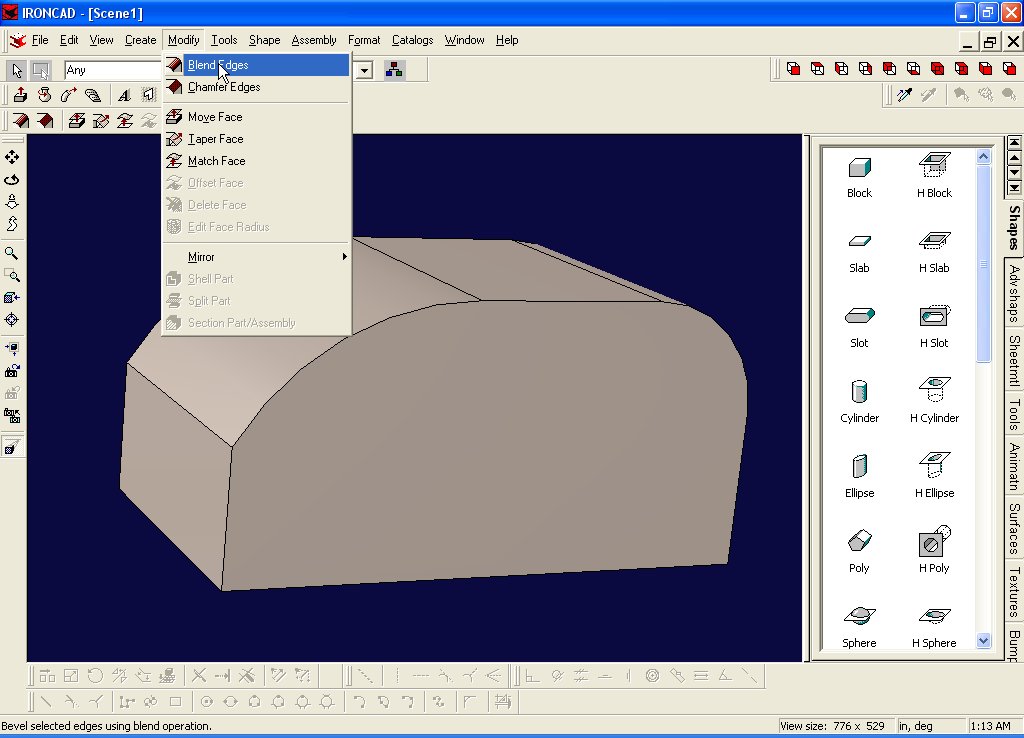
Pick that sharp edge... the Radius in the dialog box should still be at 20...
Click on Apply and Exit...
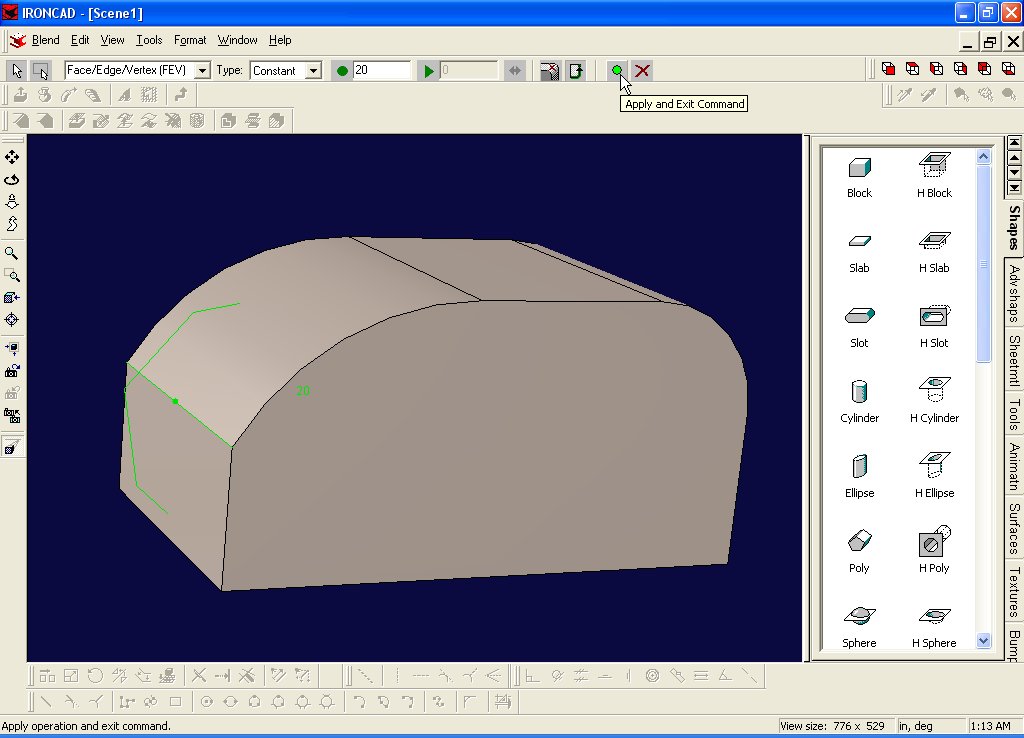
Then stand back and admire your part... It's really starting to look like a teardrop now...

Go to page 2 of the tutorial...