Page 2 of the Tutorial to create a teardrop model with Ironcad 6
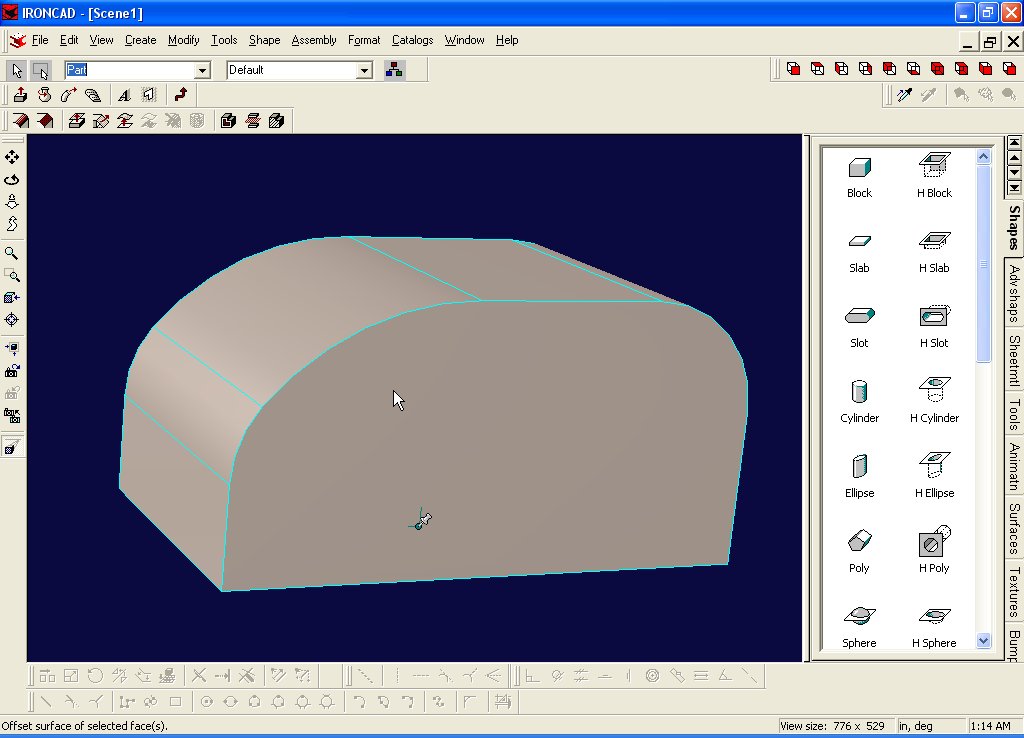
Now it's time to hollow out the inside of the teardrop... In the type dropdown box, select "Part", then click on the teardrop... it should hilight in cyan...
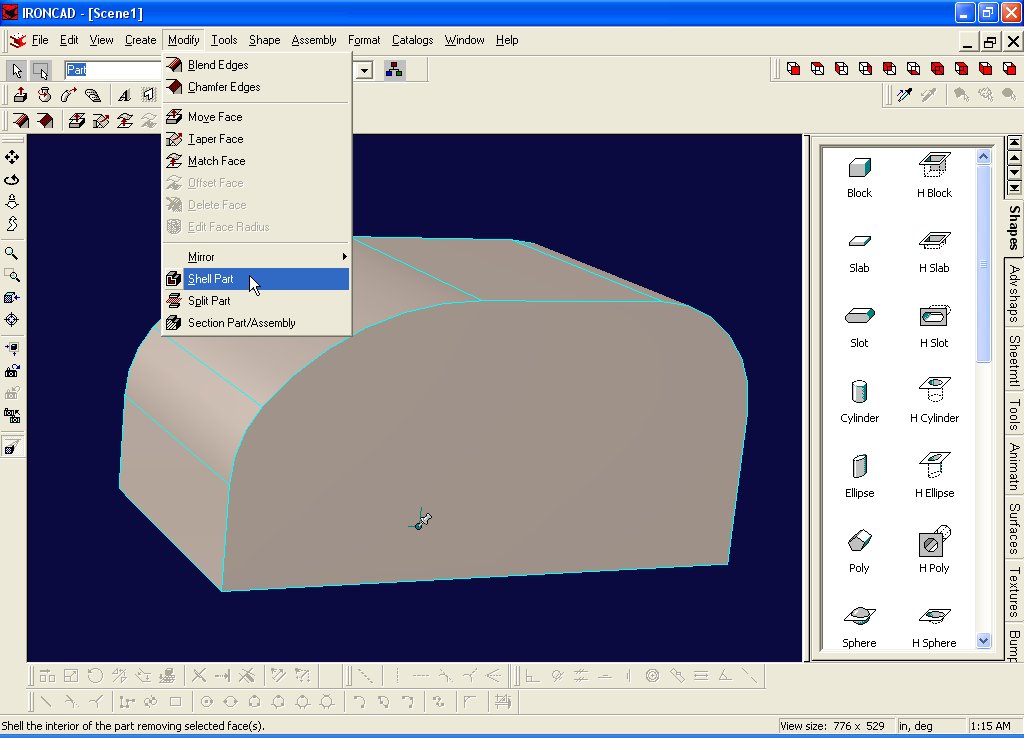
Select Modify->Shell Part...
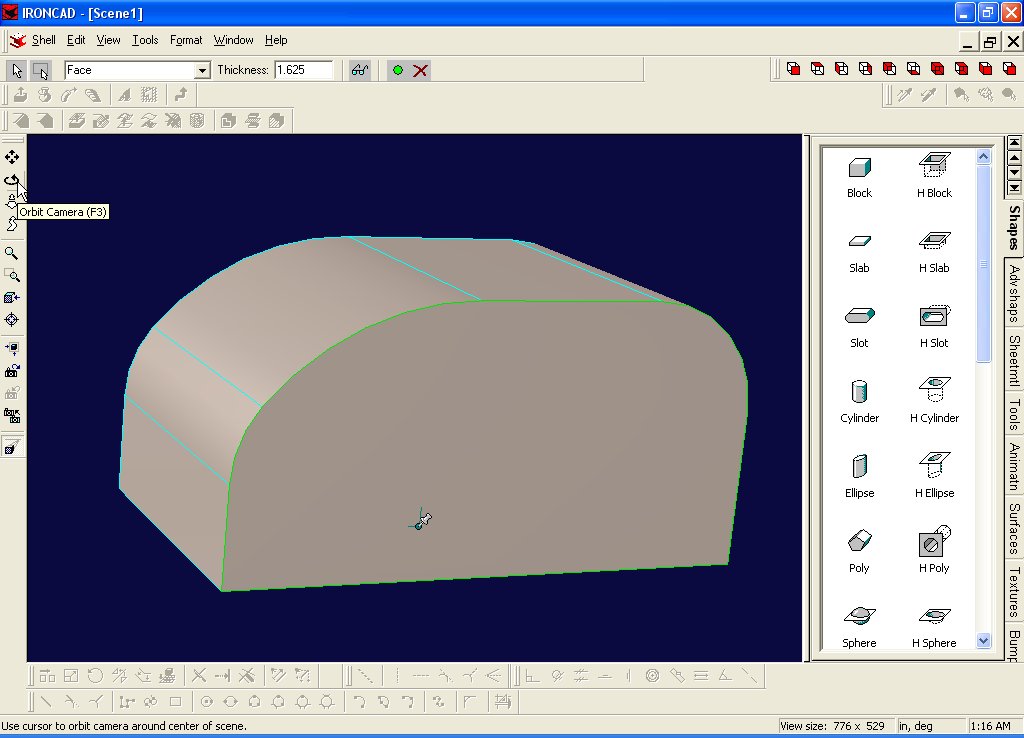
Type in a thickness of 1.625
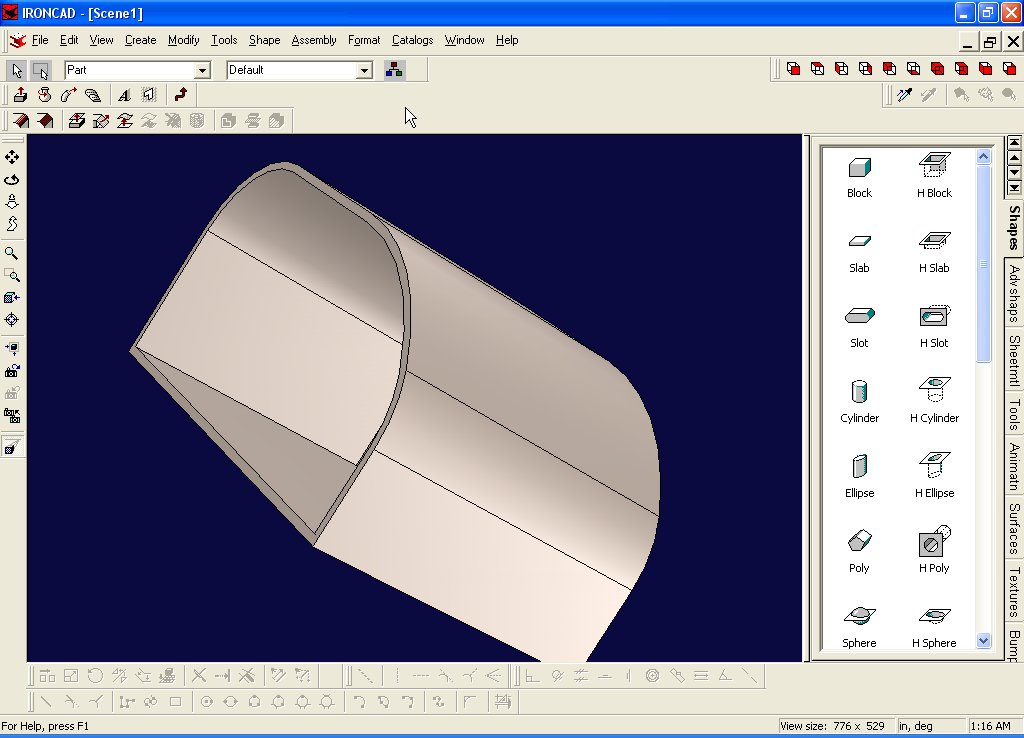
then select a face to pierce... Select the side profile... it turns green...

Gotta spin the body around to get the other side... click on Orbit Camera or F3
Now that you can see the other side, hold down the shift key and click on the other side... (shifting lets you select more than 1 item)

Hit Apply and Exit...
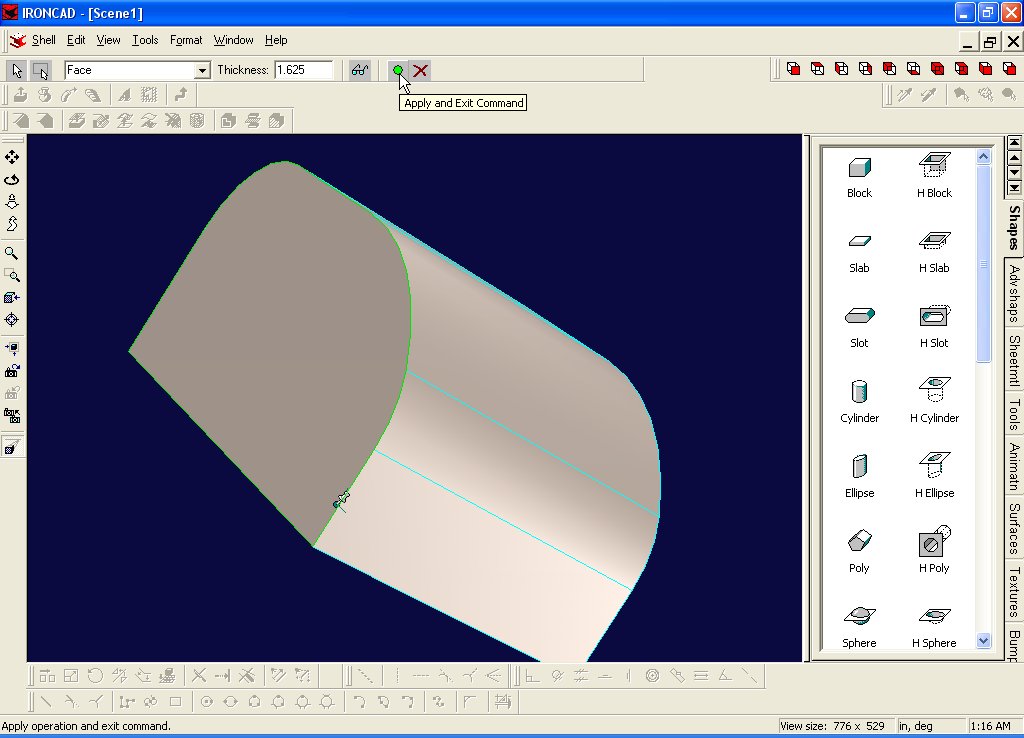
Voila... now it's really looking good!!! Select Orbit Camera or F3 and spin it around some more...
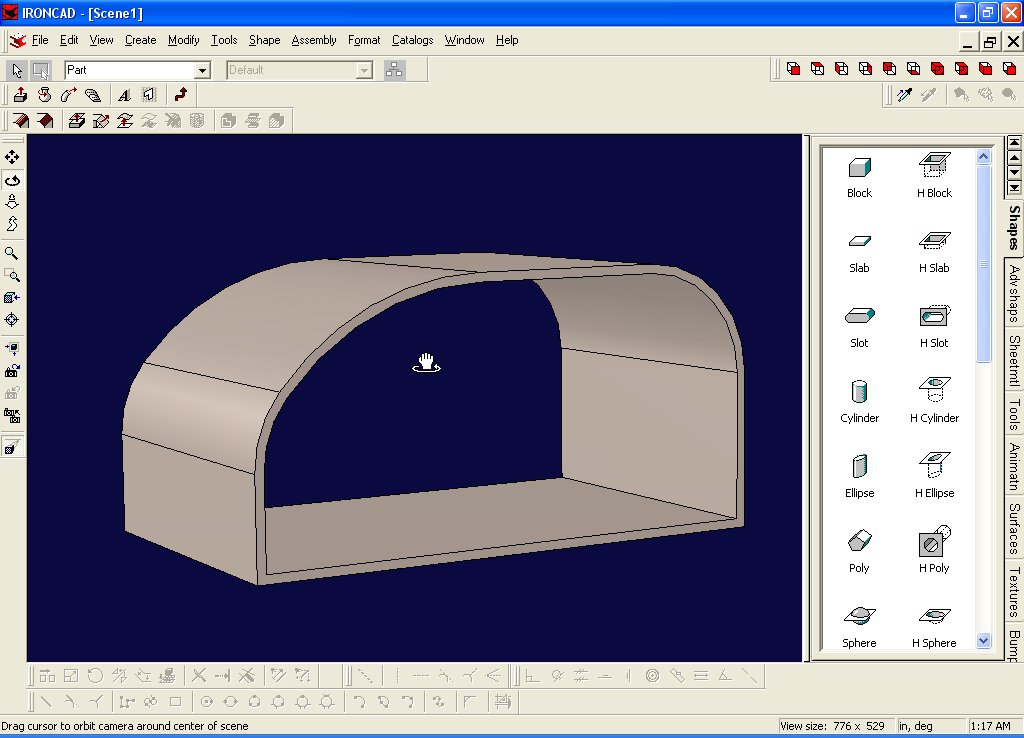
Go to page 3 to create a side wall