
Home
Design
Mockup
Improvements
Drawings
Bugout Trailer
Cost
Final
Chassis
Skinning
AC
Roofing
Cabinets
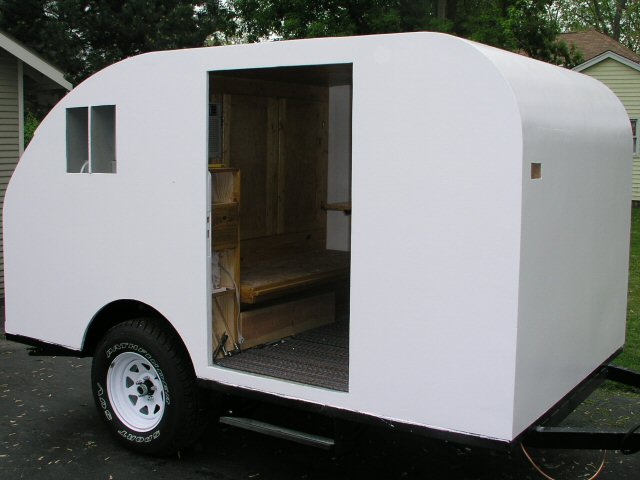
Skinning the Weekender
Skinning your teardrop or tiny travel trailer
So you've got the body built, and now you want to protect it from the elements. Good plan!
Many traditional teardrops are covered in aluminum. And if you're after the traditional look, mill finish aluminum is probably the way to go. People use contact cement on the body and on the aluminum, and then frame it in with aluminum angle to cover the edges and keep the aluminum from coming off.
In practice the constant shrinking and expansion of the aluminum breaks the contact cement joint, and it's mainly the angle edging that is keeping the aluminum in place. You could, in theory, just float the aluminum with angle edging, and not use any contact cement, but as one who likes to use redundant fastening systems, I'll stick with the contact cement!
The next option is Filon. This is an expensive, Fiberglass Reinforced Panel or FRP for short. It comes in myriad colors, the most popular seems to be polar white.
Filon is not sold directly from the manufacturer, so you'll have to find a distributor. I tried my local RV place and I also tried All-Rite. In either case, the cost of the Filon was more than the cost of the entire teardrop. So for me it was time to look for another option.
Buford, on T&TTT tried the fiberglass panels for bathrooms that is sold at home depot. Because this is made for bathrooms, there are no UV inhibitors in it. The sun will break it down in a hurry. The solution, in Buford's case was to paint it. He is weather testing it, and promises to let me know the results of his test.
Okay, there has to be something affordable, easy to apply, and good looking. That evening a salesman from a ceramic paint company came over and showed us all the benefits of ceramic paint. He really played up the thermal benefits, claiming an r value of something like 25. Can you believe that? Okay, so how much would it cost to coat a teardrop with this stuff? His first price was $300. Then he quickly changed his mind and said $500. Before he left our house the price was about $800. You have to understand, they do houses, not teardrops. I guess he just didn't want to be bothered.
Then along comes Bev who is going to use white PVC on her teardrop. I followed the progress of that closely. Immediately she told us about bubbling problems. The adhesive was bubbling up under the PVC, she was a little frustrated. I don't remember if it was a temperature problem, a humidity problem or an application problem. Note from Bev: I would say go with the pvc if you can get it cheap... but be prepared for a less than perfect finish. Otherwise, paint is probably going to be the better way to go.
So then I went to Home Depot and looked at the white PVC. It was a flat white in color. It was really soft, and looked like it would rip easily. I decided it wasn't really the look I was after. I wanted something shiny like the polar white Filon!
Chip did something similar to Bev. He used white TPO on his teardrop. TPO is a commercial roofing material. It comes in white, tan and light gray. It is smooth and soft to the touch but is not shiny. It compares to the feel of tefflon and comes in 50, 60 and 80 mils thick. As far as workability it is not easy but with a bit of research most people that are building could use it successfully. I used both contact and water based adhesives; contact on sides and water on the roof. By far I like the water based adhesive, it a lot more forgiving and seems to bubble a bit less. To get a great job with it I think the TPO should be applied to the outside, weighted or vacuum bagged. That would get rid of most if not all bubbles. They also make a fleece backed material. If I could have gotten it I would have used it because there is less chance of bubbles and imperfections from underneath do not transfer thru,,,weight is about .3lbs/sqft,,,cost varies with thickness but ffor 50 mil its about .40 to .50 cents per foot,,retail( roofing supply),,the glue is approx 25.00/gal,,the sheet comes in 10' wide rolls and around 75 to 90 lin feet /roll,,most places dont cut rolls so it can be a pretty expensive deal if ya have to buy it,,would I use it again,,yes,, I would apply it a bit different and use water based glue but it will be a water tight covering,,,also its pretty tough stuff,, it can be punctured but a spot of caulk and ya fixed,,,,also a good application would be for the roof and use aluminum or something else on the sides. Thanks for that information on the TPO Chip!

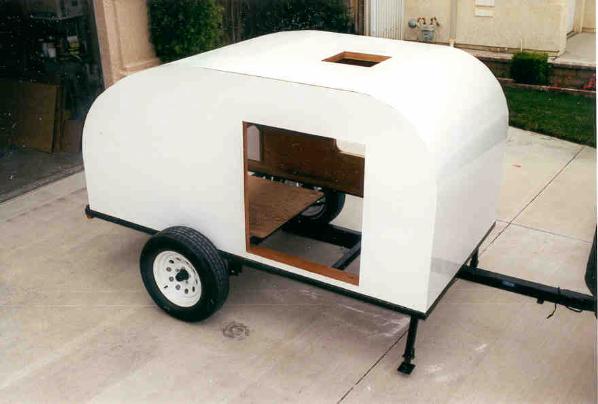
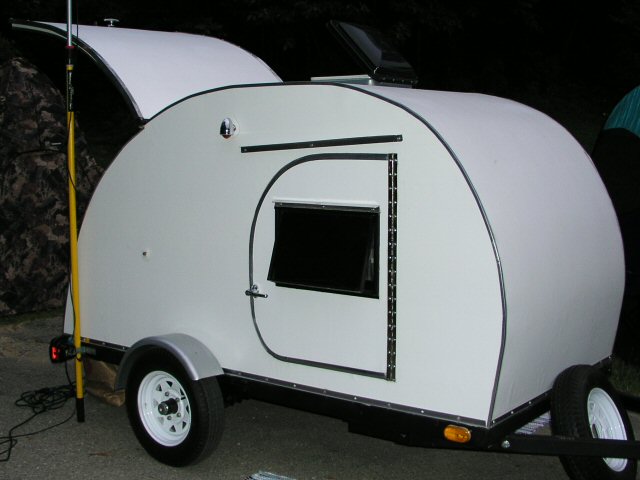
I finally stumbled on the Rot Doctor's website, and after trading a few emails with Dr. Rot, I was convinced that his Uniflex 255 was the stuff I was looking for. The Uniflex 255 was a flexible, waterproof , sealing and almost indestructible paint that could be used on wood. It's even UV resistant! One common application was boat hulls. This sounded perfect for the teardrop.
Here's more
Coverage is 100 sq ft per gallon
2 coats are required to get the proper film thickness
Smooth semi-gloss finish
Applies easily
Self leveling, even on vertical surfaces
More information on Uniflex 255 here: http://www.rotdoctor.com/products/uniflex.html
Dr. Rot also sells a product called CPES or clear penetrating epoxy sealer. What you do is you paint your teardrop with a least 1 coat of CPES. This protects the wood, in the event that it does get wet. End grain or edges of plywood should be protected with 3 coats of CPES. You'll definitely want to paint outside, or use a respriator when you are using the CPES so you're not inhaling the nasty epoxy fumes.
Here's how it works. All wood contains moisture. To get a good bond between the wood and the paint, the fibers on the surface of the wood must be strongly bonded to the coating. CPES contains a high percentage of solvents to displace and dissolve the moisture and forms an enduring bond with the wood fibers. More information on CPES: http://www.rotdoctor.com/products/cpes.html
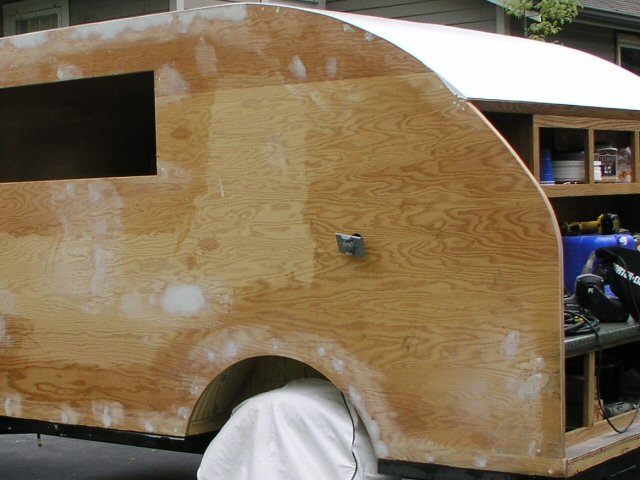
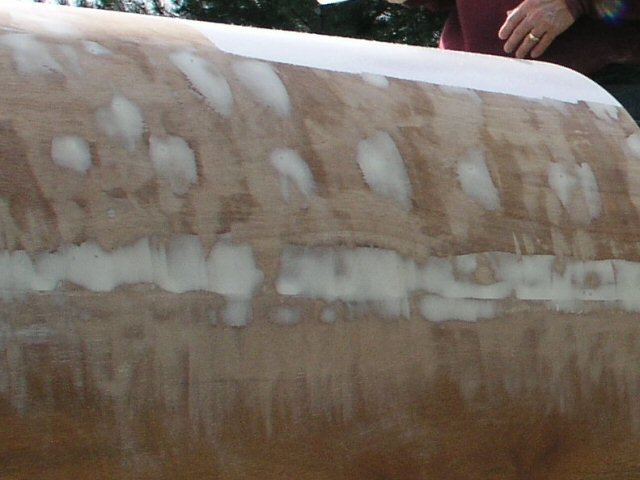
Then you use the Rot Doctor's "Epoxy Filler" and fill any holes or cracks that you have on the outside of the teardrop. This includes staple holes, as I learned the hard way. After the Epoxy filler has hardened you can use a sander and sand it flush with the surrounding surface.
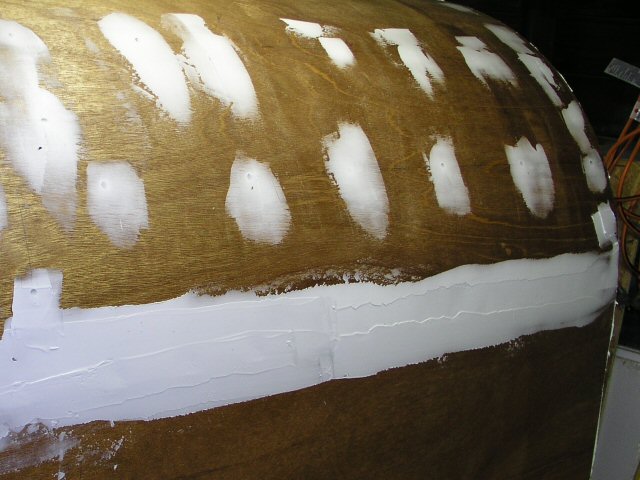
The epoxy filler is a high strength, light weight, non-sagging and easily sanded. It's very compatible with the wood products most of our teardrops are built with provided we are using it after we have applied the CPES. It is reinforced with glass fibers for strength, it forms a tight bond and it is moisture resistant. More information on Epoxy Filler: http://www.rotdoctor.com/products/fillit.html
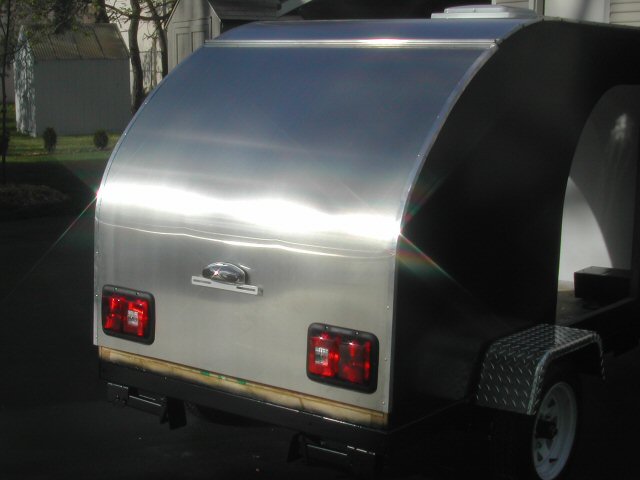
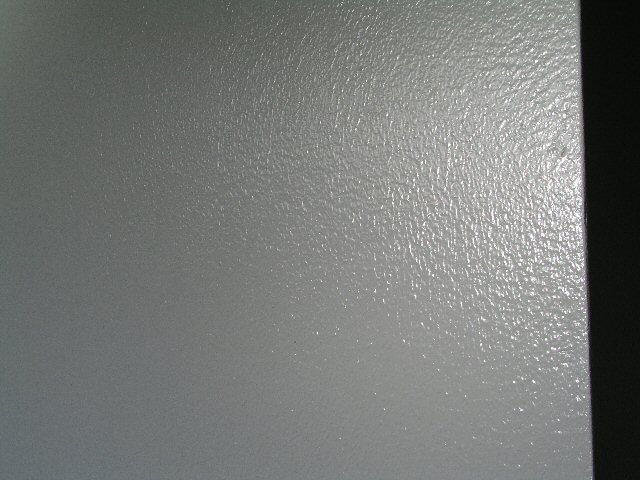
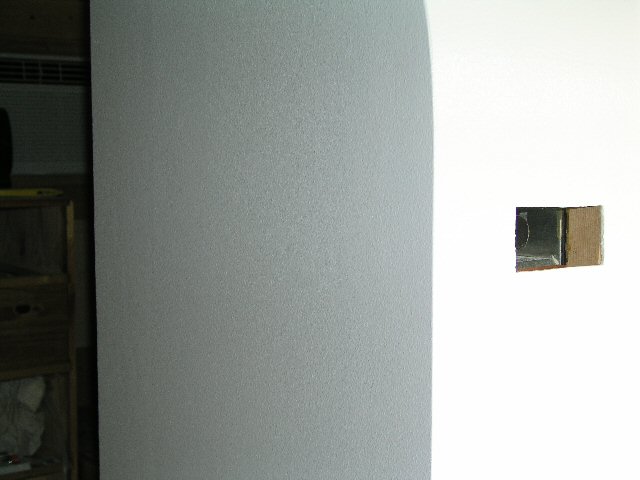
Finally you paint the body with two coats of Uniflex 255. You have to use a solvent resistant roller or you'll end up with a furry balled teardrop. I learned that the hard way too! The good thing was that once the paint was dry, I could sand the fur balls off and ended up with a nice clean flat surface. I then applied a second coat and it looked great.
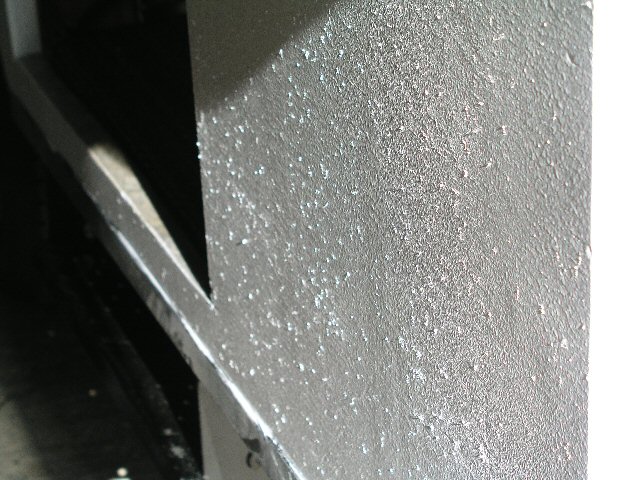
Home Depot sells the pink rollers that are solvent resistant. Use those to put your two coats of Uniflex 255 on, and you'll end up with a nice textured surface, that's every bit as nice as a textured FRP

You'll definitely want to paint outside, or use a respirator when you are using the CPES so you're not inhaling the nasty epoxy fumes.
I had a working time of several hours, which was plenty of time to get the paint onto the teardrop. It was an extremely hot day, which shortened the working time of the paint.
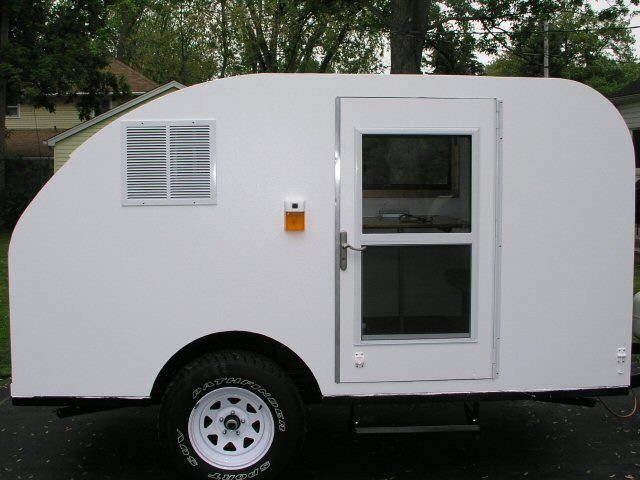
So this is the plan for the Weekender also. By deciding on a painted finish, I can use common 4x8 sheet products commonly available instead of the more expensive 4x10 or 5x10 products.
I eliminate the need for battens on the body, and aluminum angle trim on the edges. And if any design changes are made after the body is painted, it can be quickly and easily touched up!
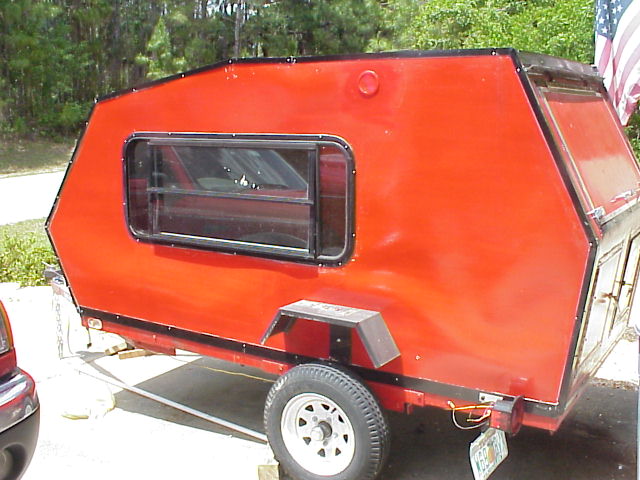
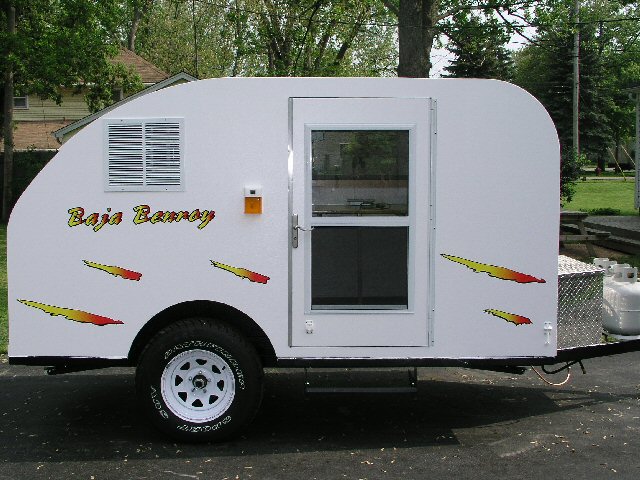
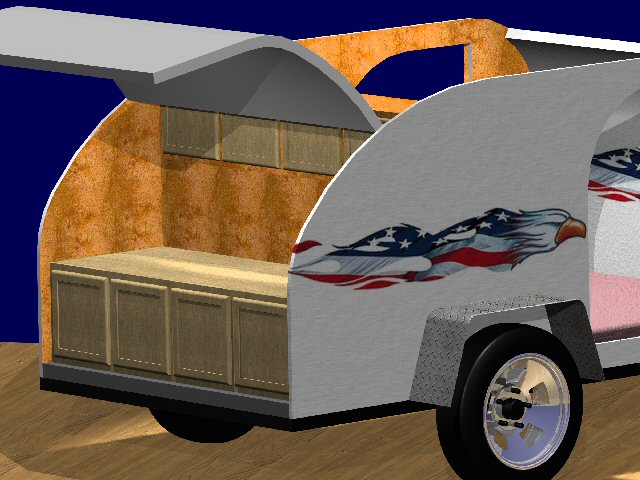
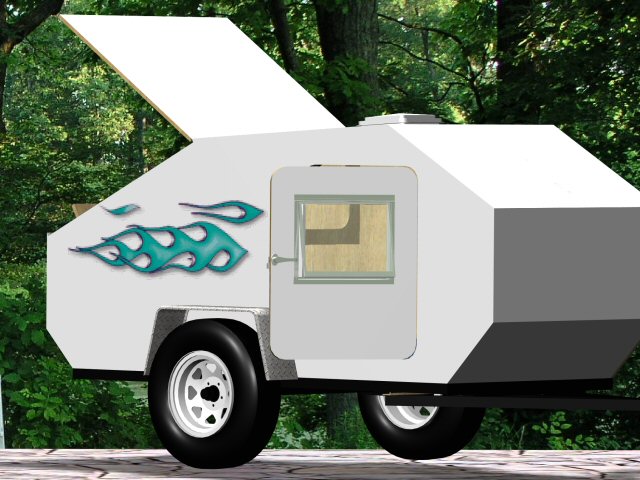
If you want to add a little pizzaz to the body after you are done painting it, you can order some stickers from JC Whitney. Something like this might be nice

Here's the URL to lots of vinyl graphics that you can buy at JC Whitney… http://69.33.178.51/jcwhitney/index.htm?JCWRETURN=www.jcwhitney.com:80&SESSIONID=SGQ3N05YIPVQBLIGD2GX4KY
Just look what a few decals can do for your teardrop or tiny travel trailer body!!!
So what do you say about the Uniflex 255?
Question: arnereil wrote: re the cpes and 255, which I ordered yesterday. Anything with expoxy is better to recoat within 48 hours. That way, there is a chemical bond as well as a mechanical bond, and no sanding is necessary.
Answer: Hey Arne, I wrote the rot doctor about recoating within 48 hours... here was his response...
In a very general way the statement is true, but everything depends on *which* epoxy, and exactly what it is you are coating the epoxy with.
Standard epoxies will produce a *very* slick cured surface, and many of them will also produce what is called a "blush", which are amines that come to the surface. This blush must be washed off or it will interfere with the bonding of anything added to the epoxy surface. Our epoxies do not produce a blush, but our thick epoxy (the Layup & Laminating Resin) will produce the slick surface. Certain products, such as varnish or most paints, *can* be applied while the epoxy is still in the curing phase and it will increase the strength of the bond between the epoxy and the final coating. Even so, we always recommend that the epoxy surface be sanded to provide "tooth" for the final coating. Most epoxy manufacturers will make the same recommendation. I personally would not apply paint or varnish to a thick epoxy surface without lightly sanding that surface first.
CPES is not a standard epoxy. It penetrates, and does not leave that glassy surface that a thick epoxy does (unless 3 or more coats are applied). Had you said that you were going to paint or varnish the exterior of your Teardrop, we would have been quite specific in telling you that as soon as the CPES'd surface became tacky (1/2 to 2 hours depending on temperature/air movement) or shortly thereafter, the first coat of the final coating should be applied. This way, the curing epoxy will lock-in the final coating.
However, you were not applying a varnish or a paint, but an activated aliphatic polyurethane. The UNIFLEX 255, like all aliphatic polyurethanes, develops its own strong bond to the surface, which can be wood, concrete or metal. It's only important that the surface be clean and contaminant-free. There is even some risk of applying the UNIFLEX too soon after the CPES because the unevaporated CPES carrier solvents will tend to dilute the UNIFLEX 255, and any evaporating solvent gasses can cause tiny bubbles in the UNIFLEX surface.
The reason to use CPES at all on a Teardrop Trailer is to eliminate the possibility of plywood delamination or wood deterioration in the event that moisture gets to the wood. CPES prevents this from happening, and the cured epoxy gives the UNIFLEX a solid and integrated surface to bond to.
Kind of a long answer to a simple question, but it does illustrate some of the variables involved with coating surfaces with polymer coatings.
Doc --
The Rot Doctor
http://www.rotdoctor.com
E-mail: drrot@rotdoctor.com
Phone: 206 364 2155
Fax: 206 364 4744
All Contents Copyright 2004 by Mike Schneider
This document maintained by
mykes@comcast.net.