© 2004, 2005, 2006, 2007 by Man of the Cloth Productions
Once the spars and ceiling were installed, I worked on running all the electrical circuits. This took longer than I expected, since I was working on the cabin interior at the same time. Eventually all the electrical work was finished and I completely insulated the roof. In most places I was able to install 4 layers of insulation in the 1 1/2" ceiling space created by the spars. I used 3/8" Owens Corning fan fold insulation. It covered 50' and came in a folded bundle.
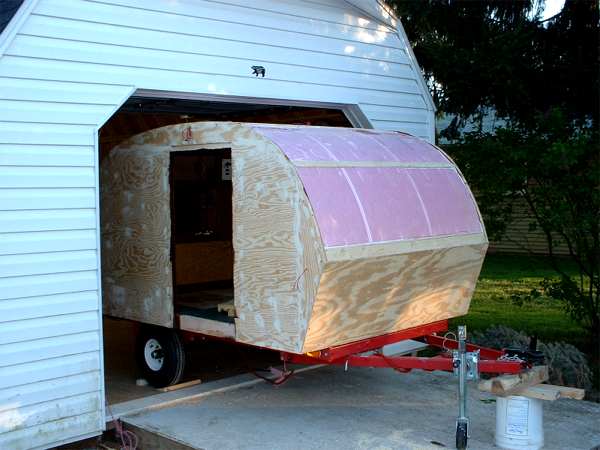
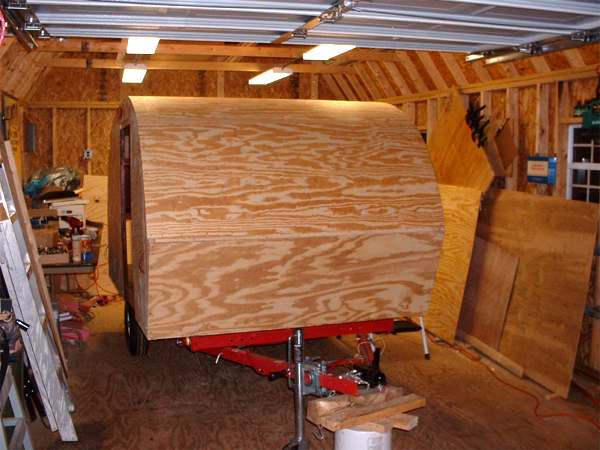
When the insulation was complete, I covered the roof with 1/4" plywood. I applied a caulk of subfloor adhesive and used deck screws to secure the skin to the spars and to the edges of the side walls. This fastened the roof to the frame in the solid core of the walls. The curved surface and the integral frame, in both the roof and walls, made a very rigid form. Even though the walls are relatively thin and lightweight, this type of stressed-plywood construction created a kind of torsion box. The result was a very sturdy camper. Believe it or not, as I was attaching the plywood roof skin, I sat on top of the trailer. The thin roof skin held up fine because the weight was distributed to the spars, to the side walls, and on to the deck. The curved surface also added strength.
Once the roof was on, I cut the hole for the roof vent. I used the router to trim the opening flush to the edge of the vent framing. (See page 49 for more details.) Then I applied a thin base coat of Snow Roof . This is an elastometric coating. In simple terms it is a liquid roll-on roof. The final top coat will be UV-resistant white. I haven't read of any other Teardrop having a roof like this. Time will tell if this will work. It seemed easier than a metal roof.
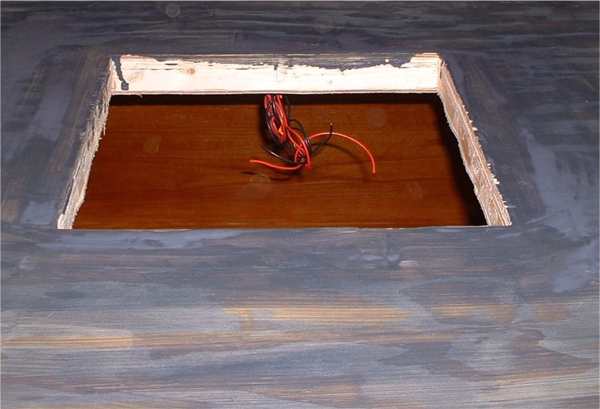
Once the base coat was dry, I applied another thin coat and let this dry. In the mean time, I cut a gasket out of rubber, following the flange around the bottom of my roof vent. I cut the gasket 1/4" smaller then the largest outside dimension. I turned the vent upside down, and applied two beads of asphalt roofing caulk to the inside of the flange. Then I lightly pressed the gasket to fit inside the flange. I applied two more beads of asphalt roofing caulk to the side of the gasket now facing up, one on the outer edge of the gasket, and the other in the middle of the gasket. I carefully turned the vent right-side up and placed it in the roof hole. The photo shows I installed a smoked roof vent cover. I hope this will help keep the interior cooler compared to a clear or white cover.

Next I used a small bit and drilled holes for the pan head screws that will hold the vent in place. With the rubber gasket below, each screw goes through asphalt and rubber as a seal before it enters the wood frame. As I fastened the screws, asphalt swelled out from under the flange and through the screw holes. When all the screws were in place, I covered the screw heads with asphalt and smoothed the excess with a gloved finger. Roofing asphalt is a mess. Then I applied another liberal coating of the liquid roof on top of these asphalt seals.
The liquid roof product claims to be very elastic, so I believe I will have both a flexible seal and a rigid mount for the vent.
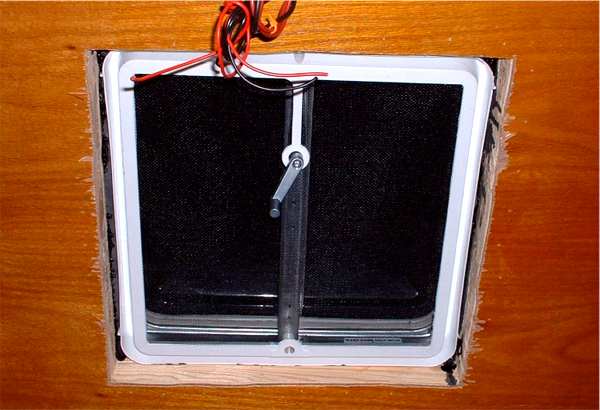
This is how the vent looked from inside the cabin ceiling. I covered the rough ceiling edges with a fitted interior finish vent flange.
Please visit this sponsor

.