|
|
|
|
story and photos © 2007 by Man of the Cloth Productions
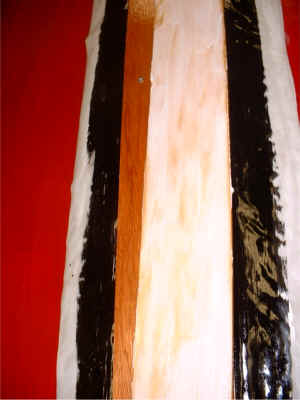
My next step was to seal the PVC / Dacron fabric cover for the keel hinges. I painted the white PVC / Dacron with black oil based paint. My idea was to create a way to quickly check the wear on the fabric each time I assemble the boat. If it shows black--all is well. If it shows white--it is wearing or chaffed. If I see red--it is torn.

I rigged a sling from the garage roof to hold the hull so I could caulk under the fabric.
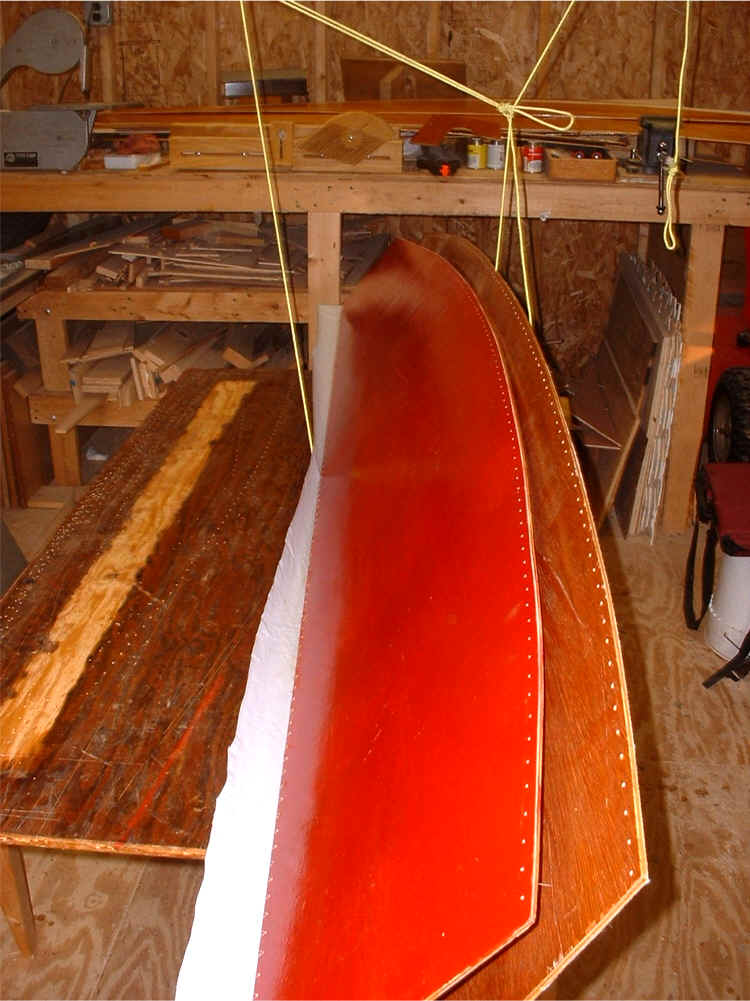
I used siliconized acrylic latex caulk. The photo shows the application.
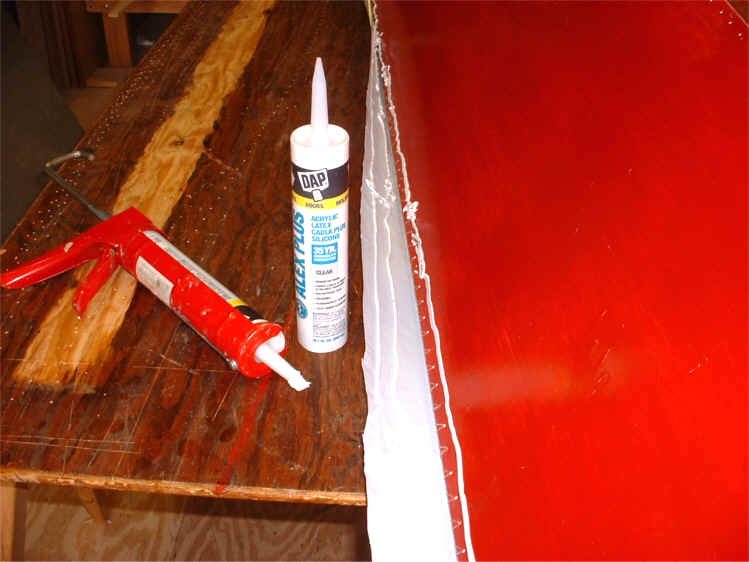
I slipped on painter's nitrile gloves and smoothed the caulk beads with my finger. My goal was to create a smooth and even contact surface, for a bond free of air bubbles or voids.
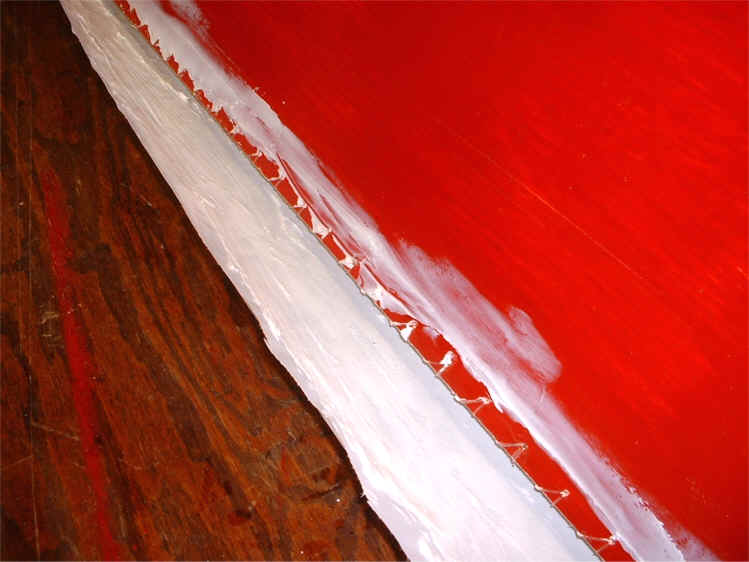
I turned the hull over and smoothed the fabric against the hull. I applied caulk to the underside of the trim batten board in the same way.
After positioning the batten and pressing on it firmly, the next step was to place a drop of TiteBond III glue in each counter-sink screw hole. These holes did not go through the batten board. They were only deep enough for the screw head to be flush.
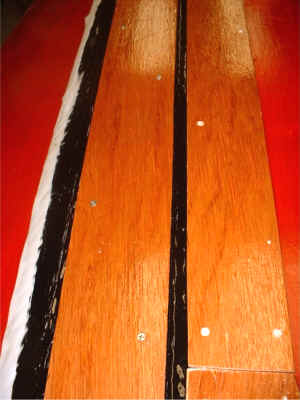

In order to control the firmness of the bite of each screw, I drove each screw by hand with a ratcheting screw driver. When I did this, I placed blocks inside the hull and folded the keel to 90 degrees before I set the screws. I smoothed the caulk that came onto the black fabric cover into a uniform bead.
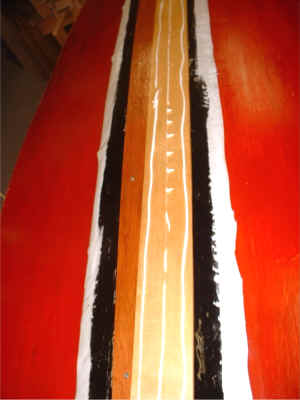
A bead of caulk around the other edges of the batten finished the seal.
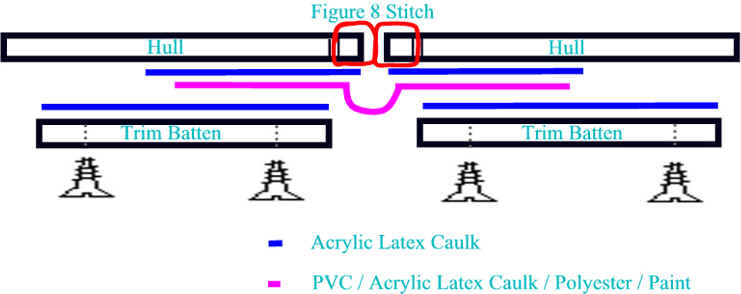
This is an exploded view of the hinge assembly concept .
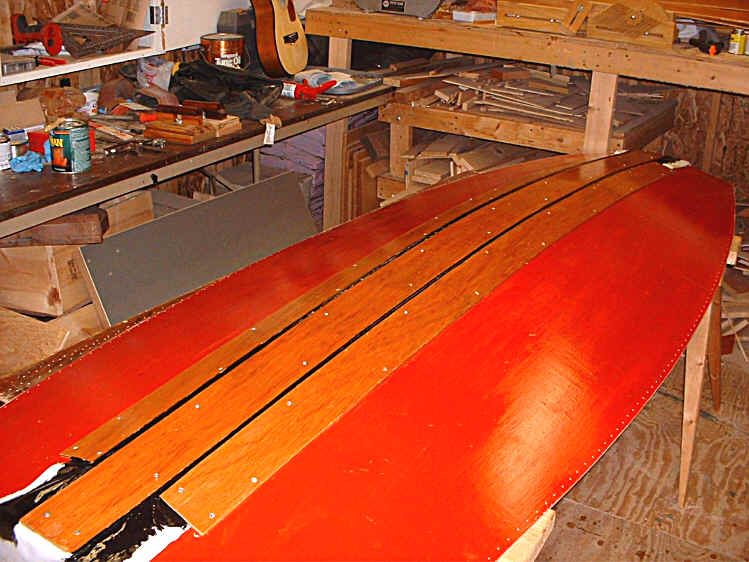
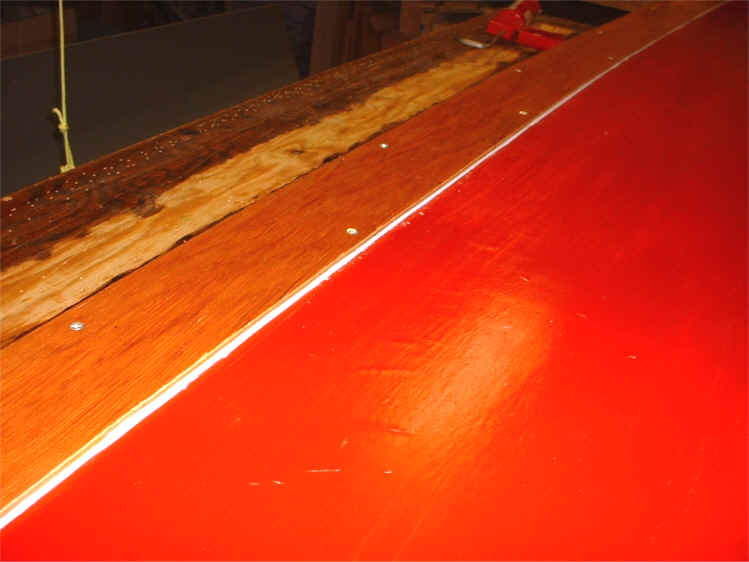
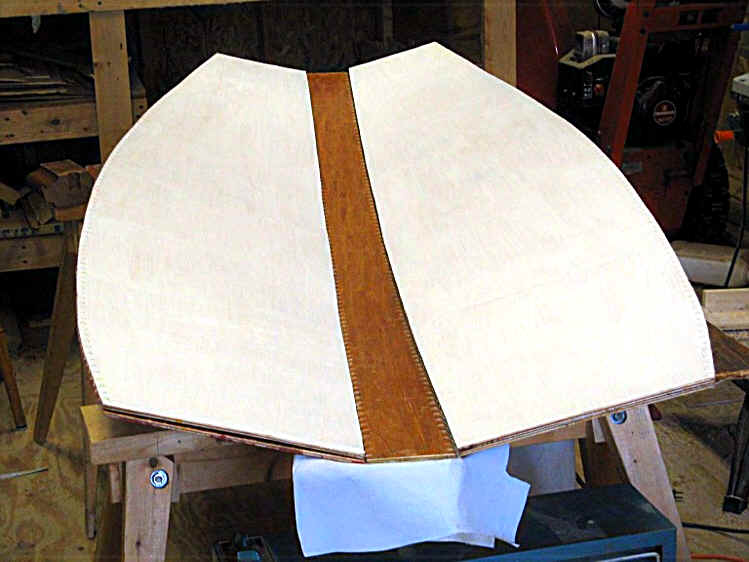
When both trim battens were attached, covering the keel plate fabric, it looked like this. The fabric hinge cover is almost completely covered by the battens. The fabric that is exposed is puckered outward, but protected in a groove between the wood trim.
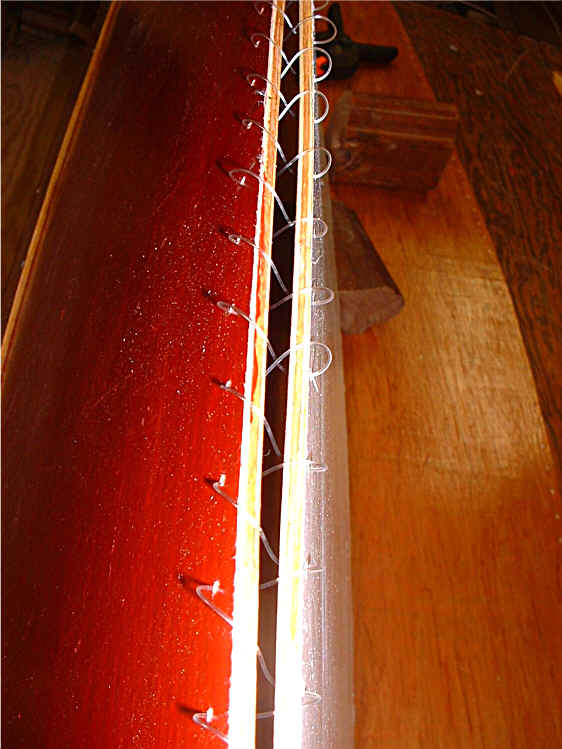
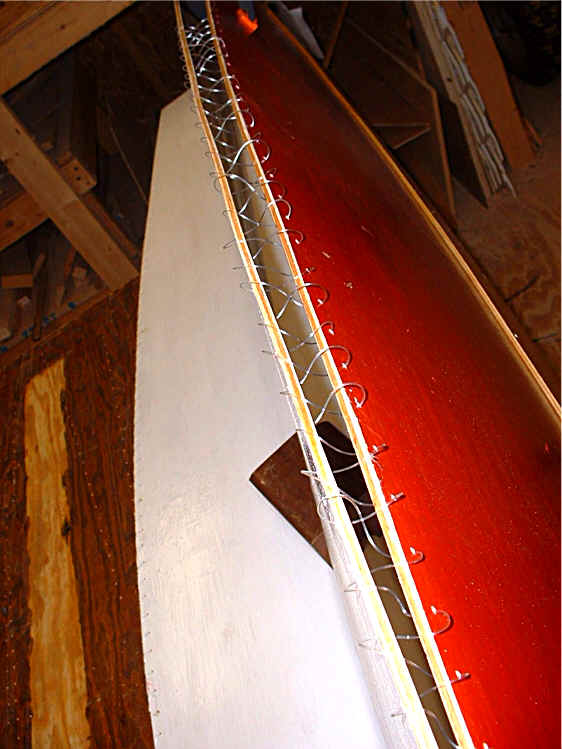
Once the hull bottom was assembled, it was time to attach the side of the hull. The picture above shows the port hull side being sewn. I thought this would be harder than it was. I attached a thread tack at the bow and at the middle, then starting at the stern, I loosely stitched the figure-8 pattern.
After I had stitched about a third of the seem, I went back and pulled the slack out of the stitch. Notice my finger. I wrapped it with reinforced packing tape. This gave me some padding as I pulled the line. Otherwise, I believe I would have cut my hand. I think this is a good shot showing how thick 50# mono line really is.
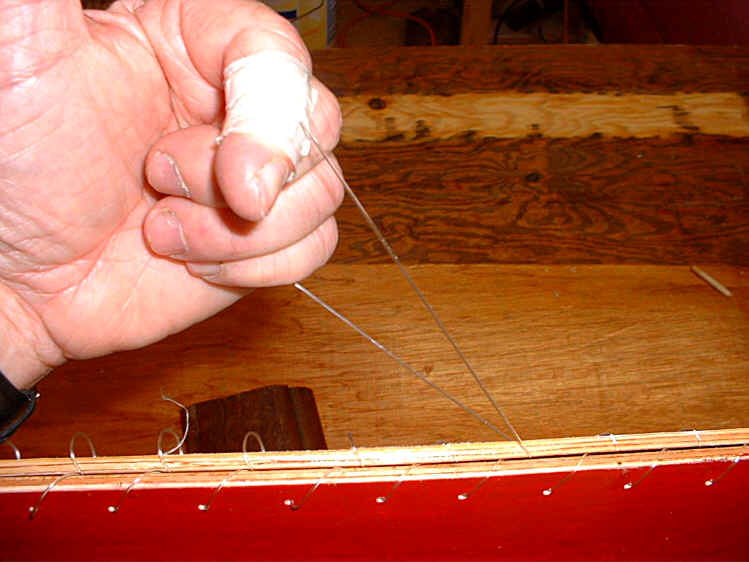
After I ran a stitch from stern to bow, I started another stitch on the same port side seam. I began this second stitch at the bow and worked my way to the stern. Because this second stitch had to be threaded from the inside of the hull to make a complementary figure-8 stitch, I had to open the hull for each stitch.
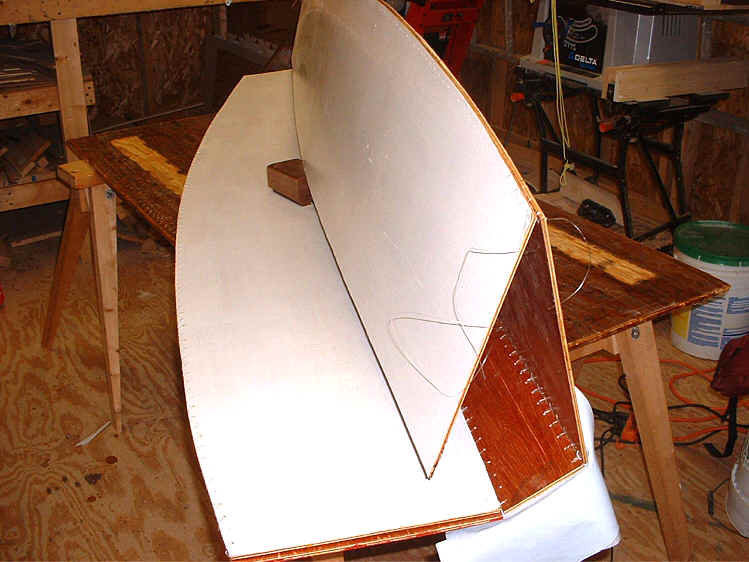
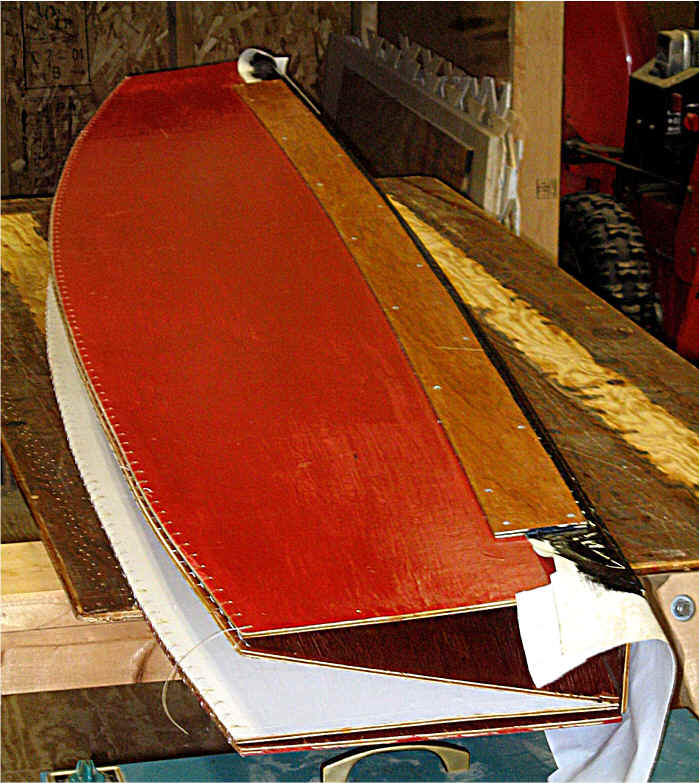
The picture above shows the completed port side attached and folded closed. After the first hull side was sewn on I started attaching the starboard side the same way.
The wood block helped lift the side to align the hull bottom and the side making the task of stitching easier.
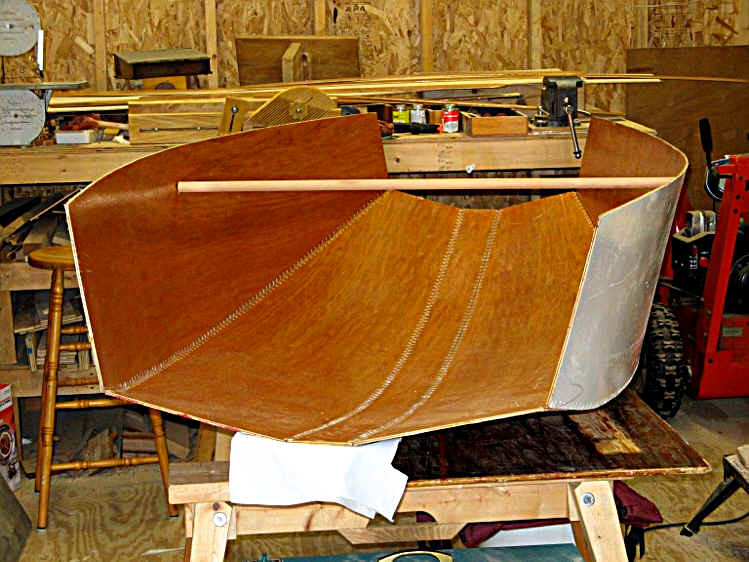
The sides fold well
This shows the inside keel plate and the port and starboard sides folded inside.
Basic Barquito!
Assemble the Barquito Gallery of Pictures
1 Basic Boating String Theory 2 Sewing the Hull 3 Keeping the Water Out
4 Center Thwart 5 Bow 6 Foredeck 7 Transom 8 Oarlocks / Oars 9 Skeg
10 Rudder 11 Leeboard 12 Sail and Rig
Other Folding Boats On line Sailing School Boat Building Links