 |
 |
The story and photos of my folding boat © 2007 by Man of the Cloth Productions.
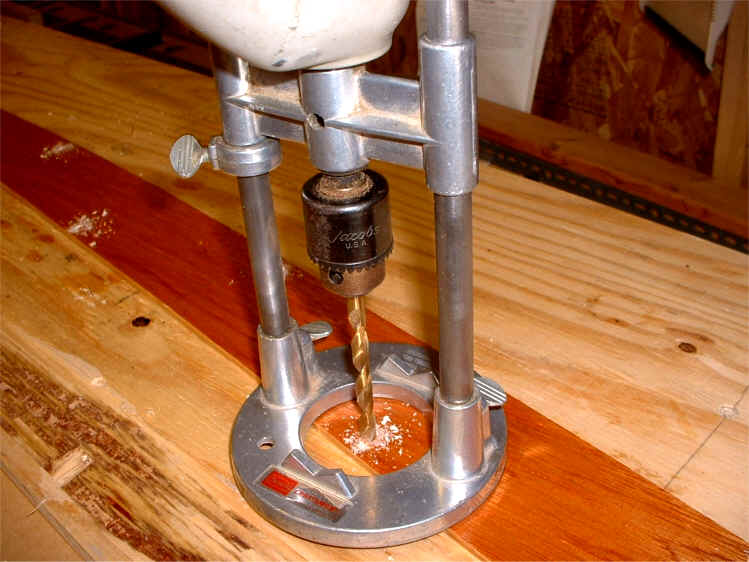
Once the hull pieces were all stitched, and the keel plate was covered with a PVC cover , it was time to place a similar covering on the other two hinges. The process was basically the same. I used my portable drill with a built-in stop to counter sink holes in the batten board.
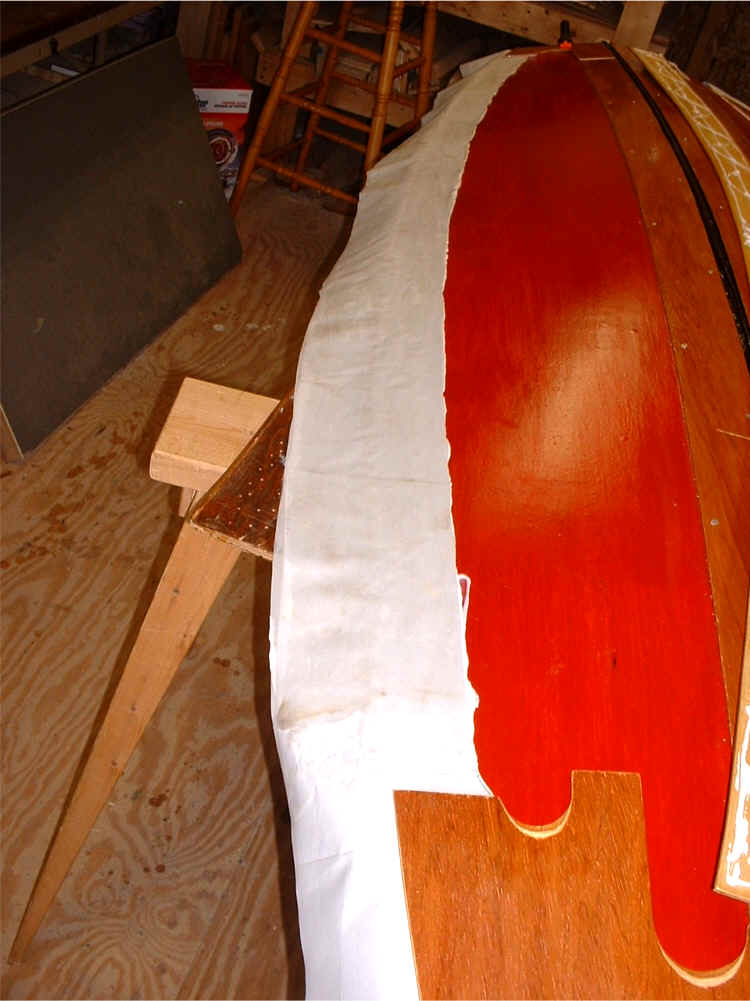
I covered the PVC cloth with a thin layer of caulk and the applied a top covering of polyester fabric. When this laminated material had dried overnight, I applied caulk to the hull and pressed the PVC cloth into it.
My next step was to caulk the underside of the batten board.

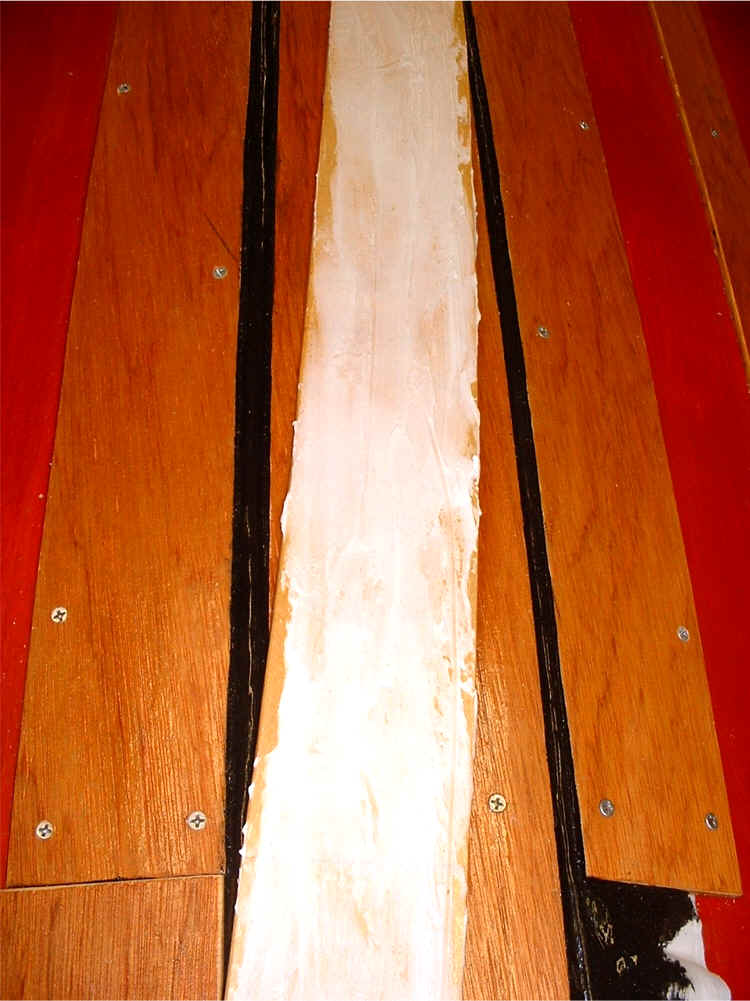
I made certain that the caulk was spread evenly for a better seal.
I placed the end plate in position so I could align the batten board properly.

Then I pressed the batten board onto the top of the PVC cover.

As an extra precaution, I placed a drop of Tite Bond III waterproof glue into the hole where each screw would go.
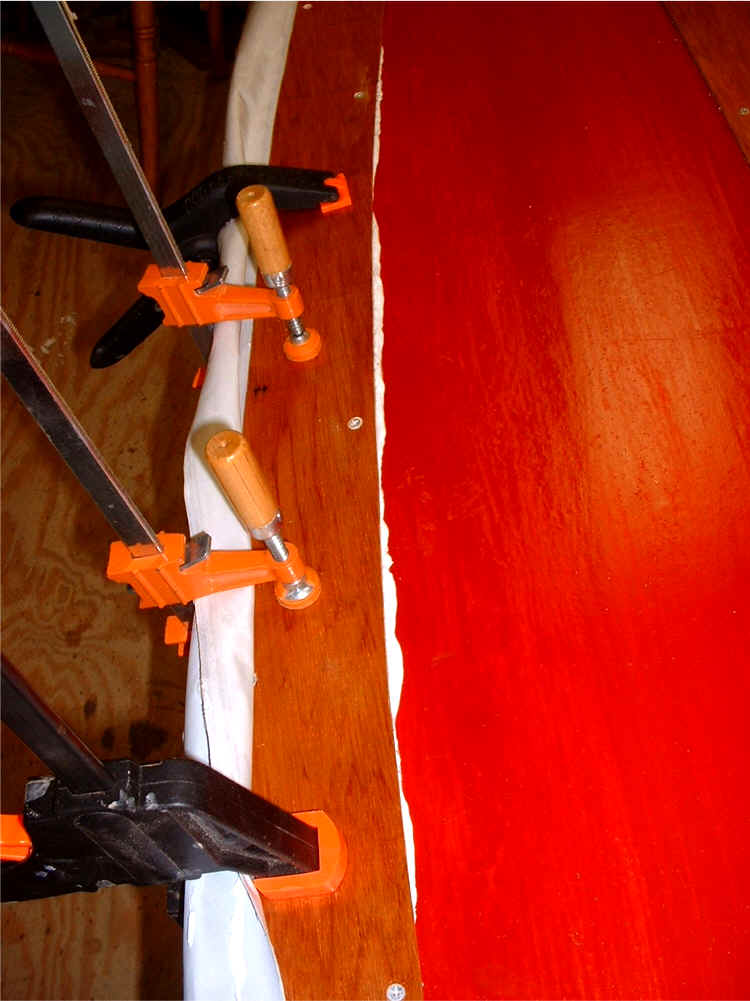
When I clamped the batten the extra caulk was squeezed out. I used a wet finger to form a nice bead.
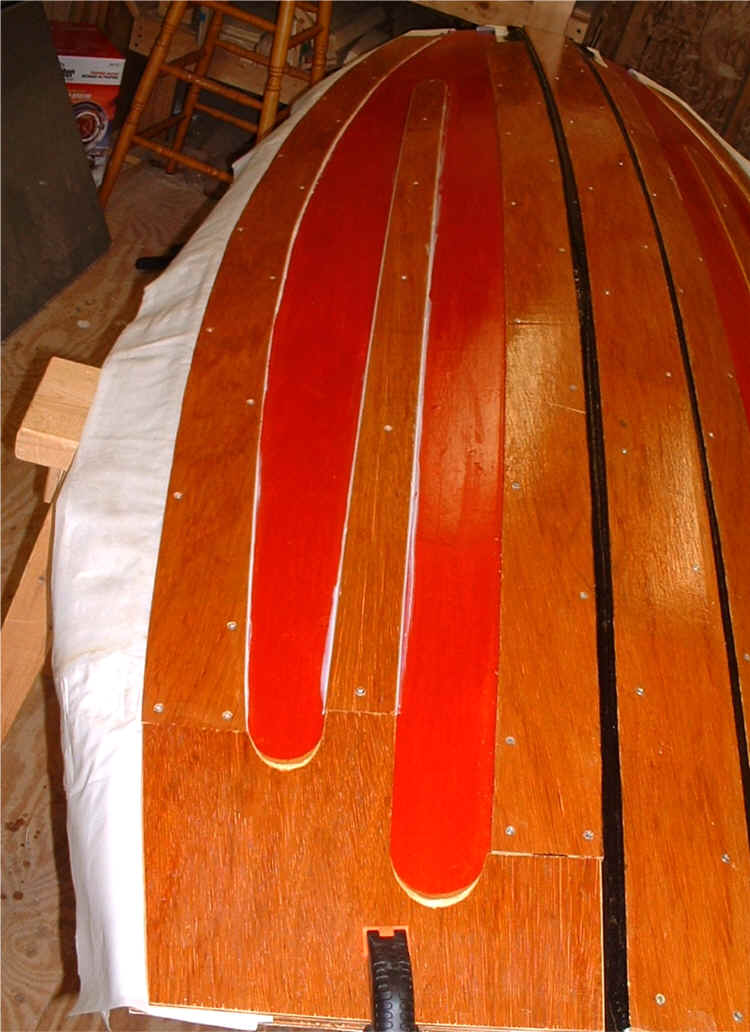
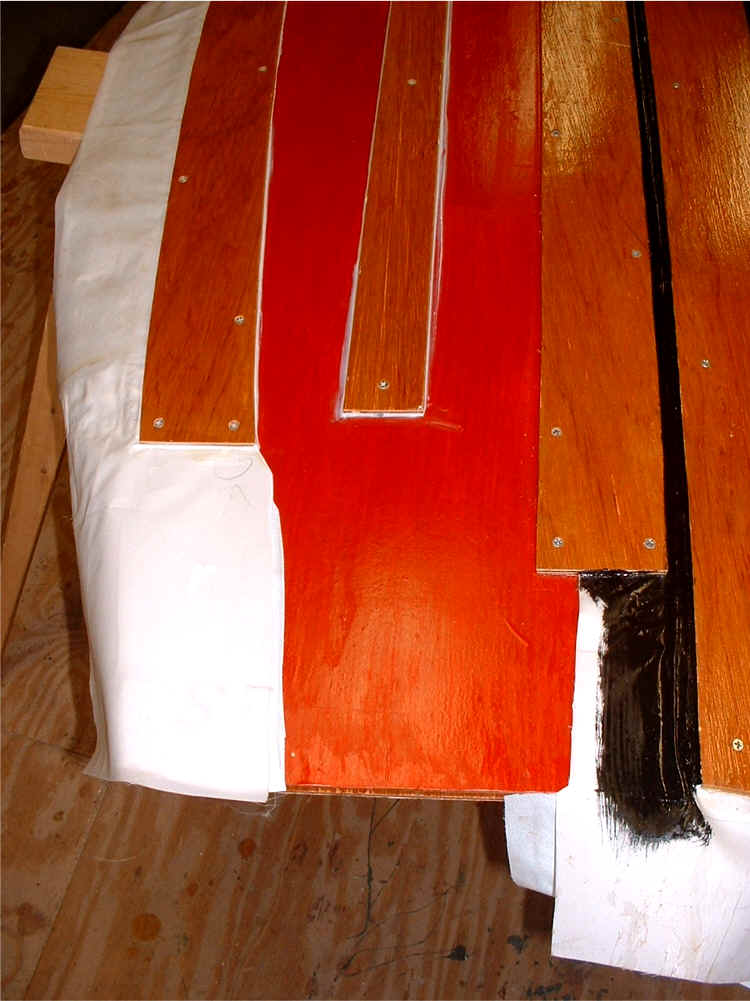
With the end plate temporarily in place I attached the bottom-reinforcing strip by the same method. I think the hull bottom is starting to have some pretty lines. In the photo on the right, I took the end plate off. The fabric ends of the boat need to be attached before the end plates are attached permanently.
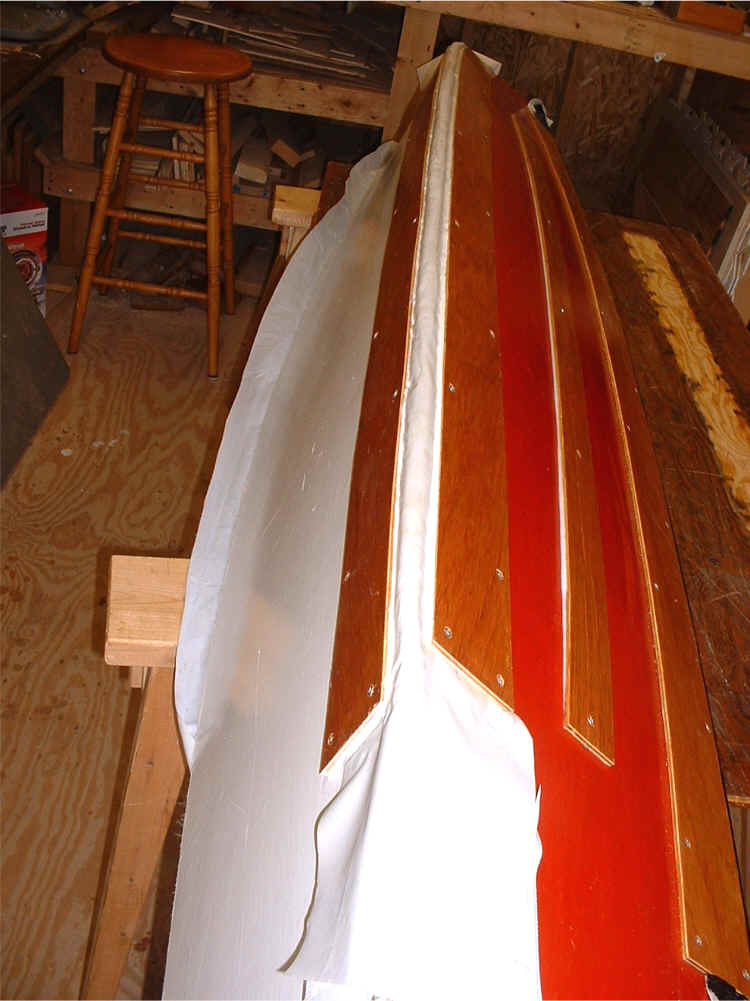
The picture above shows the hull bottom, the covered hinge, and the starboard side (white). The boat is partially folded and so the starboard side is on the left instead of the right. The one below shows how the fabric cover fits over the stitched hinge and is caulked. Eventually the fabric cover will be painted.

Assemble the Barquito Gallery of Pictures
1 Basic Boating String Theory 2 Sewing the Hull 3 Keeping the Water Out
4 Center Thwart 5 Bow 6 Foredeck 7 Transom 8 Oarlocks / Oars 9 Skeg
10 Rudder 11 Leeboard 12 Sail and Rig
Other Folding Boats On line Sailing School Boat Building Links