 |
|
The story and photos of my folding boat © 2007 by Man of the Cloth Productions.
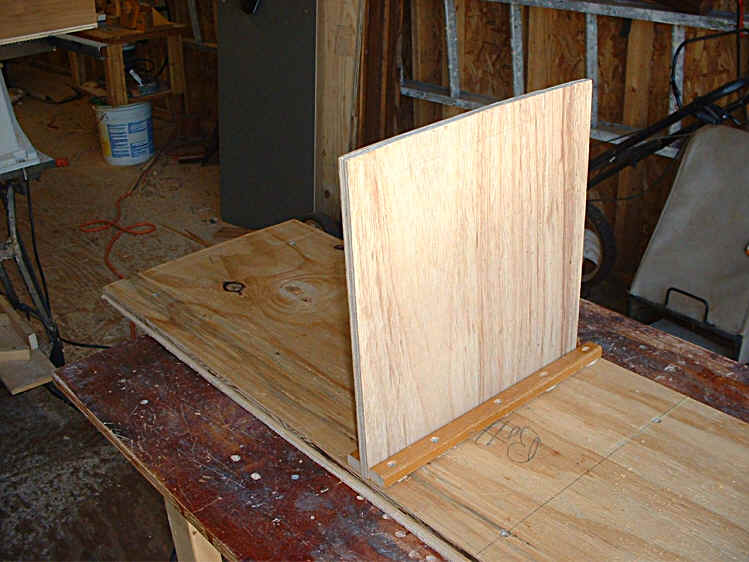
I showed how the hinges were sealed on the outside of the hull in Part 3. Now it was time to work on the inside of the hull. I began by making the thwart that would also be the main seat of the boat when rowing. I took rough 1/2" plywood and laminated a piece of 1/4" luan to the top.
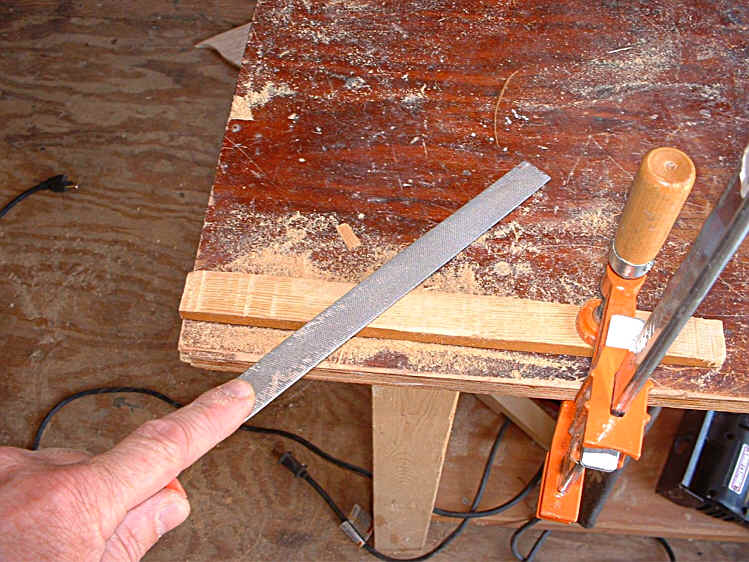
Once this had dried I shaped the port and starboard edges of the seat to match the curve and angle of the hull. A simple flat file made this shaping work easy. The speck in the middle is dust on the camera lens.

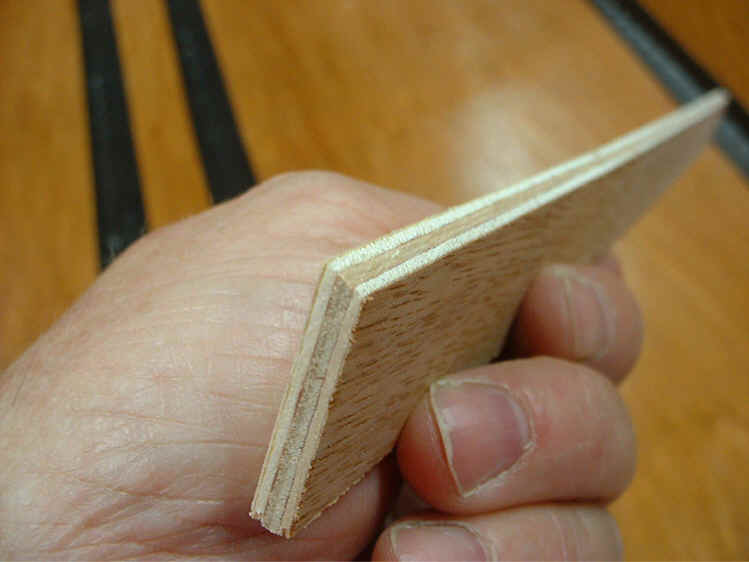
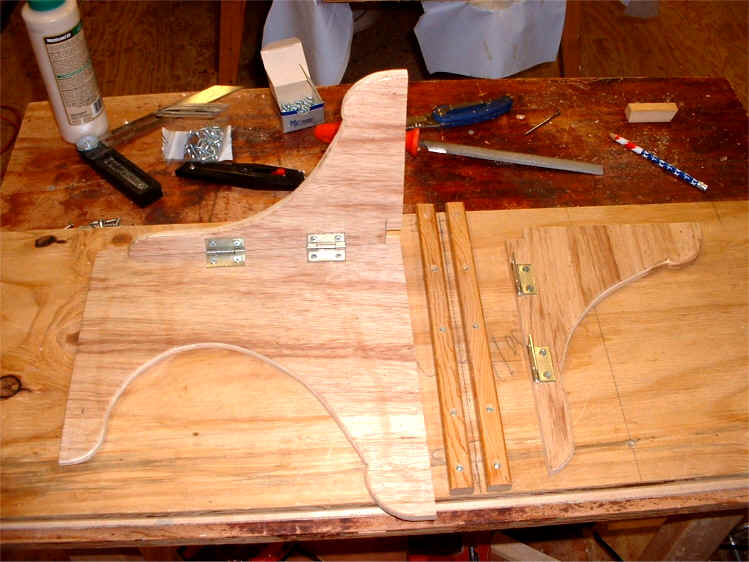
My next step was to cut four brackets out of scrap luan to hold the thwart in place against the hull sides. The width of these brackets matched the width of the reinforcing strips that I planned to use on the sides. I filed a 20 degree angle onto the edge of the bracket that would receive the thwart. This is necessary because the sides of the thwart do not meet the hull at a 90 degrees.
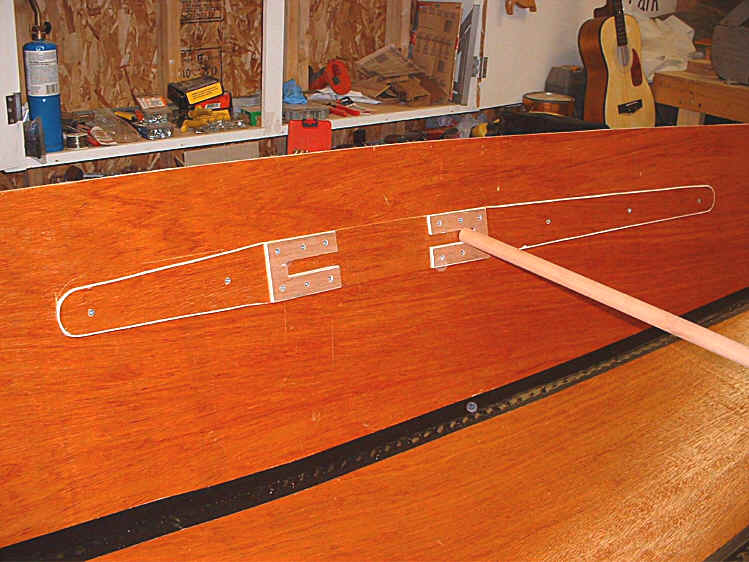
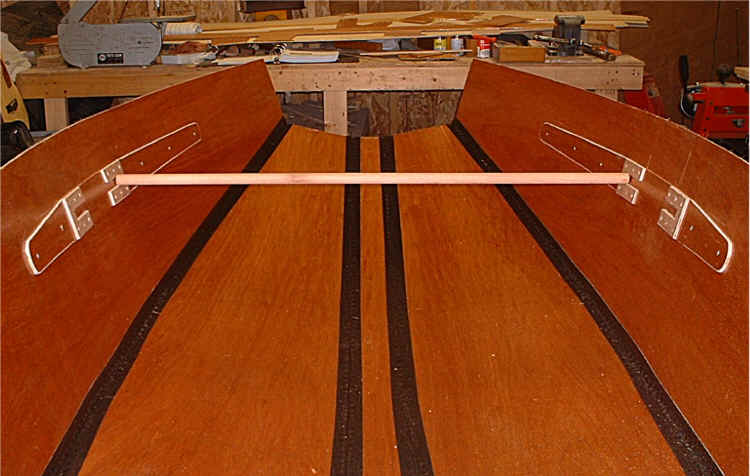
I made two reinforcing strips, each 4' long. I measured down from the top edge of the hull to find the best position for the strip on each side. I used a simple prop to keep the hull open. I used the prop to measure rise of the seat from the bottom of the hull. I wanted the seat to be 13 " from the bottom of the boat at the center of the hull.
When all of these measurements were found, I marked the placement of the reinforcing strip on the hull. The purpose of the reinforcing strip is to distribute the outward pressure of the seat against the hull. I tapered the strips so the lateral edge would not be along a single axis on the side. This is to prevent the hull from cracking from the outward pressure at the bottom of the strip
When all the pieces had been cut and dry fitted, I used the PL adhesive and screws to bond the strip and the brackets to the sides.
I also covered the stitched hinges at this time with Gorilla brand tape at this time. The purpose of this is to protect the mono line from the sun and from sharp objects carried in the boat, as well as to keep dirt and debris out of the hinge.
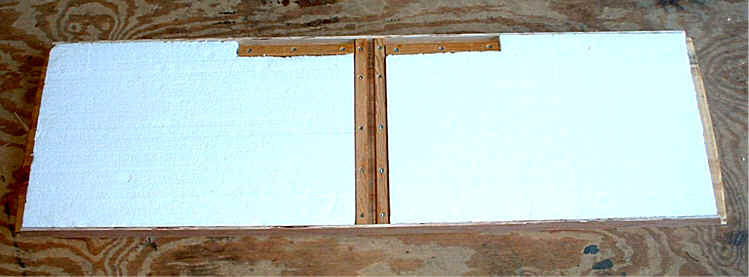
The final step in making the thwart bracket was to cut strips with the same 20 degree angle on the edge that will be against the thwart.

I added these on top of the first set of brackets to form a very solid, snap-in mount for the thwart .
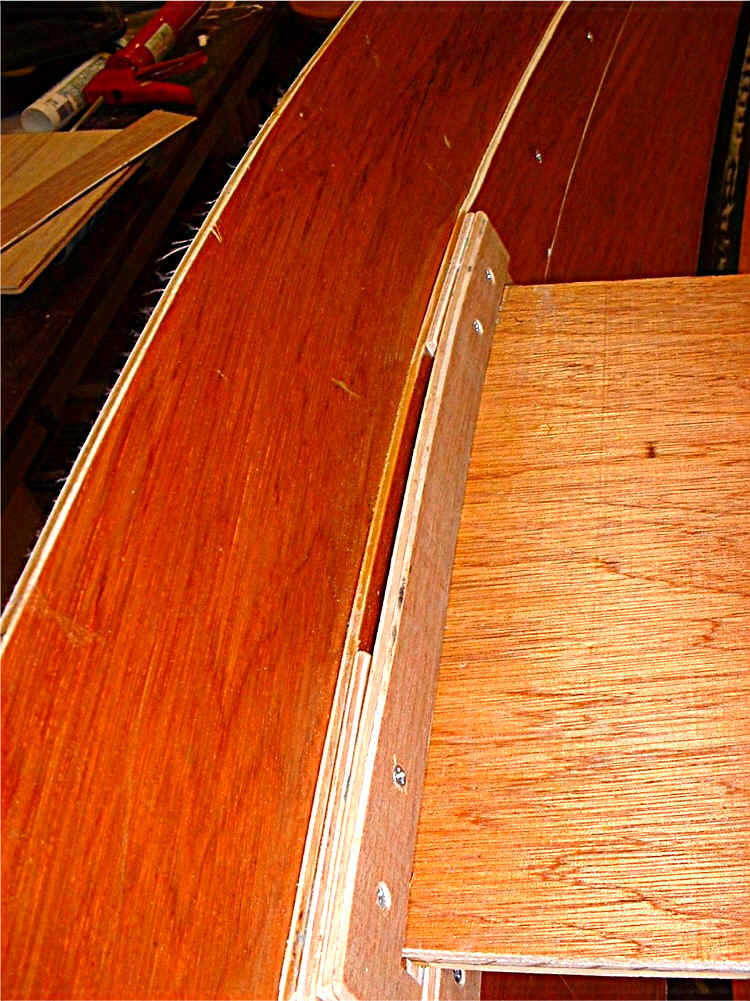
This view shows the pieces that make up the bracket.
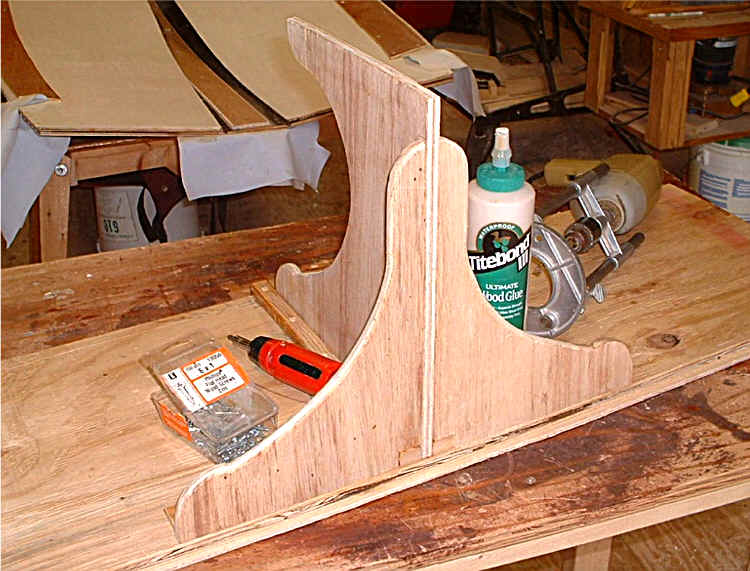
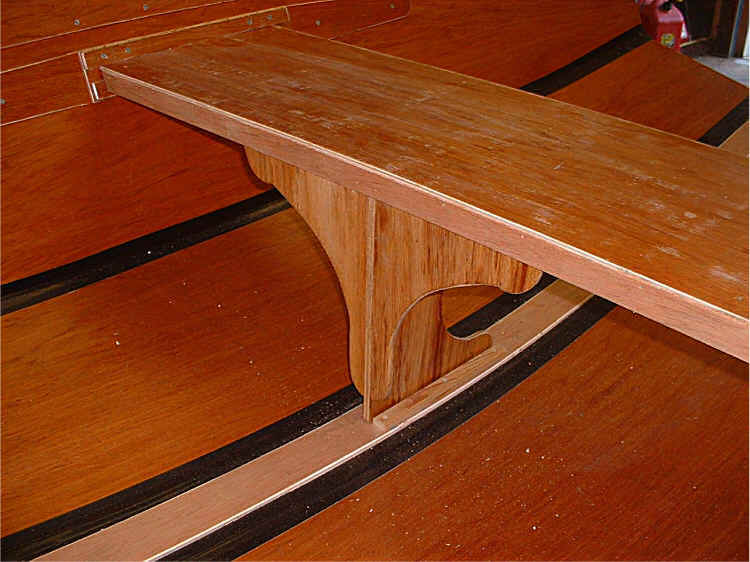
With the seat in place I measured the distance from the bottom of the seat to the bottom of the boat. With these dimensions I made a center support. I attached two strips to the bottom of the seat to hold the support.
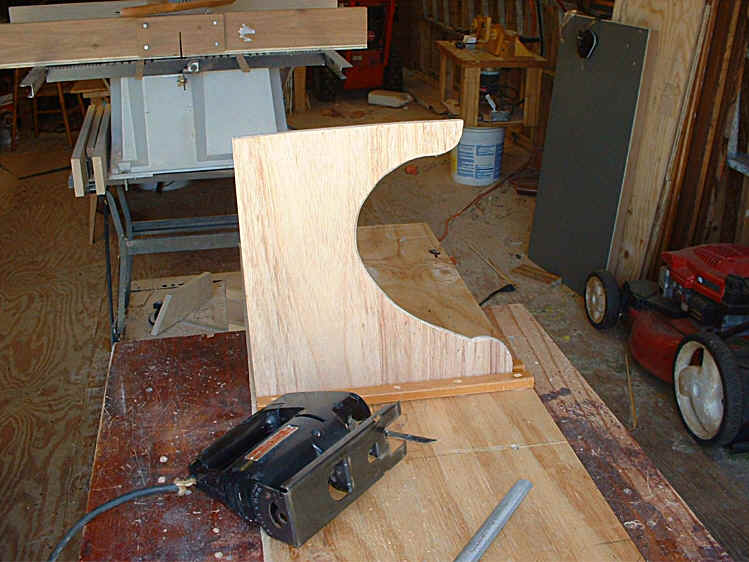
Using the jig saw, I cut out a section of the support in a way that pleased my eye. I trimmed the bottom of the support to match the curvature of the hull bottom.
I made two strips to hold the bottom of the support in place. I trimmed the bottom of these supports to match the bottom curve of the center support.
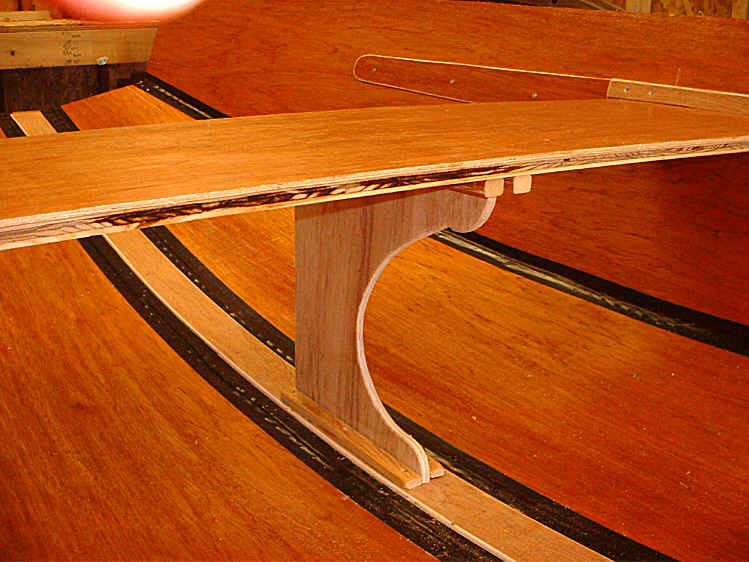
This shows the center support in place.
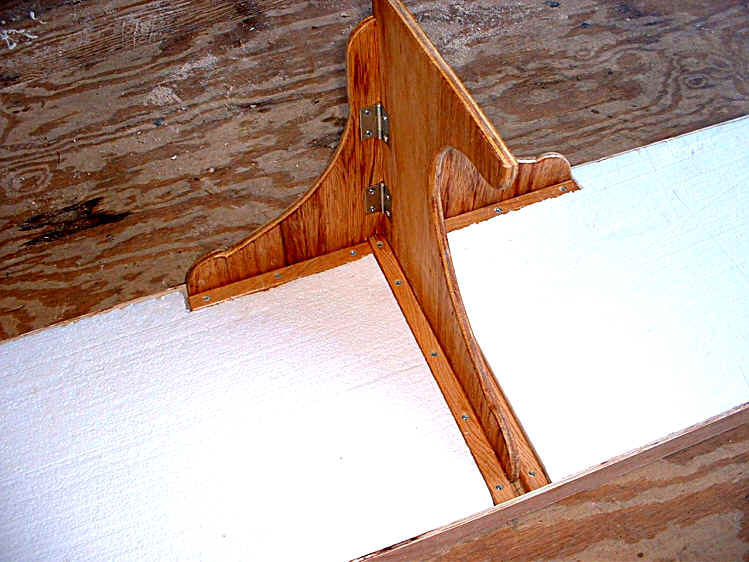
To stiffen the hull even more, I made two additional braces for the center support.

Simple hinges hold them against the support and strips under the seat keep them in place. With the two braces in place, the hull is much stiffer and the seat does not rock side-to-side.
I added some built-in flotation under the thwart and attached a trim piece of luan to the seat edge. Using a router, I smoothed the edge of the seat.
Later on, I made the following modification to the thwart support.
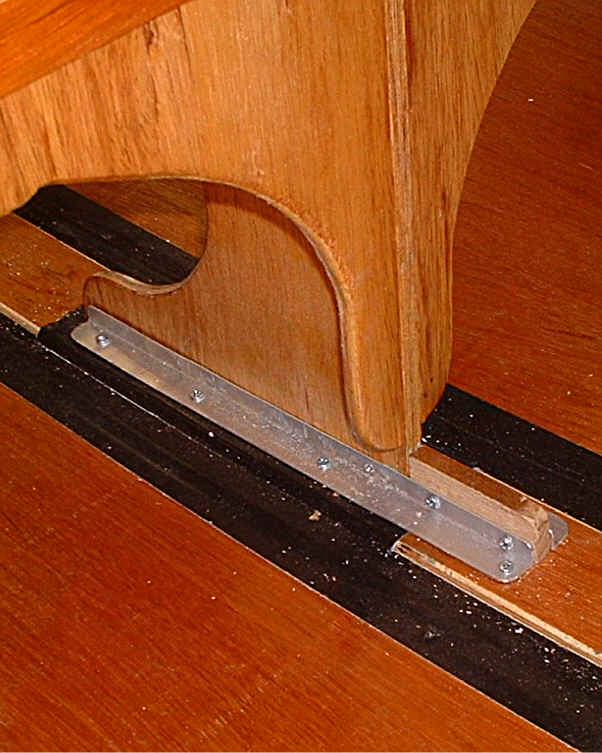
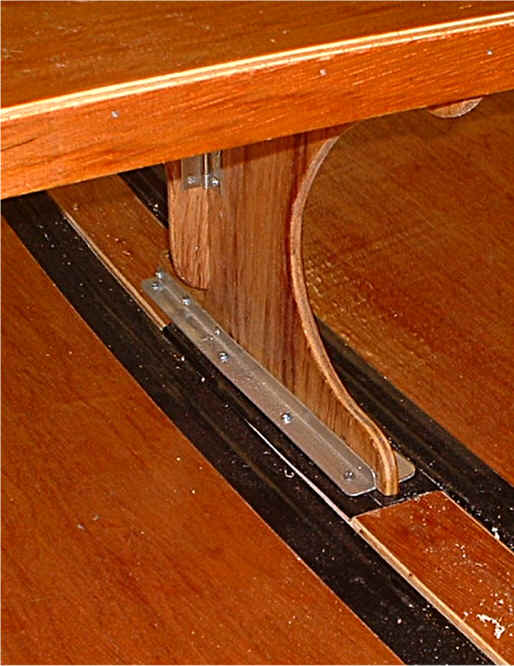
I replaced the wooden support hull braces with some aluminum angle as shown in the photo. The wooden block toward the bow is a stop. I place the center thwart support against this block and then slide the seat support down between the aluminum, for a perfect alignment. (The tape under the aluminum is only a cosmetic cover over the place were the face of the luan came off when I removed the wooden hull supports.)
Assemble the Barquito Gallery of Pictures
1 Basic Boating String Theory 2 Sewing the Hull 3 Keeping the Water Out
4 Center Thwart 5 Bow 6 Foredeck 7 Transom 8 Oarlocks / Oars 9 Skeg
10 Rudder 11 Leeboard 12 Sail and Rig
Other Folding Boats On line Sailing School Boat Building Links