 |
 |
The story and photos of my folding boat © 2007 by Man of the Cloth Productions.
Starting work on the bow, I took a piece of scrap hardboard and traced the shape of the bow opening onto it.
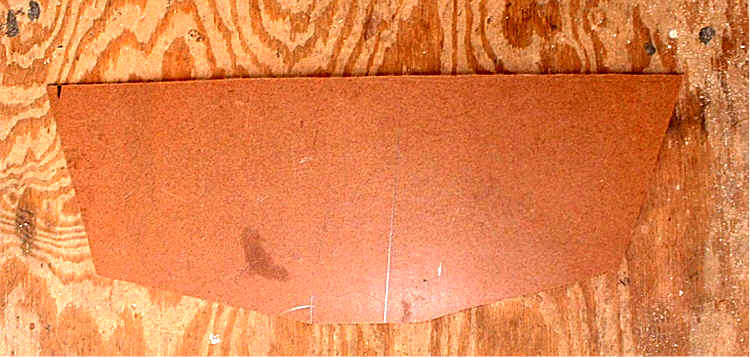
After I cut this out, I checked the angles to make certain it was symmetrical. I used this as a template to cut out a piece of luan for the inside of the bow.
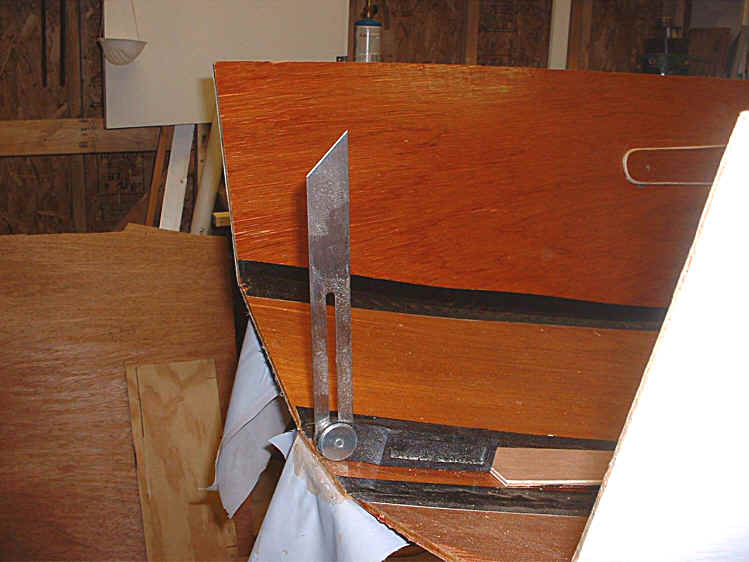
I decided to build a frame to stiffen the bow plate luan. I used an angle gauge to find the angle with respect to the hull and the bow plate.
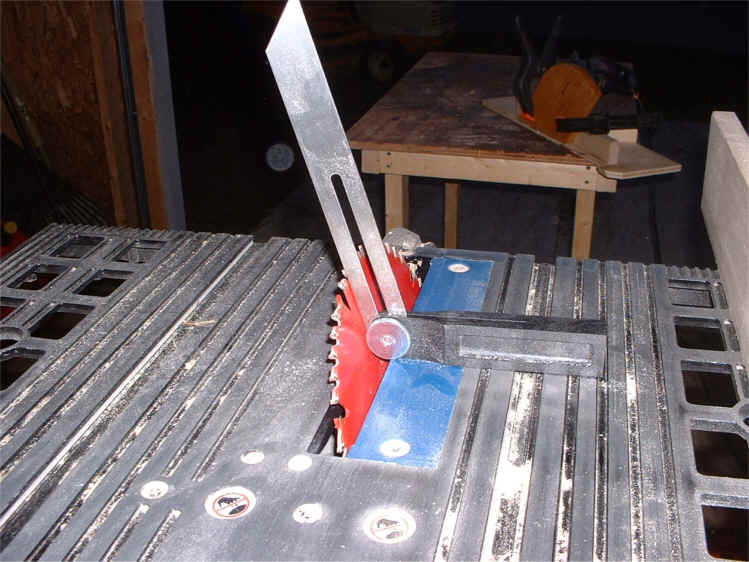
Using the gauge I transferred the angle to my table saw blade.
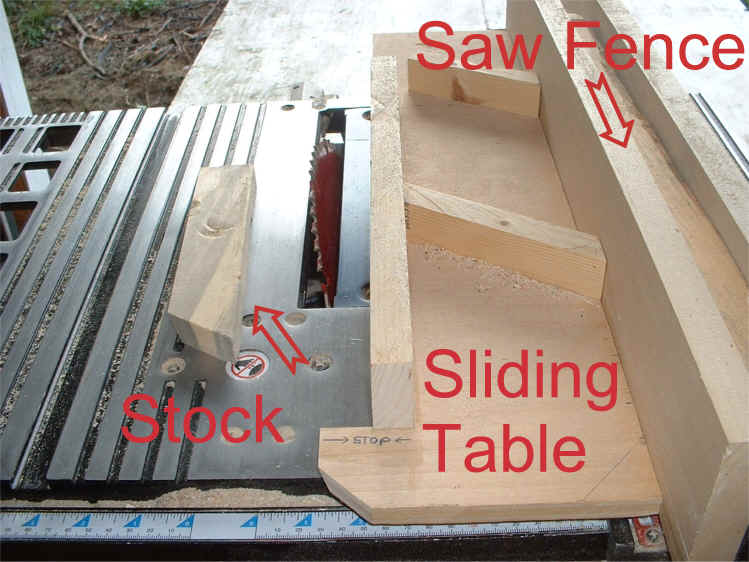
Cutting angles into small pieces of stock is difficult and can be dangerous on a table saw. To minimize the risk I used a small sliding table jig that I made.
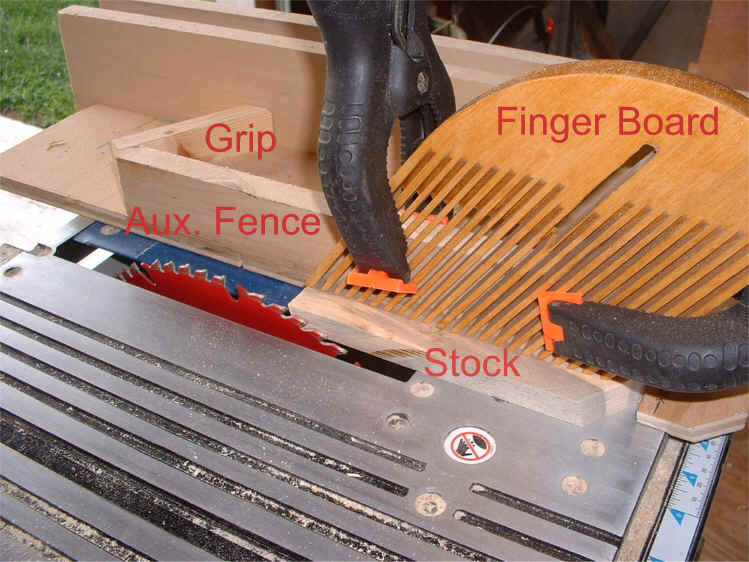
I clamped a homemade finger board to the sliding table jig to hold the stock securely. My fingers held the wooden grips of the jig, safely behind the auxiliary fence. This arrangement works well for me. None the less, there are real dangers present when using any table saw when the protective guards have been removed.
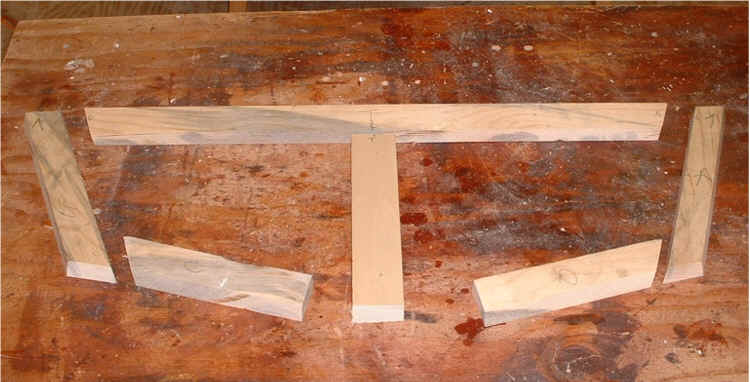
After each piece was cut, l checked it for fit on the luan bow plate.
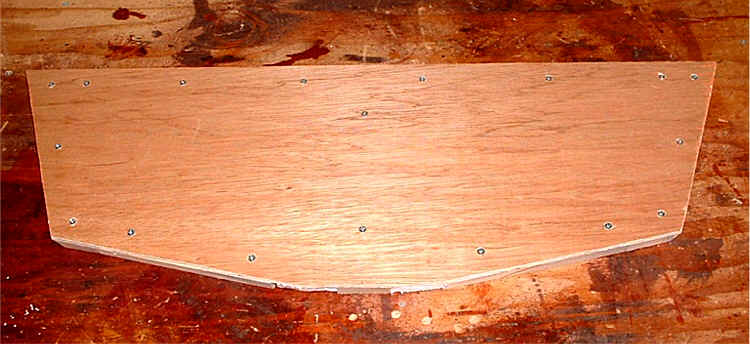
The plate was assembled using screws and glue.

I decided to add some more built-in flotation to the bow plate frame. Every little bit will help in a self-rescue situation.
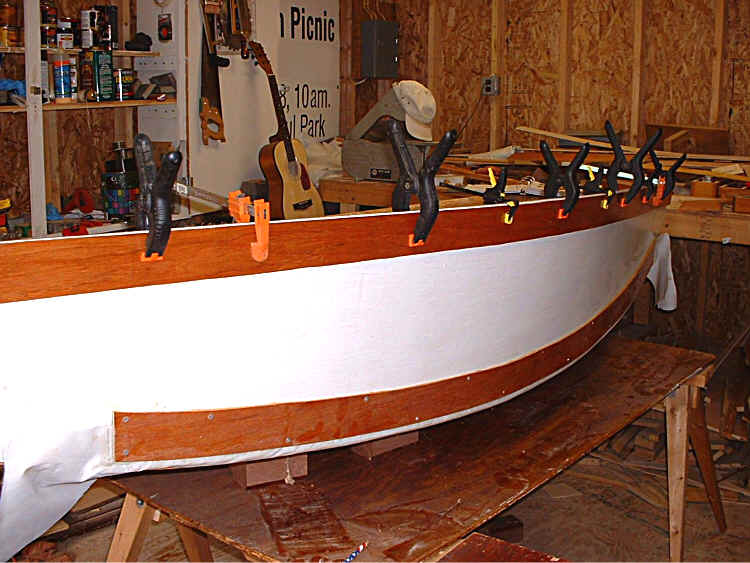
This was also the time I attached the rub rails and the gunwales. It seems like I never have enough clamps.

In this picture the rails are all attached, making the hull look more like a boat. With the hull held open by the thwart, I braced the boat on its side and trimmed 1 inch off the rails. This evened the top surface of the rails and created the clearance needed to fold the boat easily.
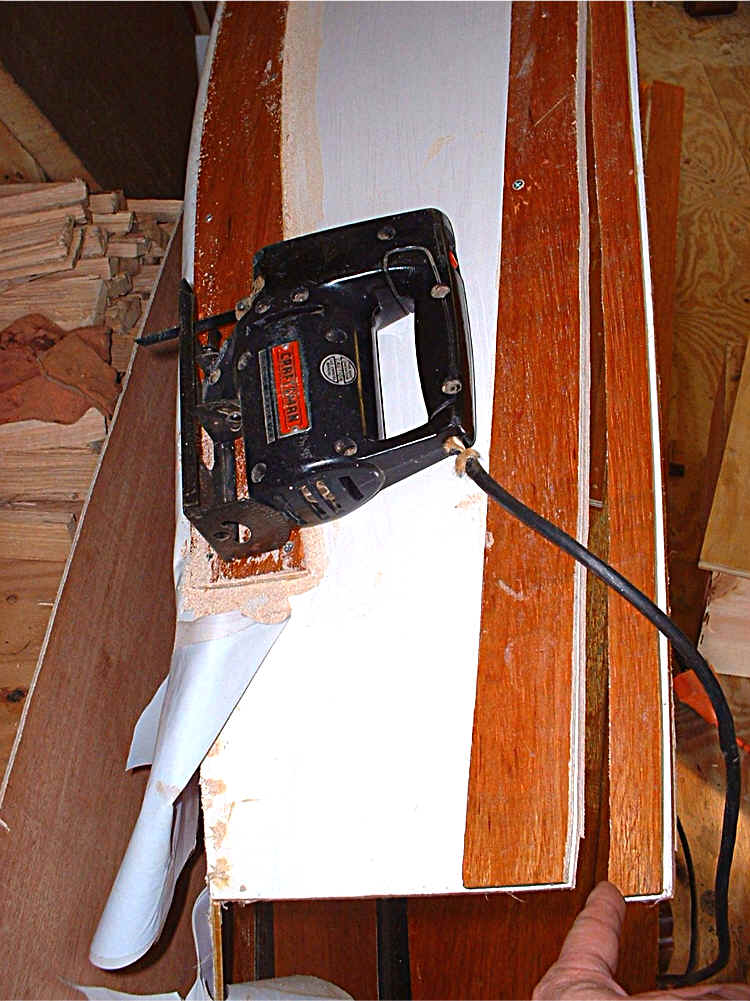
I used a belt sander to smooth out the variation in the lines of the finished cut.
Assemble the Barquito Gallery of Pictures
1 Basic Boating String Theory 2 Sewing the Hull 3 Keeping the Water Out
4 Center Thwart 5 Bow 6 Foredeck 7 Transom 8 Oarlocks / Oars 9 Skeg
10 Rudder 11 Leeboard 12 Sail and Rig
Other Folding Boats On line Sailing School Boat Building Links