 |
 |
The story and photos of my folding boat © 2007 by Man of the Cloth Productions.
The plans for this little boat call for a small center skeg. This is so small it can't really be called a keel. The purpose of this skeg is to provide a housing for a wheel. A wheel on a boat? This boat has one! The Barquito can be assembled near the water and then wheeled down to the water's edge.
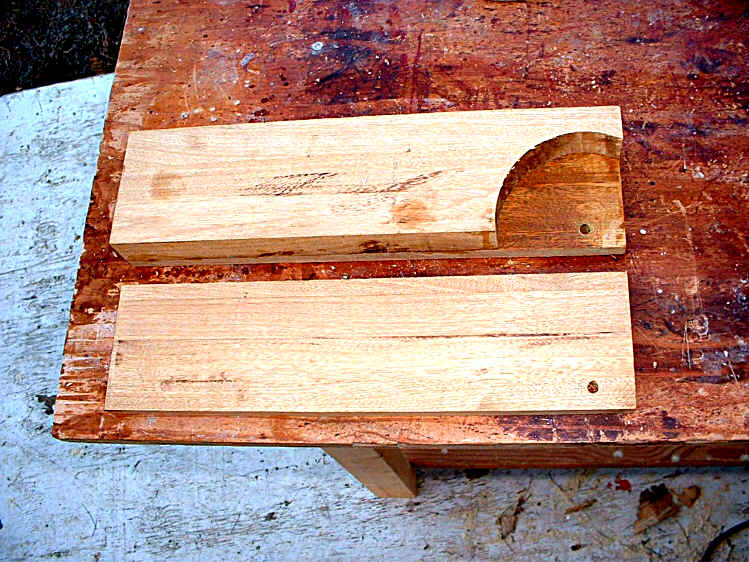
I since this assembly will be submerged, I wanted it to be durable. I had some small pieces of mahogany left over from another project. The photo above shows how I cut out a space for the wheel from the center piece.
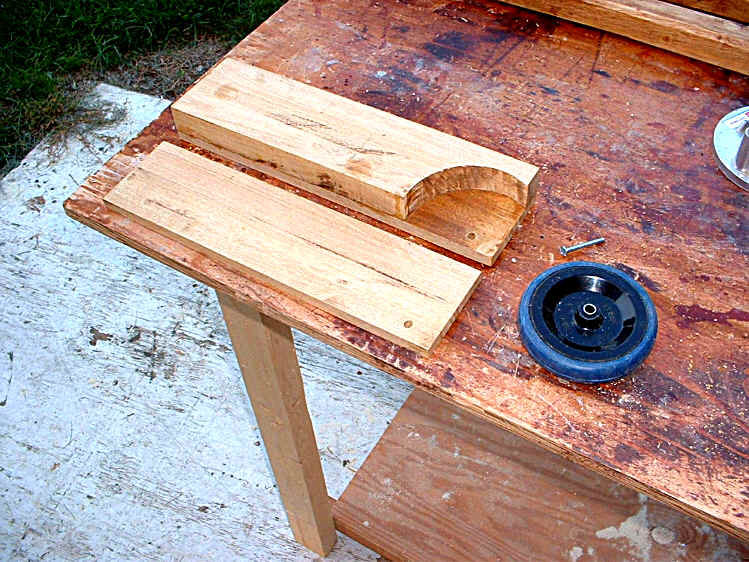
After drilling a hole for the bolt that will hold the wheel, I glued one of the side pieces to the center piece.
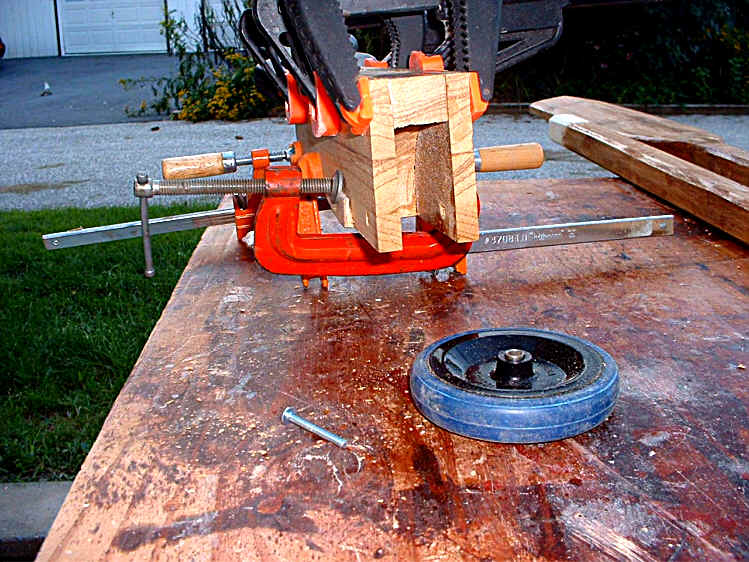
After 24 hours, I glued and clamped the other side to the skeg assembly. The wheel has plastic hub, with a bushing and a solid rubber tire. I picked it up at Harbor Freight for a few dollars. The photo shows the space created to receive the wheel.
After the pieces of the assembly dried, I used a neighbor's ban saw to cut the shape of the front and bottom of the skeg.
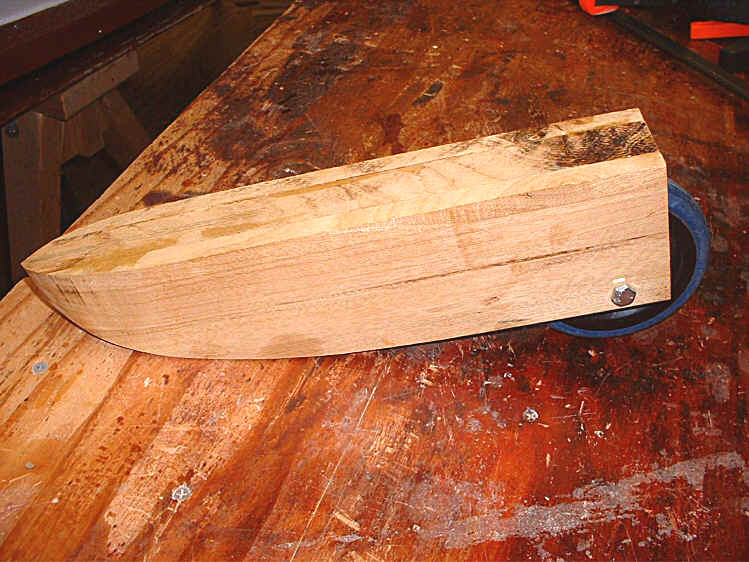
A bolt serves as an axle for the wheel. I disassembled the wheel from the skeg and sealed it with two coats of spar urethane.
The stern end of the skeg also serves as a support for the rudder.
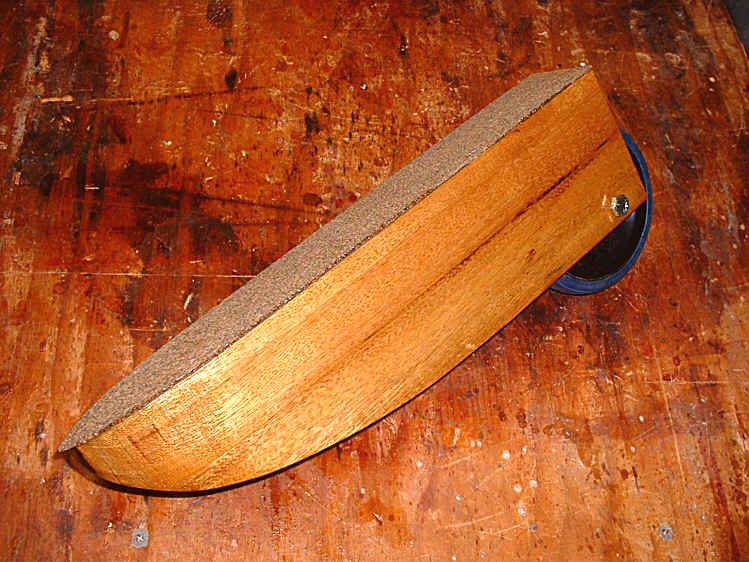
I cut a piece of automotive gasket cork to match the top of the skeg. This will seal to the bottom of the hull as the screws draw the skeg against the bottom of the boat.
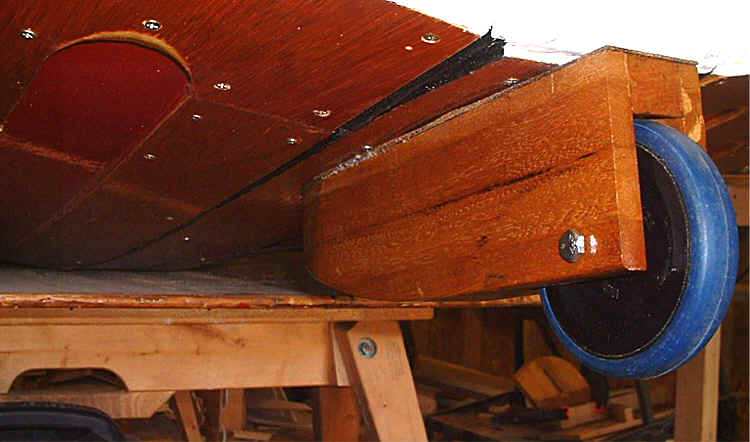
I removed four of the screws I had used to secure the rear seat support to the hull. I drove longer screws through the aluminum brace, the cork and on into the skeg. I turned these tight.
Assemble the Barquito Gallery of Pictures
1 Basic Boating String Theory 2 Sewing the Hull 3 Keeping the Water Out
4 Center Thwart 5 Bow 6 Foredeck 7 Transom 8 Oarlocks / Oars 9 Skeg
10 Rudder 11 Leeboard 12 Sail and Rig
Other Folding Boats On line Sailing School Boat Building Links