 |
|
The story and photos of my folding boat © 2007 , 2008 by Man of the Cloth Productions.
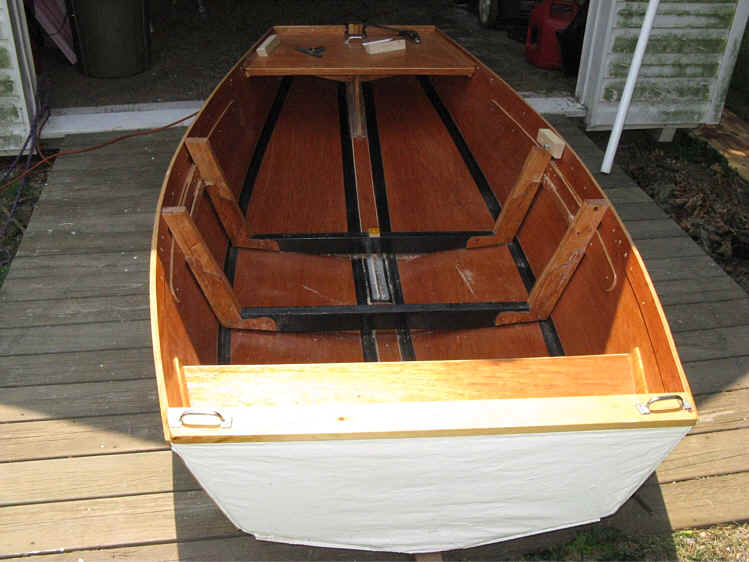
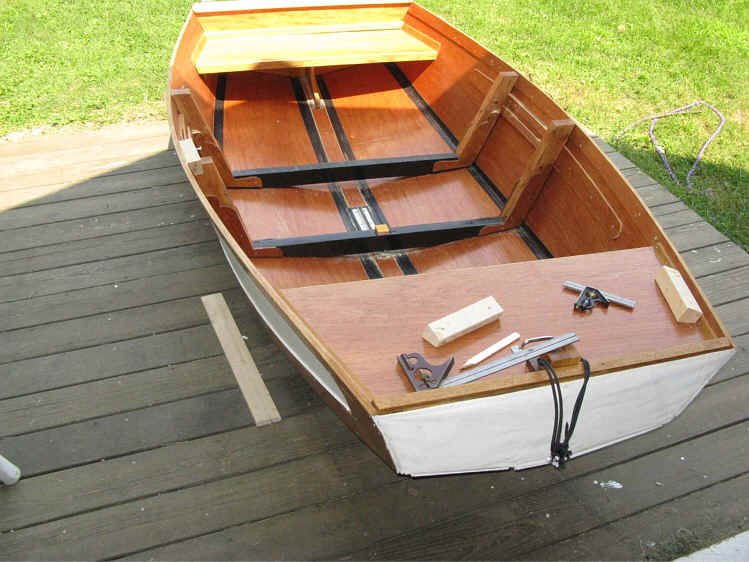
To sail the Barquito I knew that I would want to sit in the bottom of the boat. This would lower the center of gravity. The weight of the sailor would be the main ballast. Shifting from side to side quickly would be necessary to trim the boat. I couldn't do this with the seat in place. Usually the center thwart (seat) holds the hull open. The plans for the boat showed that a frame could be made that would hold the folding hull open. As I thought about it I decided two frames would be better than one. They would provide greater stability to the hull under sail and distribute my weight more evenly.
My first step was to cut a scrap of lumber to fit into the bottom of the boat. This took a little trial and error. But I knew I had to get this part right.
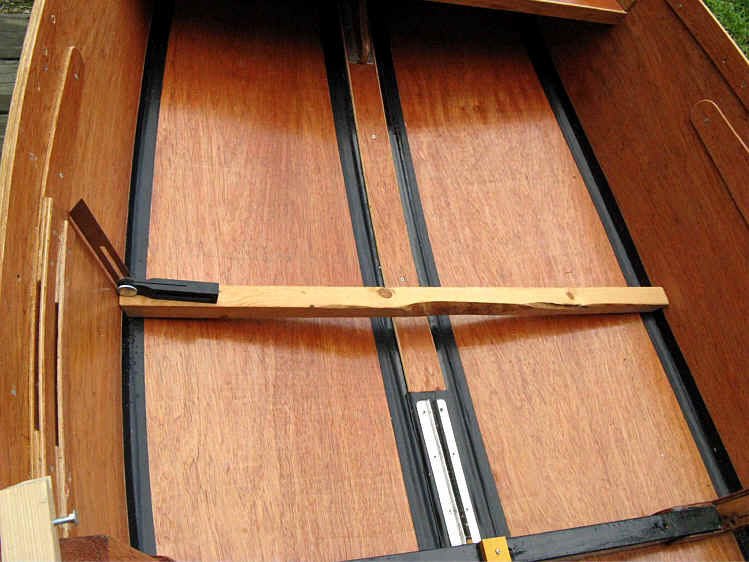
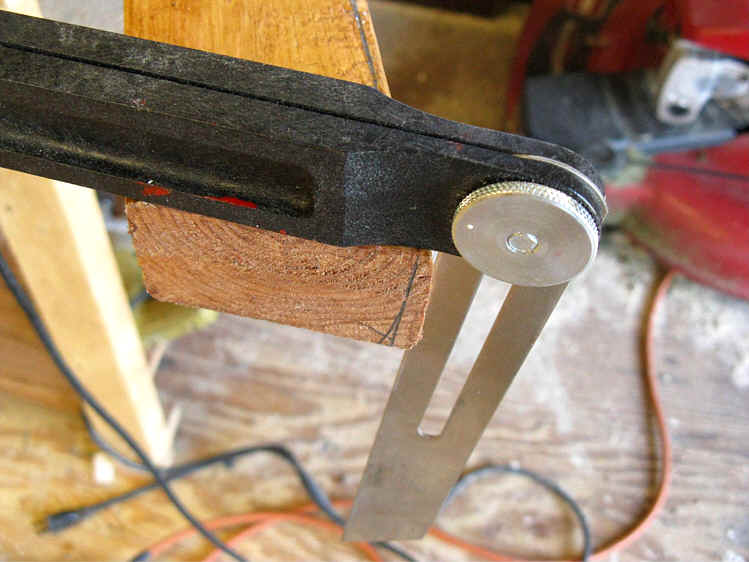
Using my angle gauge, I found the angle from the hull to the top of the scrap.
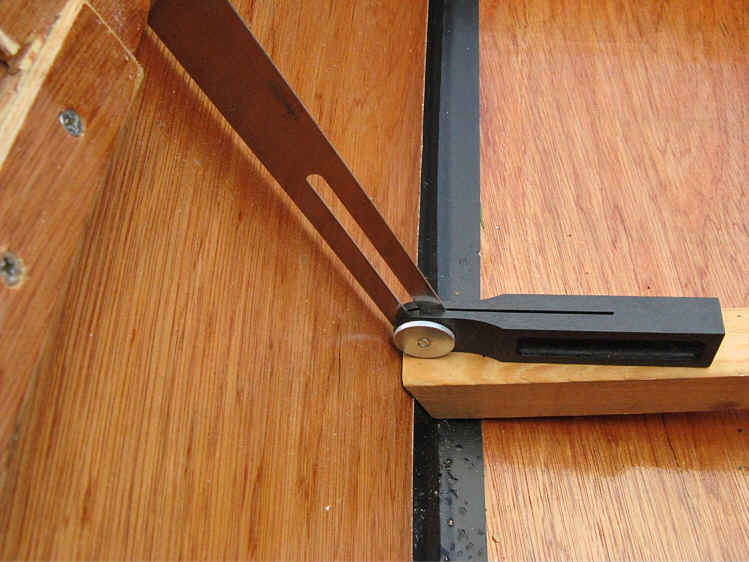
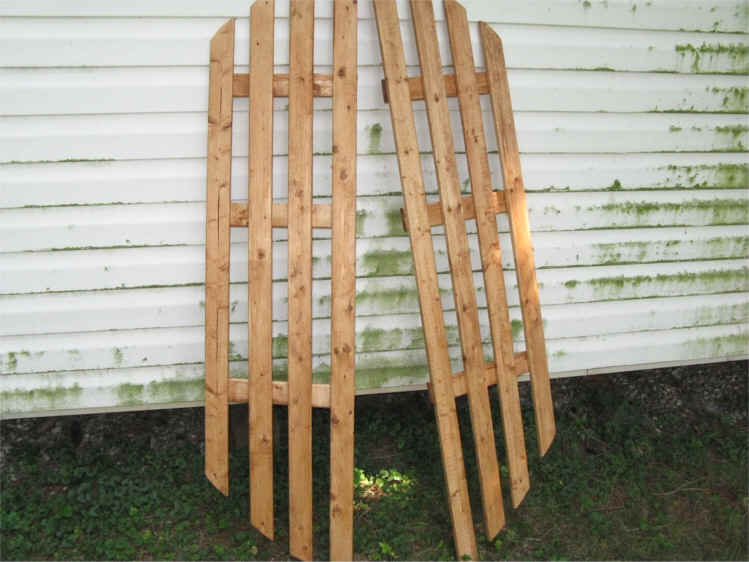
I used this angle as my point of reference as I built the frame. You can see that I reinforced and joined the uprights to the bottom frame with plywood braces applied with glue and screws.
Each frame had a different hull angle because of its place along the centerline of the boat.
I painted the bottom of the frames black to match the look of the inside cover on the hinges.
The main power tools I used for this were my saber saw (hand-held jig saw) and my table saw.

The sole was made to rest on top of the black frames. I measured each board, front to back, from where it just touched the hull bottom and shaped the ends to match the contact with the hull. For ease of getting them in the boat and in the car, I made the sole in two halves.
Here is how they look when in place. The little yellow block is actually a stop made from a piece of maple hardwood. This block keeps the sole boards in place so they don't shift from side to side. The sole will provide a very strong surface that will easily bear all my weight when I sit on the floor and move around to sail. Getting off the hull will keep me drier, too. I found that the 1/4" hull bottom alone was just too flexible to sit on or to move about.

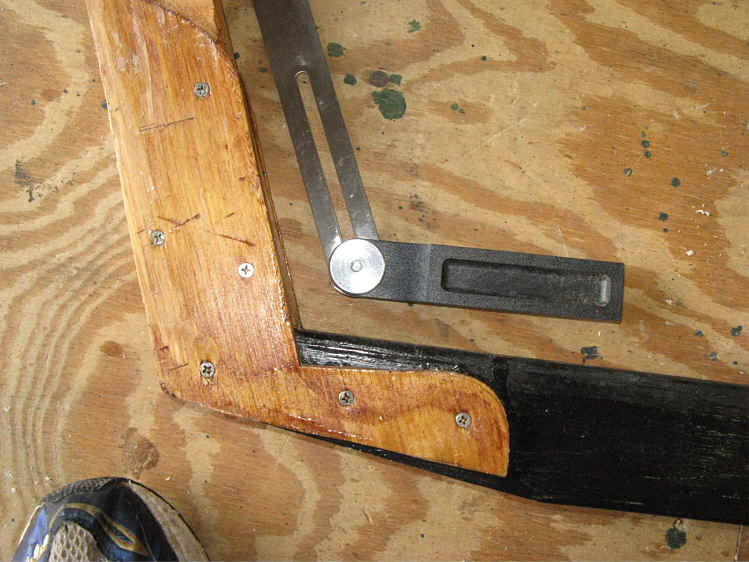
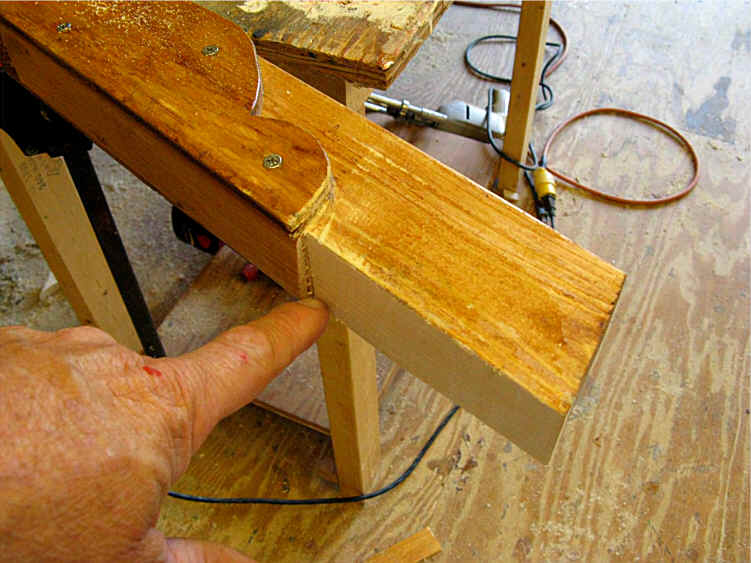
As I studied the shape of the hull with the frames in place, I found that the frames spread the hull too much. I determined I needed to take 1/4" off each frame as far down as the plywood bracing. I transferred the hull angle to the frame as well as to the angle of the blade on my saber saw.

This photo actually shows the result of the cut, but on the other upright of the same frame. The notch I am pointing at will nestle nicely into the hull bracing.
Assemble the Barquito Gallery of Pictures
1 Basic Boating String Theory 2 Sewing the Hull 3 Keeping the Water Out
4 Center Thwart 5 Bow 6 Foredeck 7 Transom 8 Oarlocks / Oars 9 Skeg
10 Conversion to Sail 11 Leeboard 12 Rudder 13 Mast and Spars 14 Sail and Rig
Other Folding Boats On line Sailing School Boat Building Links