 |
 |
The story and photos of my folding boat © 2007, 2008 by Man of the Cloth Productions.
Instead of building a mast out of wood, I chose to use other materials that were readily available to me. I settled on PVC pipe. This material is cheap, but PVC is inherently wobbly. To stiffen the pipe I purchased two 4 ' length dowel rods. These were slightly smaller than the inside diameter of the pipe.
I started making the boom by marking a line on one side of the PVC.
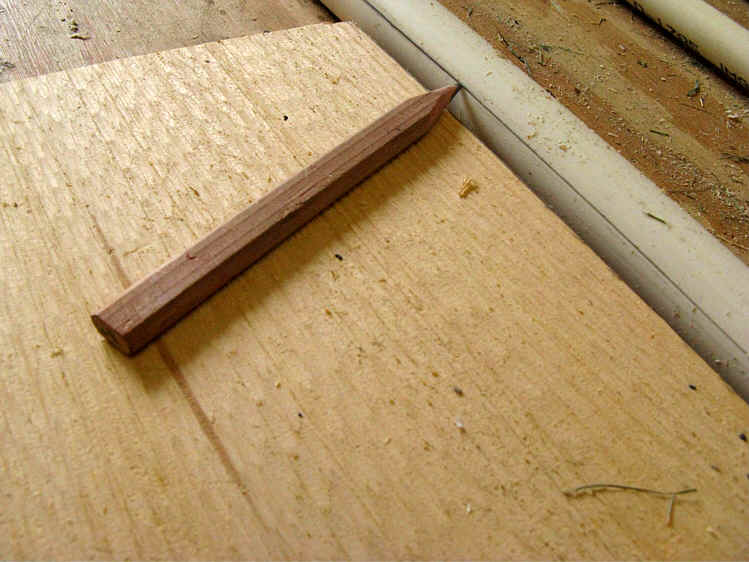
Using a portable drill guide set up on the floor I drilled counter-sink holes every 6 inches. The drill guide had a stop on one of the arms. This really helped me keep the holes shallow.
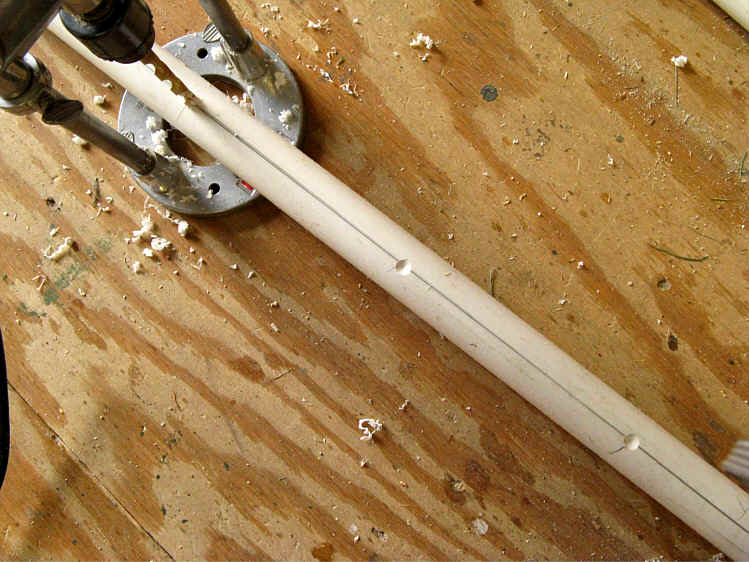
Using a smaller bit, I drilled pilot holes in the pipe.
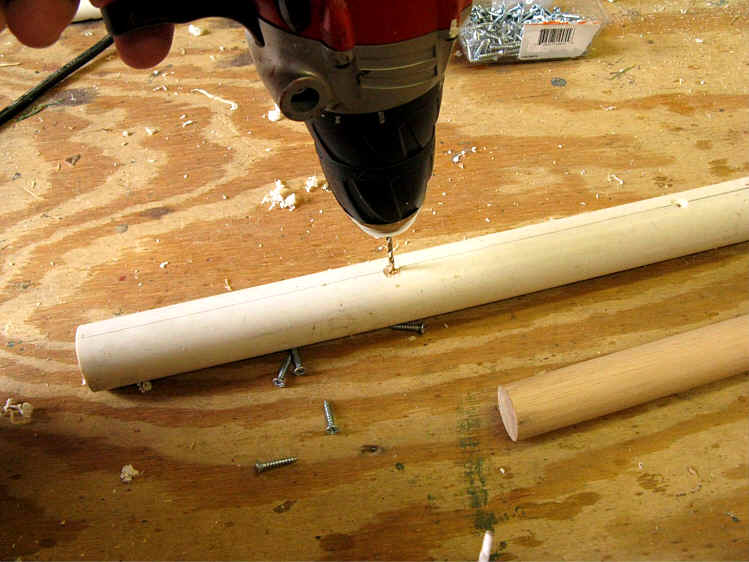
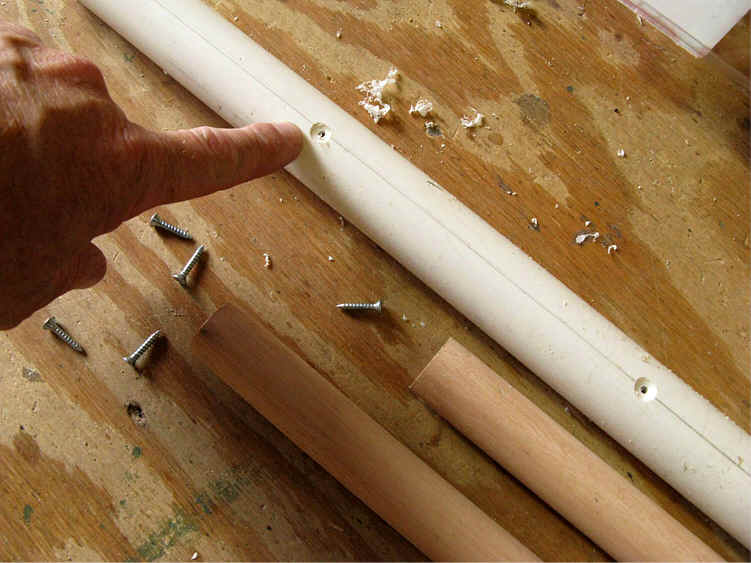
I inserted the dowel.
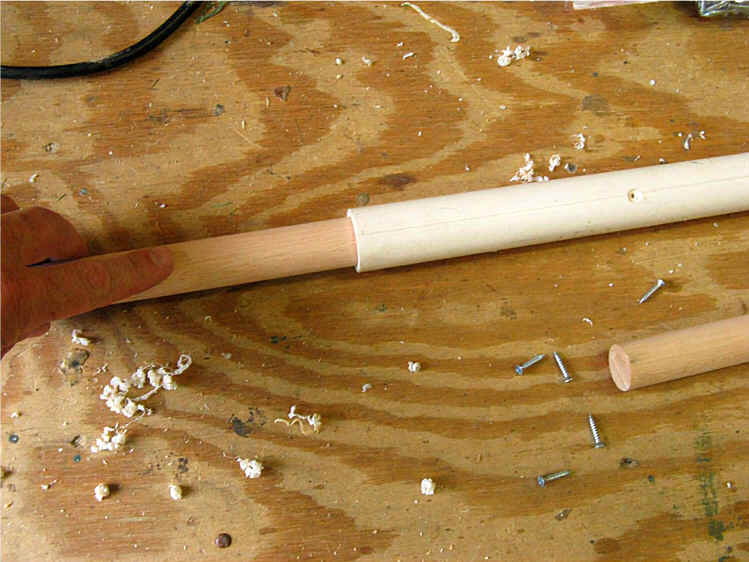
Using the previously drilled pilot holes, my next step was to drill a second set of pilot holes into the hardwood of dowel itself.
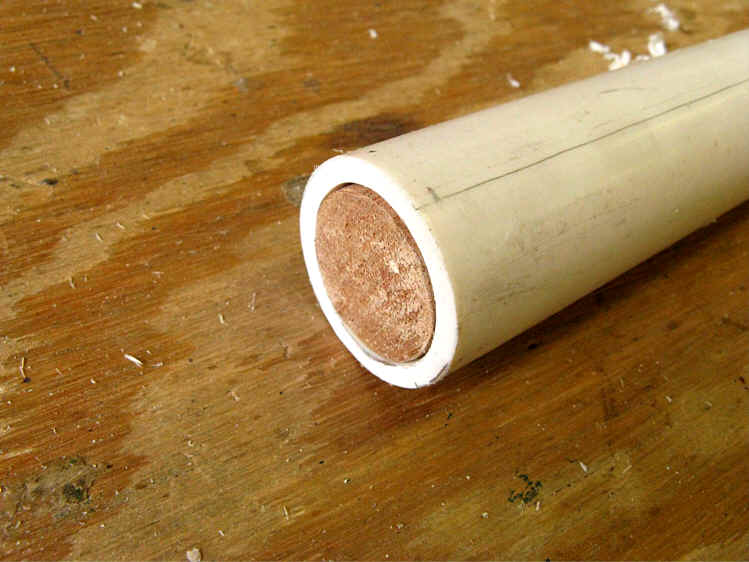
Then I fastened the dowel with #6 wood screws. The boom cost me about $9.00.
I made the mast the same way but I started with a slightly larger diameter PVC pipe. Again I drilled all the holes and counter sinks. I placed the dowel in the pipe. This time I also had to insert a thin shim between the dowel and inside wall of the pipe. This tightened the dowel and kept it in solid contact with the predrilled holes.

To seal the ends I filled the voids with epoxy. I sanded it lightly and finished it with white exterior house paint. The result is a stiff, light-weight 8 ' mast that cost me $12.00.
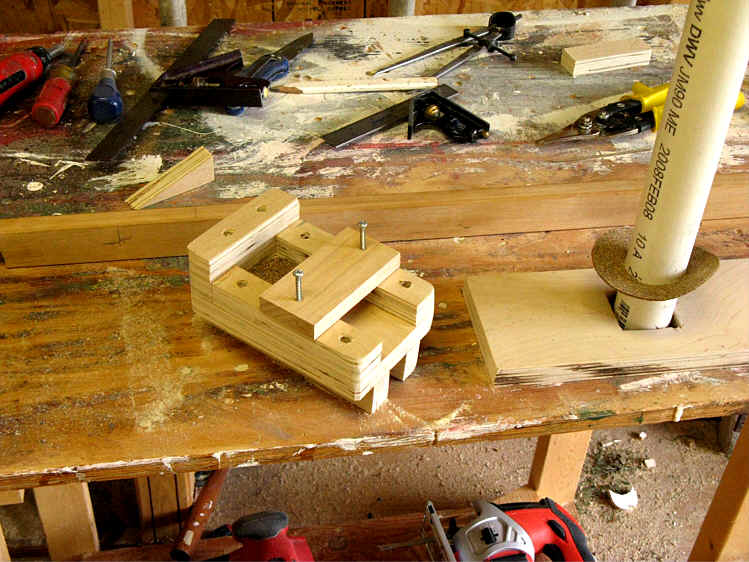
Each mast needs a mast step. This is a fixture that holds the bottom of the mast securely in place. Using scraps of plywood, this is what I built.
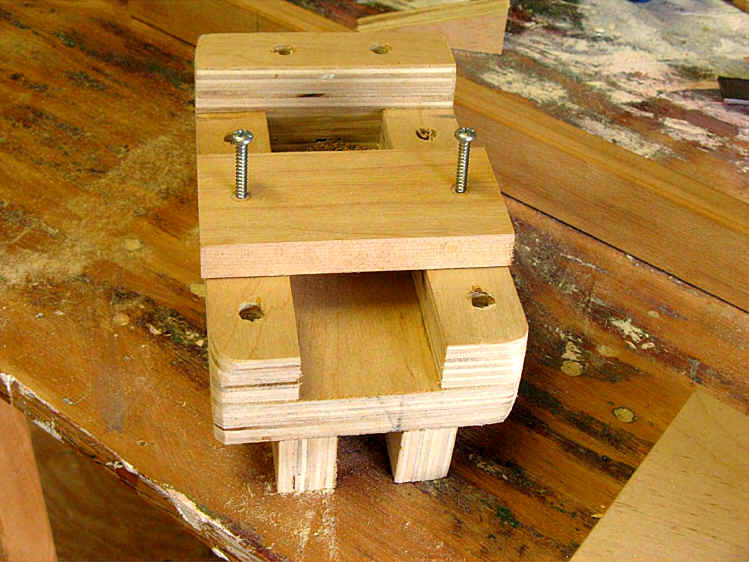
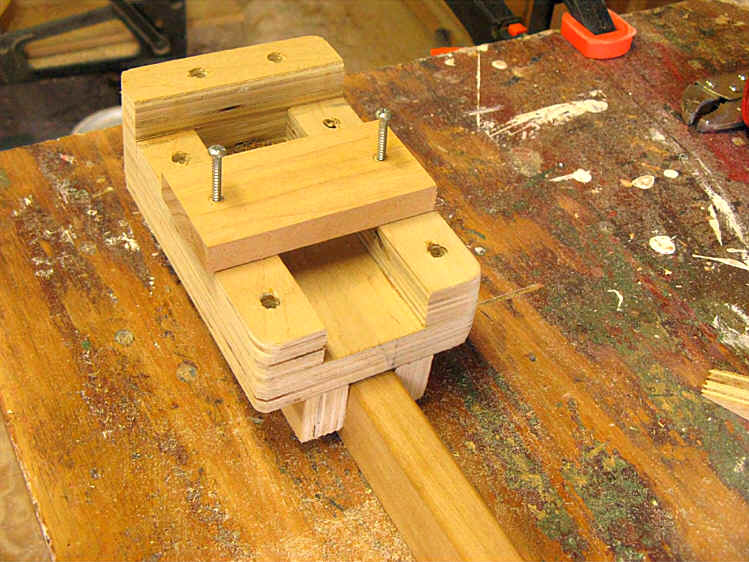
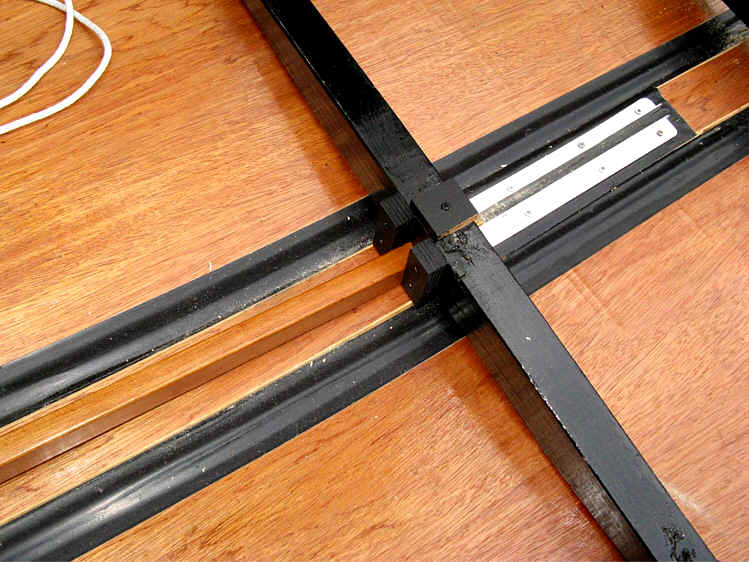
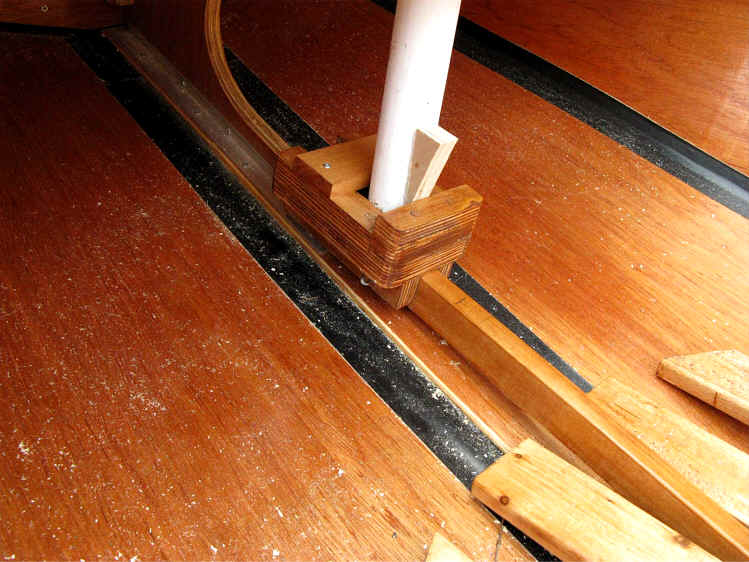
The round bottom of the mast fits snugly in the box of the mast step. You can see the screws of the final piece that will snug the mast in place when the step is positioned for the proper angle on the mast. The photo also shows how the step straddles a piece of maple. This rail will be fastened to braces on the forward frame. The step will be fastened to this rail with a cotter pin, but it can also slide forward or backward along this rail, providing a small adjustment so the sail can be positioned correctly.
I made an upper thwart to give stability and strength to the mast. This thwart rests on the rub rails and has blocks of wood underneath. Holes are drilled in these blocks and in the rub rail. Bolts secure the thwart to boat through these mounting blocks. The photo shows how the thwart and the leeboard case connect. These are held together with bolts and wing nuts.
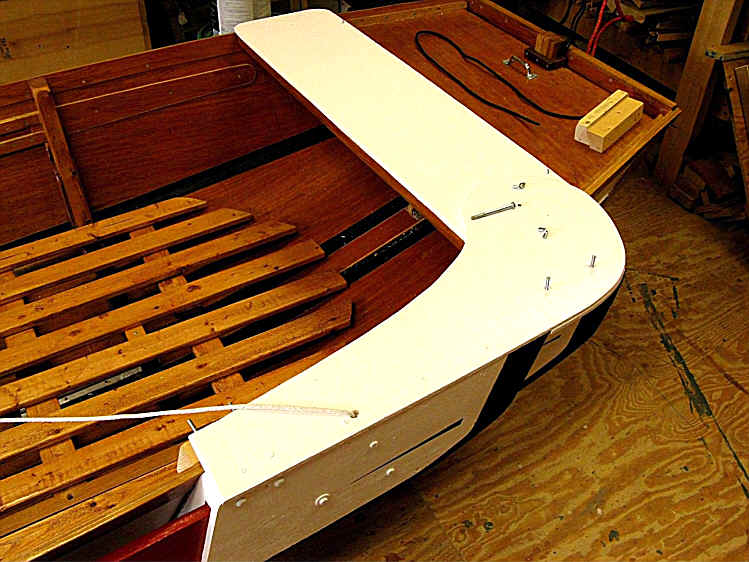
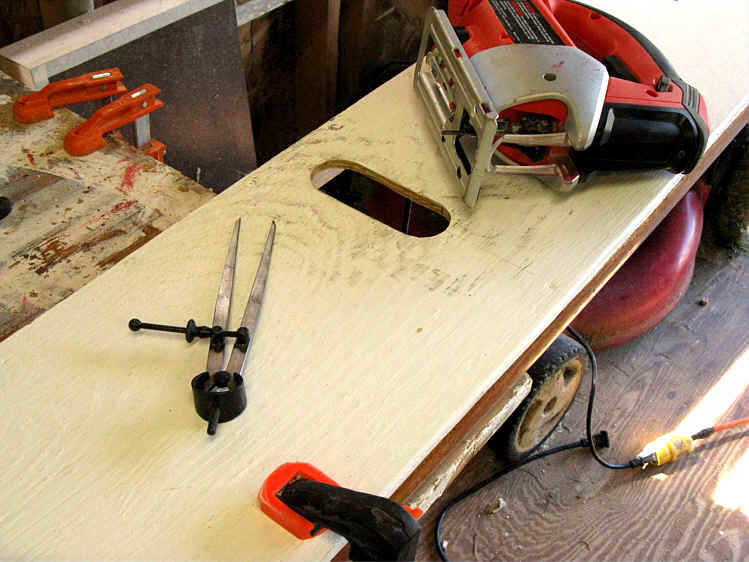
I cut an oval into the upper thwart. This oval is as wide as the mast. The slot will allow the mast to be positioned straight up or raked to the stern.
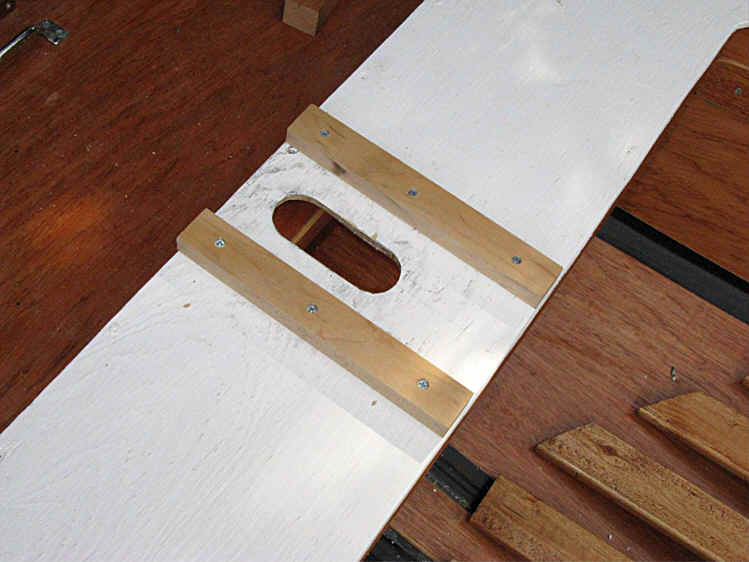
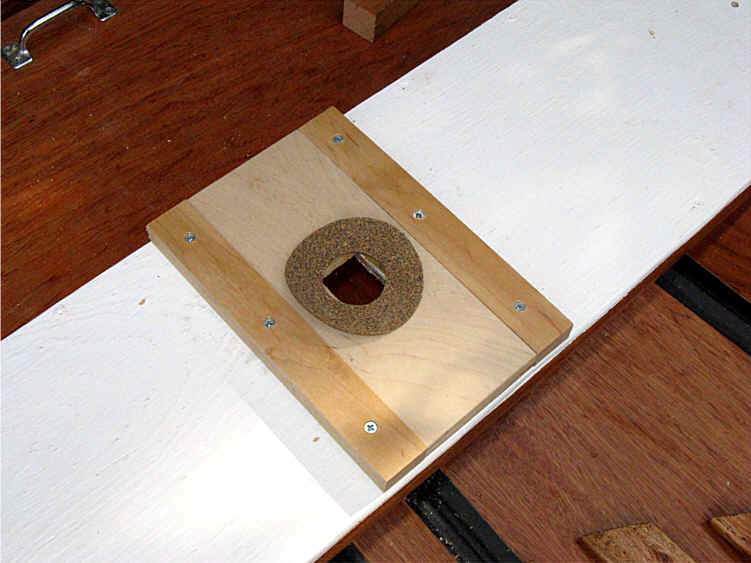
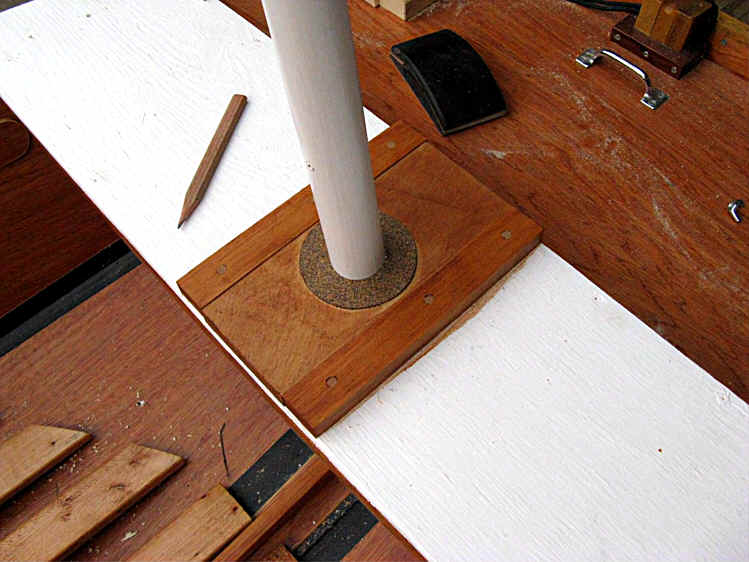
On the right you can see the plate I made to hold the mast securely in place in the mast slot. Again, I used a square hole to hold the mast.
I added some bracing.
I cut a cork gasket to dress up the look of the round mast going through a square partner. I glued the cork in place.
I removed the forward frame and added small braces to keep the rail beneath the mast step from turning over on its side.
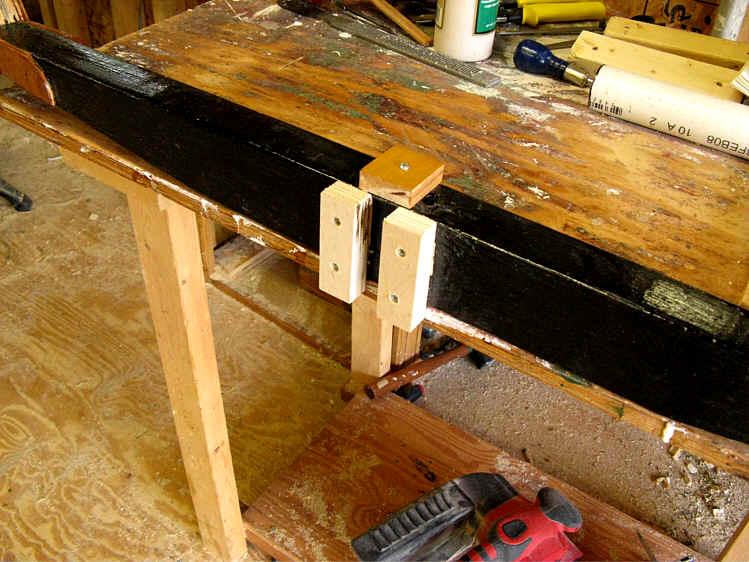
This photo shows the rail held in place by the braces.
Time to fit the step in place.
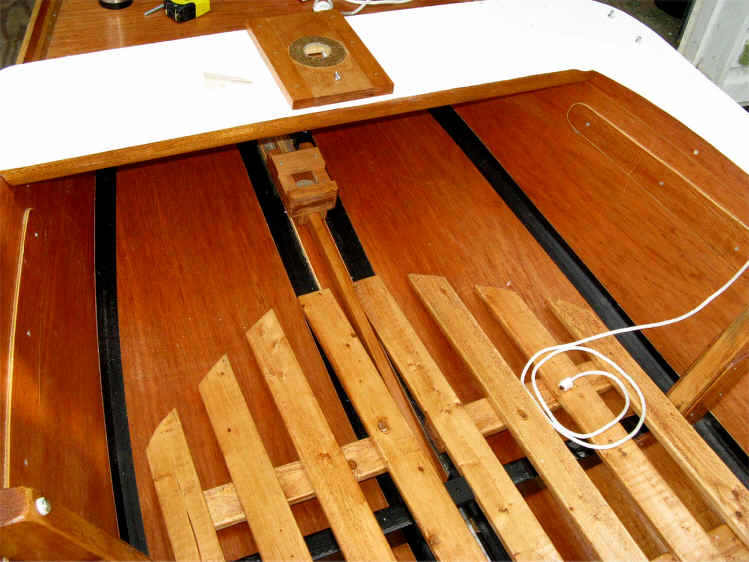
The next photo shows the mast in the step. I drilled a hole through the sides of the step that cover the rail. A pin inserted into this hole and through the rail secures the step to the bottom of the boat. The wedge tightens everything, nicely.
Time to stain the mast plate.
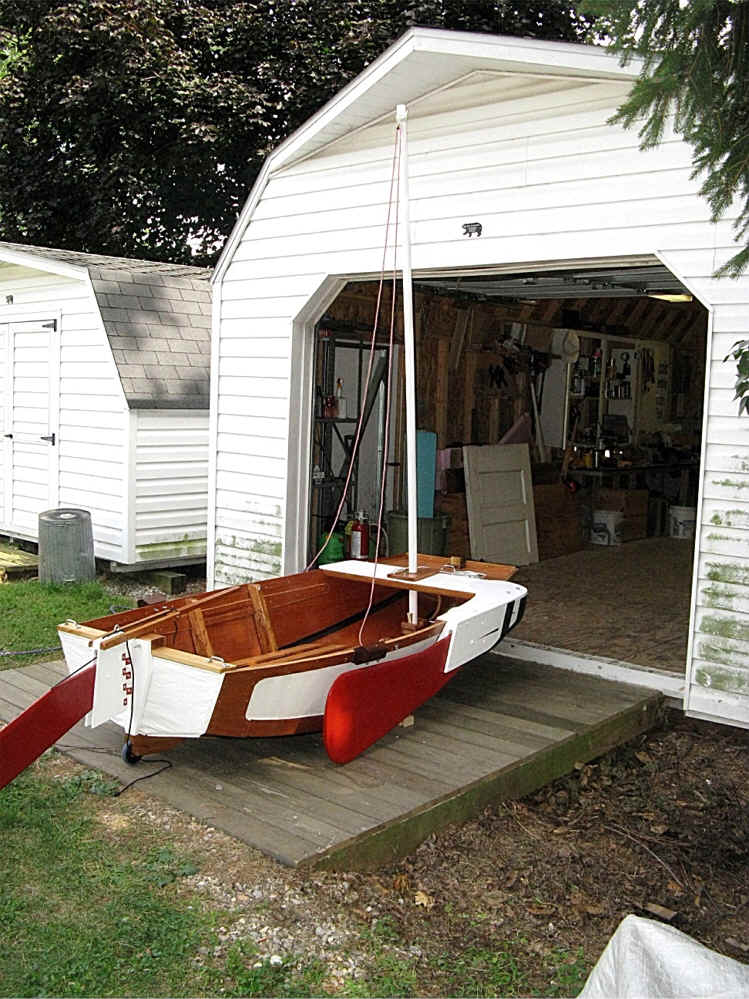
This photo shows everything coming together. The mast is unstayed. So far it seems very stable.
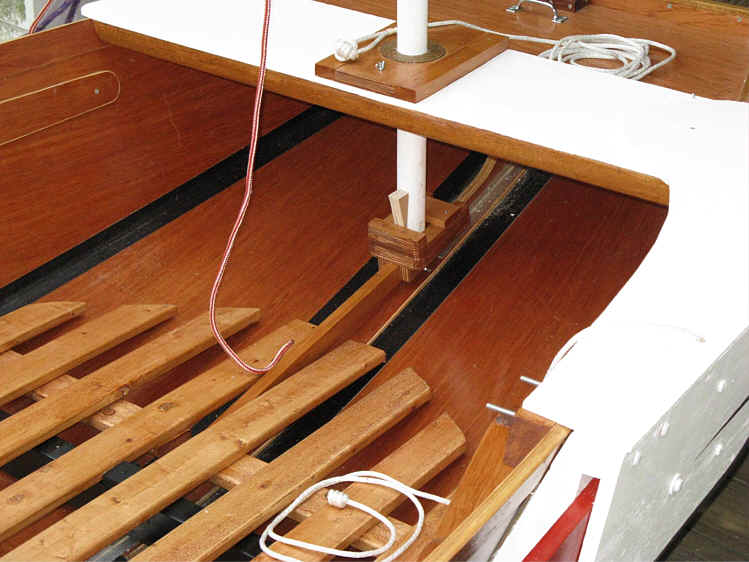
The upper thwart is wider on the starboard side because the leeboard case connects to this overhang.
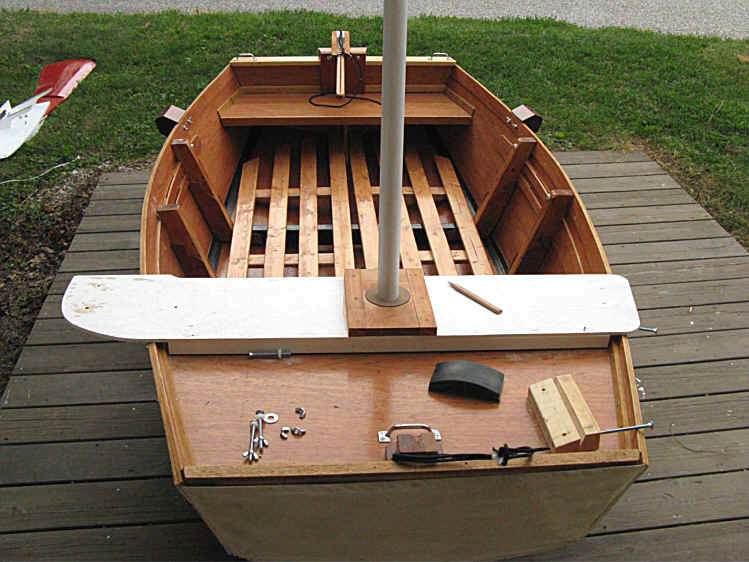
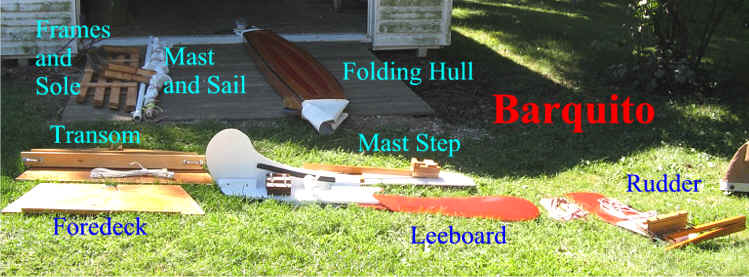
Here are all the sub-assemblies.
Sitting pretty.
Assemble the Barquito Gallery of Pictures
1 Basic Boating String Theory 2 Sewing the Hull 3 Keeping the Water Out
4 Center Thwart 5 Bow 6 Foredeck 7 Transom 8 Oarlocks / Oars 9 Skeg
10 Conversion to Sail 11 Leeboard 12 Rudder 13 Mast and Spars 14 Sail and Rig
Other Folding Boats On line Sailing School Boat Building Links